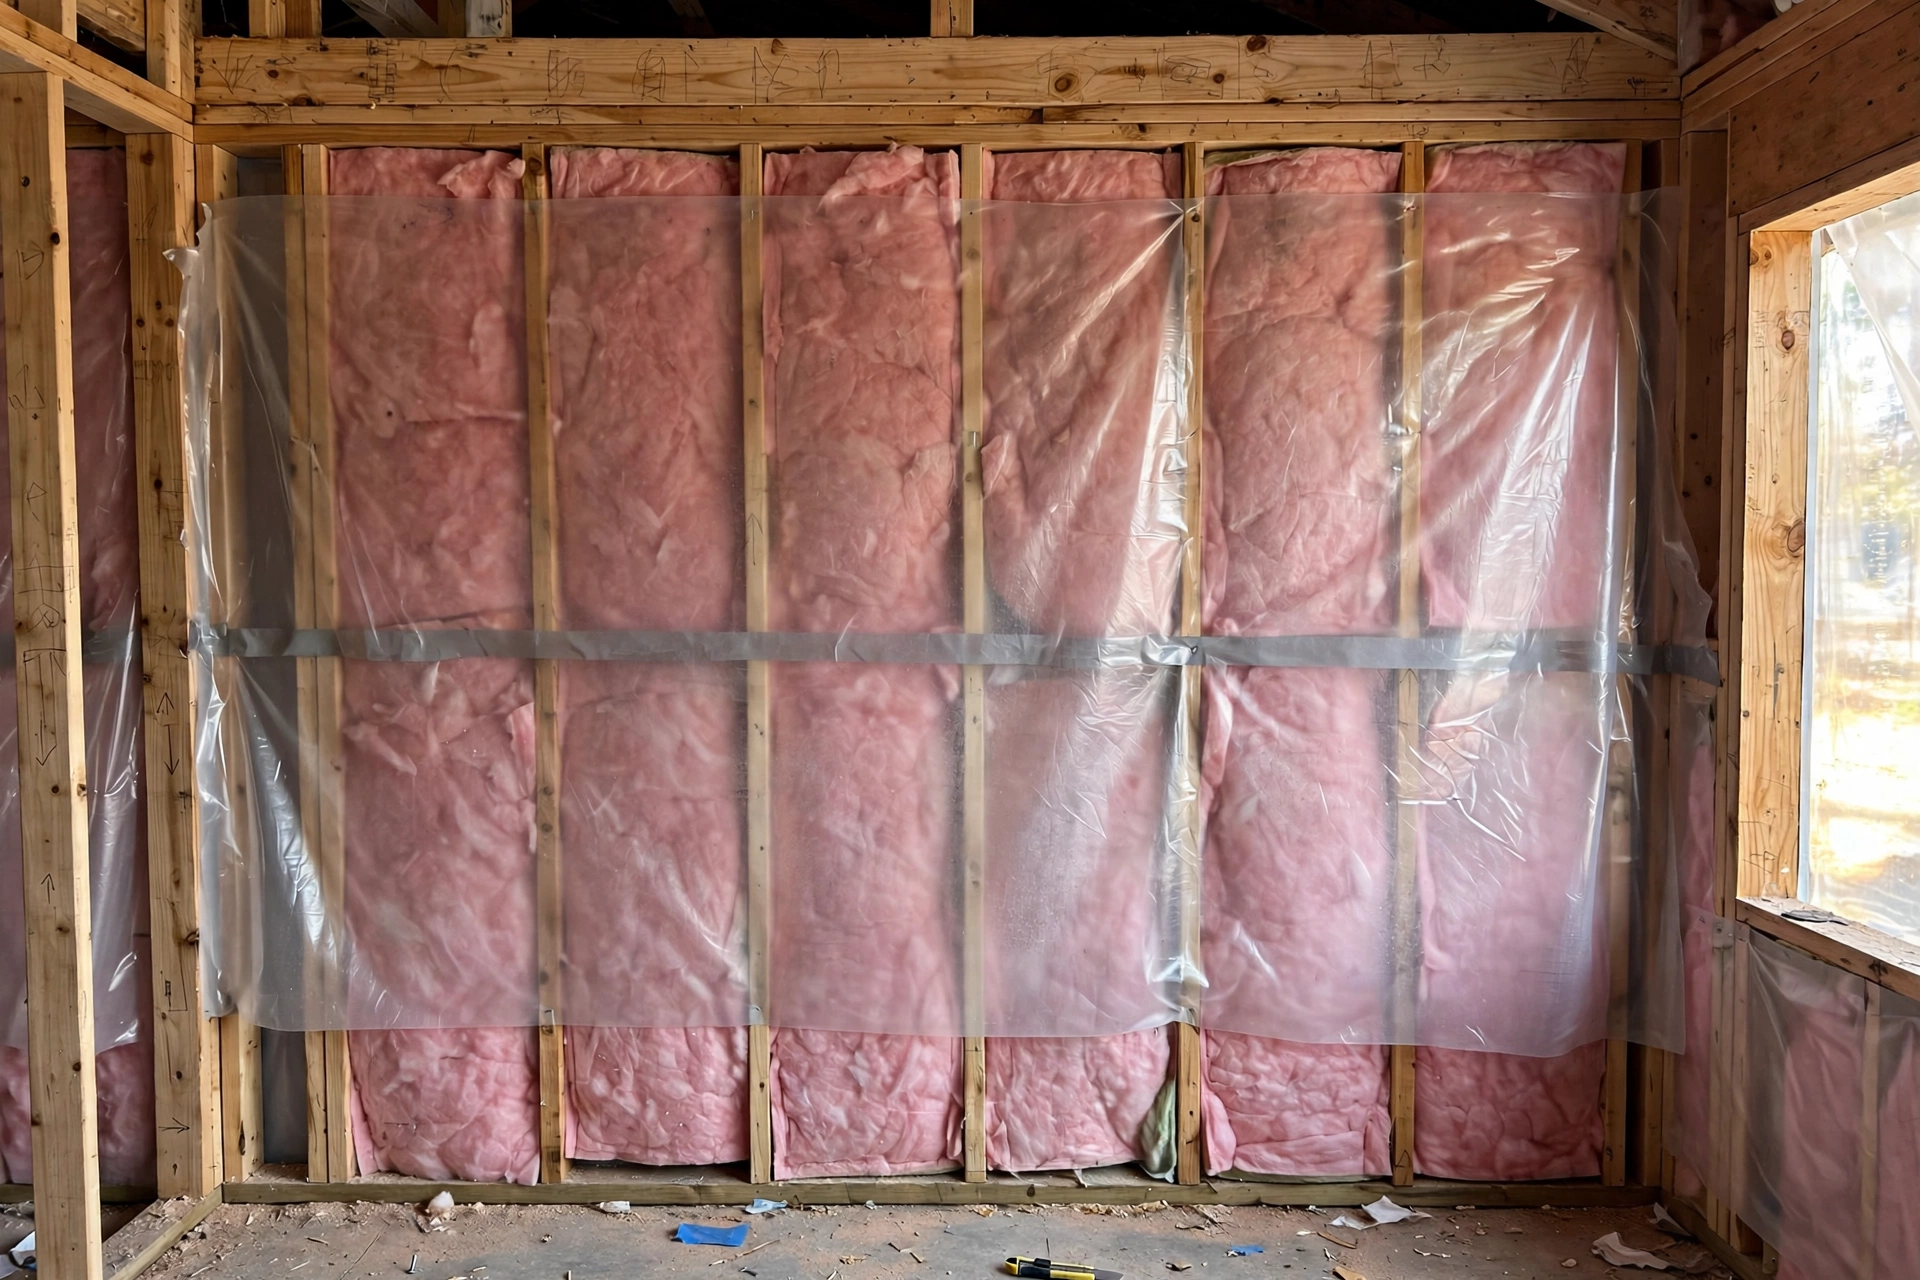
Choose the vapor retarder that matches your climate zone, your assembly, and the direction moisture travels in your home. In cold climates, that usually means a Class I or Class II retarder on the warm, interior side of a framed wall or ceiling. In hot-humid climates, it usually means no low-perm interior retarder at all, or a Class III finish that lets the assembly dry inward. In mixed climates, a smart, variable-perm membrane is often the safest choice.
The wrong choice does not simply fail to help. A plastic sheet in the wrong climate can trap moisture where it cannot dry, feeding mold, rot, and swollen sheathing. This guide explains the three classes, how climate changes the rules, and which material fits each assembly.
What a Vapor Retarder Does — and What It Cannot Do
A vapor retarder slows the movement of water vapor through a wall, ceiling, or floor assembly. Vapor moves by diffusion, from higher vapor pressure toward lower pressure. In winter, that drive usually runs from a warm, humid interior toward cold, dry outdoor air. In summer in a hot-humid climate, it reverses.
Slowing that movement matters because vapor that reaches a cold surface inside an assembly can condense into liquid water. The sheathing behind insulation, the underside of a roof deck, and the top plate of a wall are common cold spots. A little seasonal moisture is normal; a wall that stays wet is not.
A vapor retarder is not waterproofing, an air barrier, or a fix for a leak. It will not stop bulk water from failed flashing, and it does little against air leakage, which can carry far more moisture than diffusion. Seal the big holes first. Every assembly also needs a way to dry, so choose the least restrictive retarder that still prevents harmful condensation.
How Vapor Retarder Classes and Perm Ratings Work
The International Residential Code (IRC) sorts vapor retarders into three classes by permeance, measured in perms under the ASTM E96 test method. A perm describes how much water vapor passes through one square foot of material in one hour under a set pressure difference. Lower numbers mean less vapor gets through.
Class I, at 0.1 perm or less, is the true vapor barrier end of the scale. Six-mil polyethylene sheeting, at roughly 0.06 perm, and non-perforated aluminum foil are the familiar examples. Class II, above 0.1 perm and up to 1.0 perm, is semi-impermeable; kraft-faced fiberglass batts and some vapor-retarder paints fall here. Class III, above 1.0 perm and up to 10 perms, is semi-permeable, and ordinary latex or enamel paint on drywall is the most common example.
Smart, or responsive, vapor retarders change permeance with humidity: under 1 perm when dry, then 6 perms or more when wet, letting a damp cavity dry inward in summer. The 2024 IRC permits them on the interior side in every climate zone. Closed-cell spray foam also acts as a vapor retarder at sufficient thickness, so check the manufacturer’s data.
Matching the Retarder Class to Your Climate Zone
Climate zone is the first filter, before material or brand. Under IRC Section R702.7, a Class I or Class II vapor retarder is required on the interior side of framed walls in Climate Zones 5, 6, 7, and 8 and in Marine 4, where heating dominates and the vapor drive runs outward for much of the year. In Zones 1 and 2, the code prohibits Class I and Class II retarders on the interior side, because the summer drive runs inward and an interior plastic sheet would trap moisture against cool drywall.
Zone 3 prohibits Class I on the interior, while Zone 4 generally allows Class II or Class III. Exterior continuous insulation also matters: rigid foam outside the sheathing keeps it warmer, so a less restrictive interior retarder is often appropriate.
Find your zone on the IECC climate-zone map and confirm local amendments with your building department. When in doubt, choose the class that preserves drying. A wall that can dry in one direction will forgive a small leak. A wall sealed on both sides will not.
Choosing a Vapor Retarder for Framed Exterior Walls
For a standard framed exterior wall, start with the zone table above, then look at what is already in the assembly. In Zones 5 through 8, kraft-faced fiberglass batts are the simplest compliant choice: install them with the kraft facing toward the heated interior and keep the facing continuous, with no gaps or tears.
Polyethylene sheeting is the alternative in the same cold zones, but only with unfaced batts. Poly over kraft facing creates two low-perm layers with insulation between them — the classic double vapor barrier — and any moisture that gets in is trapped. If local code requires poly, use unfaced insulation and lap and seal the sheet carefully at seams, corners, and penetrations.
In Zones 3 and 4, painted drywall is often sufficient, and a smart membrane is the upgrade for well-insulated or humid homes. In Zones 1 and 2, leave the interior vapor open with unfaced batts and latex-painted drywall. Also check the exterior sheathing: foil-faced foam outside, paired with a low-perm layer inside, is another double barrier.
- Keep the retarder continuous at outlets, windows, and top and bottom plates — a gap there is a vapor leak.
- Never install kraft facing against damp concrete or masonry; the paper can trap moisture and grow mold.
- Do not add a second retarder to fix a damp wall — find the water source and the air leak first.
Choosing a Vapor Retarder for Flat Ceilings and Vented Attics
A flat ceiling under a vented attic is where vapor control matters most, because warm, moist air rises. In a cold climate, the ceiling is the boundary between a heated room and a cold attic, and vapor that passes through it can condense on cold insulation or roof sheathing. The retarder therefore goes on the ceiling side of the insulation, facing the room below.
In Zones 5 through 8, kraft-faced batts with the facing down toward the room, a continuous polyethylene sheet under the joists, or a smart membrane are all used, depending on local code. In milder and mixed climates, painted ceiling drywall — a Class III retarder — is often enough, especially when the attic is well ventilated and the ceiling is well air sealed.
Air sealing matters even more at the ceiling, because warm air rises through every penetration. Seal around recessed lights, bath fans, vents, chimneys, and the attic hatch before you insulate. Check the attic after the first cold season: frost, damp insulation, or a musty smell points to air leakage, and the fix is usually better sealing, not a heavier retarder.
Vapor Retarders for Cathedral Ceilings and Unvented Roofs
Cathedral ceilings and unvented attics are less forgiving than flat ceilings because there is no vented space to carry moisture away. The insulation sits close to the roof deck, and the assembly can dry in only one direction — usually inward, toward the room. That is why the IRC prohibits a Class I retarder on the ceiling side of an unvented cathedral ceiling in cold climates.
For a vented cathedral ceiling, use a Class II retarder or smart membrane on the warm side, with careful air sealing and a clear vent path from eave to ridge. Baffles keep insulation out of the channel; a blocked baffle turns a vented cathedral ceiling into an unvented one.
For an unvented cathedral ceiling, closed-cell spray foam applied directly to the underside of the roof deck is a common solution, because the foam is both insulation and a low-perm vapor retarder at sufficient thickness, and it also air seals. A hybrid of foam against the deck plus fiberglass below it is also used. Do not use polyethylene under an unvented roof, or a foil-faced layer inside if the roof covering above is already vapor tight.
Vapor Retarder Traps That Rot Walls in Otherwise Good Homes
Most failures are not bad products; they are good products in the wrong place. The double vapor barrier is the most common trap: poly inside plus foil-faced foam outside, or kraft facing plus a full poly sheet, with wet insulation sealed between them. Use one low-perm layer, and let the other side dry.
The second trap is installing the retarder on the wrong side. Kraft facing turned toward the cold sheathing instead of the warm room does little good and can trap moisture against the framing. Poly stapled over damp studs or wet insulation locks that moisture in for months. Always install a retarder on dry materials, and let a wet frame dry before you close it up.
The third trap is ignoring the rooms that make the most moisture. Vent bath fans and range hoods directly outside, not into the attic, and run the fan for twenty minutes after a shower. Keep winter indoor humidity roughly 30 to 50 percent. Call a building professional before spray foam, a roof conversion, or work near suspected mold or rot.
A Practical Vapor Retarder Decision Checklist for Your House
Use this short sequence whenever you insulate or re-finish a wall or ceiling. It takes ten minutes on paper and saves the kind of mistake you only discover years later, when the drywall comes off.
- Confirm your climate zone and the code edition your building department enforces.
- List every layer in the assembly, inside to outside, with its perm rating if you can find it.
- Check that at least one side of the cavity can dry — never seal both sides with low-perm layers.
- Pick the least restrictive class that meets the zone requirement for that assembly.
- Air seal first: penetrations, plates, outlets, lights, and the attic hatch.
- Install the retarder continuous and dry, with seams lapped or taped and penetrations sealed.
- Vent moisture-making rooms outside, and keep winter indoor humidity moderate.
- Inspect the attic and the wall after the first heating season for dampness, frost, or odor.
Final Thoughts: Choosing the Vapor Retarder Your Walls Actually Need
The right vapor retarder is rarely the strongest one. It is the one that matches your climate, sits on the correct side of the insulation, leaves the assembly a way to dry, and is installed continuously on dry materials. Start with the zone, check the layers you already have, seal the air leaks, and let drying — not maximum resistance — guide the final choice.
Vapor Retarder Questions Homeowners Ask Most
Do I need a vapor retarder in every exterior wall?
Not necessarily. In Zones 5 through 8 and Marine 4, the IRC generally requires a Class I or II retarder inside framed walls. In hot-humid Zones 1 and 2, an interior low-perm retarder is prohibited, and painted drywall is usually enough.
Is polyethylene sheeting the best vapor retarder?
It is the strongest, at about 0.06 perm, but strongest is not always best. Poly works well in cold climates with unfaced insulation. In mixed or hot-humid climates, or with exterior foam, it can trap moisture, so a Class II or smart membrane is usually safer.
Does kraft-faced insulation count as a vapor retarder?
Yes. The kraft paper facing on fiberglass batts is a Class II vapor retarder, rated above 0.1 and up to 1.0 perm. Facing the heated interior, it often satisfies the code requirement in cold climates, if it is continuous and undamaged.
Can I use a vapor retarder on a cathedral ceiling?
Yes, but choose carefully. Use a Class II retarder or a smart membrane on the warm side of a vented cathedral ceiling, and never put a Class I retarder on an unvented one. For unvented roofs, closed-cell foam or a foam-plus-batt hybrid is the usual approach.
What is a smart vapor retarder, and when should I use one?
A smart retarder changes permeance with humidity — tight when dry, open when wet — so it blocks winter vapor entry and still lets a damp cavity dry inward in summer. It suits mixed climates and walls where the vapor drive reverses seasonally.
What happens if I install two vapor retarders in one wall?
You can create a double vapor barrier, trapping moisture between two low-perm layers with no way to dry, which can feed mold and rot. Use only one low-perm layer per cavity, and keep at least one side vapor open enough to dry.

