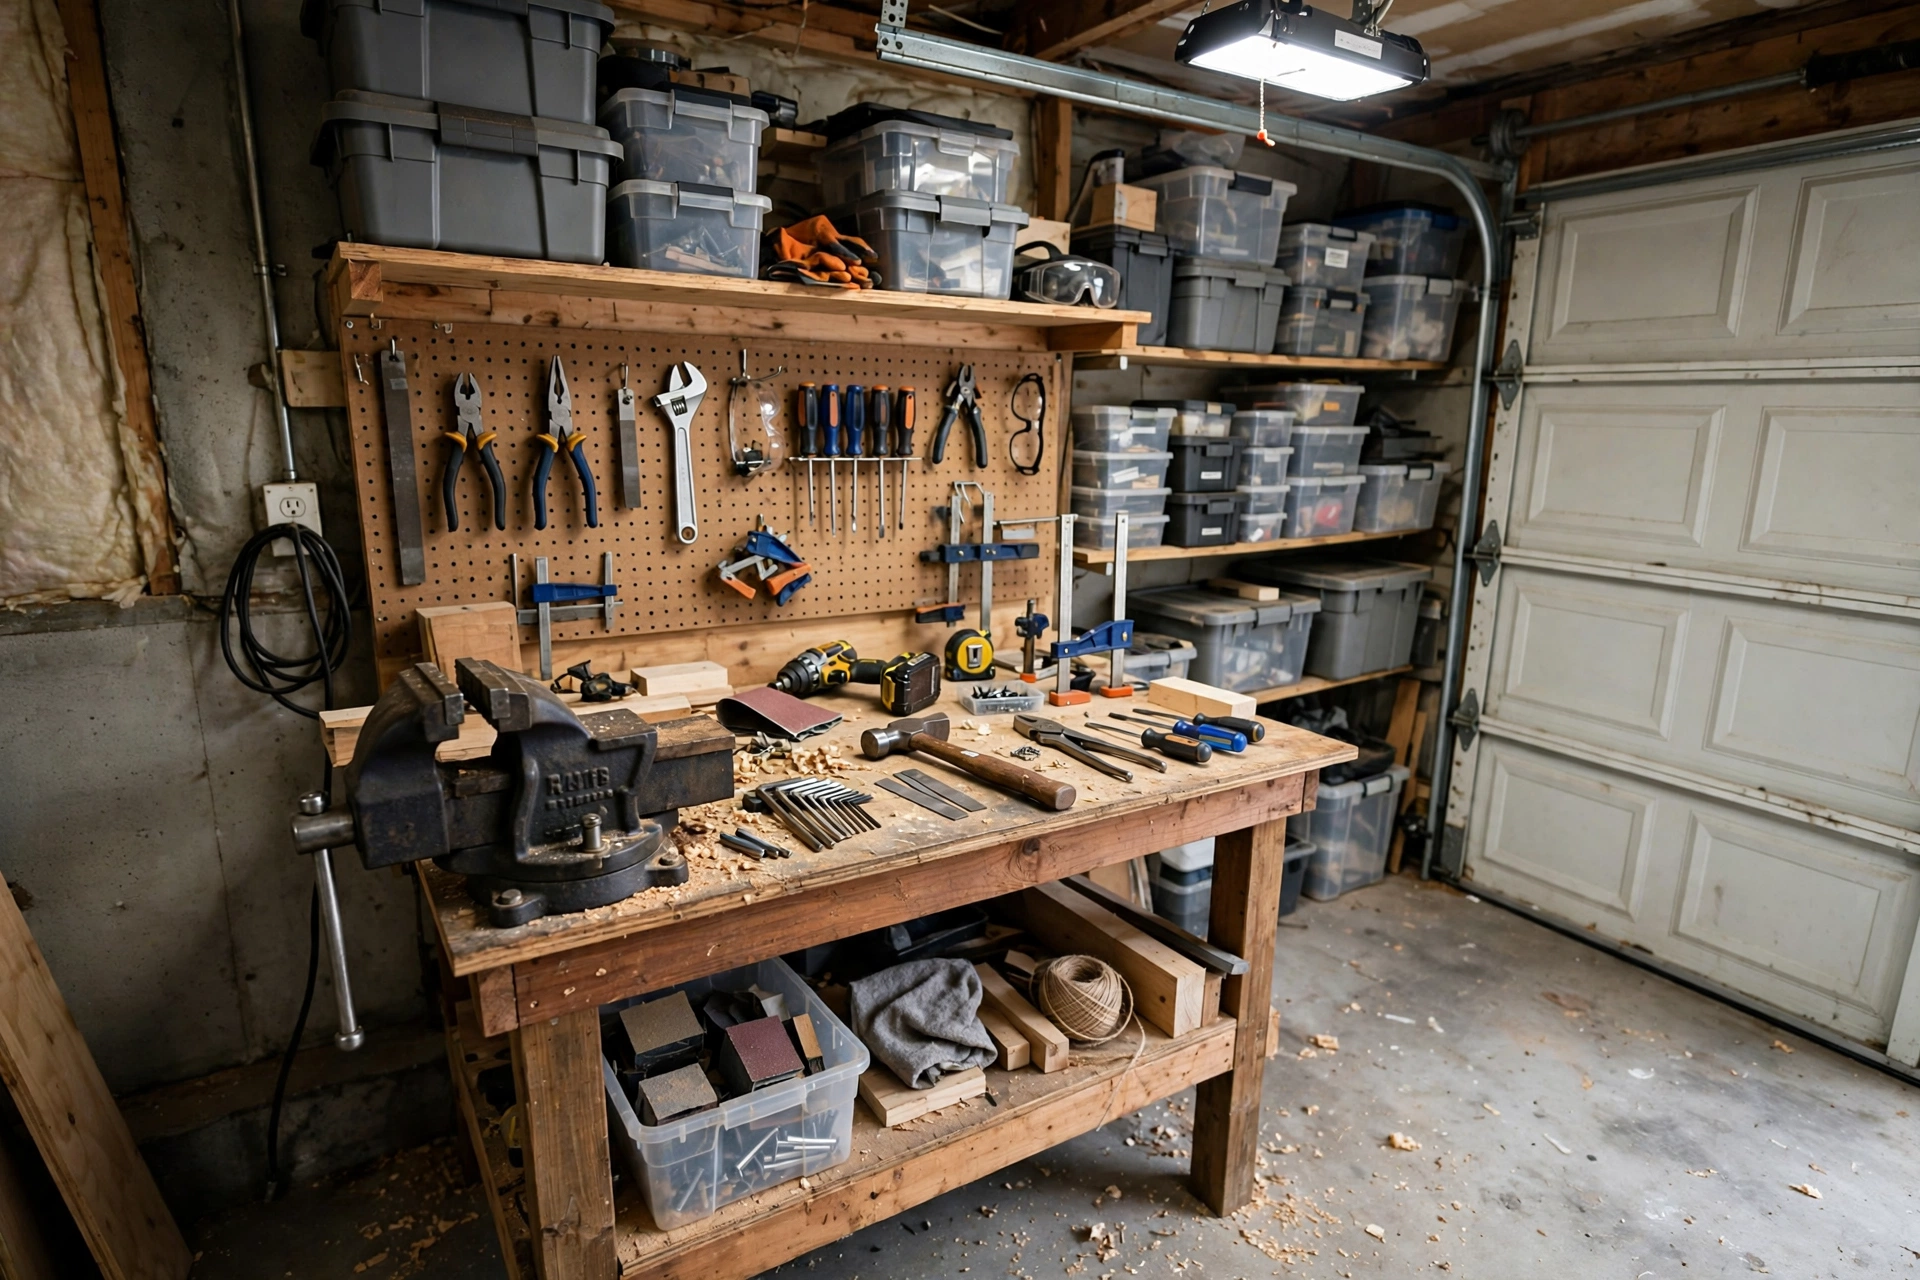
A small garage or backyard workshop does not need a huge bench to be useful — it needs a bench that fits the space, stays rock-solid when you work on it, and leaves room to move around it. A compact workbench, roughly four feet wide and two feet deep, can handle most DIY jobs, from assembling furniture to sharpening tools, provided it is built square, braced properly, and set at a comfortable height. Build it too big, and it eats the workshop; build it flimsy, and every saw cut will wobble.
The short answer is to build a simple frame from straight 2×4 lumber, top it with a double layer of plywood or a plywood-and-hardboard sandwich, brace it diagonally so it cannot rack sideways, and add casters only if you truly need to move it. Work to a plan that fits your exact space, cut everything before you start assembling, and check for square at every stage. A bench built that way in a weekend will outlast a far more expensive bench that was assembled out of square.
Sizing a Compact Workbench for a Tight Garage or Shed
Start by measuring the space, not by copying a plan. Measure the wall length you can spare, the depth you can give up without blocking a car, a door, or a walkway, and the height that suits your work. A bench height of around 34 to 36 inches suits most standing work, while a slightly lower bench suits heavy hand-planing and a slightly higher bench suits fine assembly. If more than one person will use the bench, choose a height that suits the tallest regular user, and use a sturdy step or anti-fatigue mat for shorter users rather than building a bench that is too low for everyone.
For most small workshops, a top about 48 inches wide and 24 inches deep is a practical compromise: wide enough to hold a project and a few tools, narrow enough to reach across without leaning. If your space is very tight, a 36-inch-wide bench with a fold-down extension can work better than a fixed 48-inch bench that blocks movement. Always leave clearance to open any doors, drawers or cabinets nearby, and to walk around the bench with a sheet of material in your hands — a bench you cannot walk around easily will quickly become a dumping ground rather than a workspace.
Choosing Workbench Timber, Tops and Fixings That Last
Construction lumber — straight, dry 2x4s with minimal twist, large cracks or loose knots — is the sensible choice for a first compact bench. It is affordable, easy to cut, and strong enough when it is properly braced. Avoid pressure-treated lumber for an indoor bench unless the workshop is damp, because it is heavier, harder to work, and unnecessary for most garages. For a backyard shed that gets damp, consider a sealed top and a frame kept off a damp floor on feet or a plinth.
For the top, a single layer of 3/4-inch plywood is a good start, and a second layer, glued and screwed, makes a much stiffer, more durable surface that resists dents and sagging. A thin hardboard or MDF sacrificial layer on top can be replaced when it gets cut, glued or stained, which protects the plywood underneath. Use wood glue plus screws for joints, not screws alone — glue carries much of the load, while screws hold the joint tight while the glue cures. Pocket screws, lag bolts or through-bolts all work for a bench, provided the joints are square and tight.
A Simple Compact Workbench Frame That Will Not Rack
Racking — the sideways wobble that makes a bench feel unstable — is the main failure of a poorly built bench, and it is prevented by bracing, not by using thicker legs alone. Build two leg frames, one at each end, with a top rail and a bottom rail, then join them with long front and back rails. Add a lower shelf, which doubles as storage and as a large brace, and add diagonal braces on the back or sides if the bench will take sideways force from planing or sawing.
Cut all the frame pieces first, label them, and assemble on a flat floor. Check each leg frame for square by measuring diagonally across it — the two diagonal measurements should match. If they do not, the frame is out of square and will make the whole bench lean. Glue and screw each joint, and do not rely on nails alone for a bench that will take hammering and lateral force. A bench that is square and braced will feel solid even before the top goes on; a bench that already wobbles at frame stage will only get worse with a top added.
Building Your Compact Workbench, Step by Step
Begin with the cutting list. For a 48-by-24-inch bench at about 34 inches high, you will typically need four legs, two end frames, long front and back rails, a lower shelf, and top layers, plus screws and glue. Cut the legs to the same length, cut the rails to match, and sand any rough edges that will catch hands or clothing. Dry-fit the frame without glue first to check that everything lines up and that the bench will fit in its intended spot, including through the workshop door if it is built elsewhere.
Assemble the end frames first, then join them with the long rails, checking for square after each joint. Fit the lower shelf, which will stiffen the whole structure, then flip the frame and attach the top from underneath with screws through the top rails, so no screw heads show on the work surface. Add the second top layer if you are using one, gluing and screwing it to the first. Finally, add any diagonal braces, check the bench for level on the workshop floor, and shim a leg if the floor is uneven rather than forcing the bench to sit flat by tightening joints.
Measure the space, doorways and walkways, and choose a bench size that leaves room to move.
Cut all frame pieces first, label them, and dry-fit the frame before gluing.
Assemble end frames, join them with long rails, and check for square at each stage.
Fit the lower shelf and diagonal braces to stop sideways racking.
Attach the top from underneath, add a sacrificial layer if wanted, and level the bench.
Casters, Vices and Storage for a Small Workshop Bench
Casters are tempting in a small workshop, because they let you move the bench out of the way, but they also introduce wobble and height. If you need mobility, use sturdy locking casters rated well above the bench weight plus a typical load, and choose casters that lock both wheel and swivel. If the bench will mostly stay in one place, fixed feet are simpler, stiffer and cheaper. A bench on casters should be tested with a firm sideways push before you trust it for heavy work.
A vice is the most useful bench accessory, but it needs a solid mounting point. A front vice mounted through the top and into a leg or a thick apron will hold work firmly; a vice mounted only to a thin top will flex and pull out. In a small workshop, a single good vice, a wall-mounted pegboard above the bench for hand tools, and a lower shelf for boxes and power tools will keep the top clear far better than drawers that fill up and jam. Keep the most-used tools within arm's reach and the rest on the shelf or wall, not on the bench top.
Making a Compact Bench Work Outdoors in a Backyard Workshop
A backyard workshop, whether it is a shed or a covered area, adds weather to the equation. Keep the bench under cover if possible, and protect the top with a finish that resists moisture — a hardwearing varnish, oil, or a replaceable hardboard layer that can be swapped when it gets wet. Do not store the bench directly on bare earth or a damp concrete floor; raise it on feet, a plinth, or a pallet base so air can circulate underneath and the legs do not sit in water.
Keeping a Small Workbench Clear, Level and Useful
A compact bench only stays useful if its top stays mostly clear. Give every tool a home — pegboard, shelf, or toolbox — and return tools at the end of each session, even if the project is not finished. A bench that is covered in offcuts, fasteners and half-finished parts stops being a workbench and becomes storage, and the next job ends up being done on the floor. A five-minute tidy at the end of a session saves far more time than it costs.
Check the bench periodically for loose joints, a top that has sagged, or casters that no longer lock. Tighten screws, replace a worn sacrificial top layer, and re-level the bench if the floor has shifted. If the bench starts to rack, add a diagonal brace before the joints work loose — bracing a bench early is a ten-minute job, while rebuilding a racked bench is a weekend job. A bench that is maintained will serve a small workshop for many years, even if it was built from simple lumber in a single weekend.
Compact Workbench Mistakes That Waste Space and Strength
The most common mistake is building the bench too large for the room, so it blocks a door or a walkway and forces work into an awkward corner. The second is skipping diagonal bracing and relying on leg thickness alone, which leaves a bench that wobbles sideways under normal use. The third is building the top from a single thin sheet that sags between rails, especially under a vice or a heavy project. All three are easy to avoid with a measured plan, a braced frame, and a double-layer top.
Final Thoughts: A Small Bench Built Square, Built to Last
A compact workbench for a small garage or backyard workshop does not need exotic timber or complex joinery. It needs the right size for the space, a square, braced frame, a stiff double-layer top, and a clear plan for light, power and storage around it. Build it that way, check it for square as you go, and keep its top mostly clear, and a modest bench will handle most DIY work comfortably for years. Start by measuring the space honestly, cut once and check twice, and let the bench fit the workshop — not the other way around.
Compact Workbench FAQs for Small Workshops
What size workbench is best for a small garage?
For most small garages, a top about 48 inches wide and 24 inches deep, at 34 to 36 inches high, is a good compromise. It is wide enough for most projects, narrow enough to reach across, and leaves room to move around it. Measure your space first, including doors and walkways.
Should a small workbench have casters?
Only if you truly need to move it. Sturdy locking casters rated well above the bench and load weight work, but fixed feet are stiffer, simpler and cheaper. Test a caster bench with a firm sideways push before trusting it for heavy work.
How do I stop my workbench from wobbling sideways?
Add diagonal bracing and a lower shelf, and make sure the frame is square. Leg thickness alone does not stop racking. Check the frame by measuring diagonally — the two measurements should match — and brace the bench early if it starts to move.
What is the best top for a DIY workbench?
A double layer of 3/4-inch plywood, glued and screwed, with a replaceable hardboard layer on top, suits most DIY work. It is stiff, durable, and the sacrificial layer can be replaced when it gets cut or stained.
Can I build a workbench in a backyard shed without power?
Yes, if you plan around hand tools and battery tools, keep the bench under cover, raise it off a damp floor, and leave a clear area beside it for breaking down boards. Add weatherproof power later only with proper fittings and professional advice where needed.
How high should a workbench be?
Around 34 to 36 inches suits most standing work. A slightly lower bench suits heavy hand-planing, and a slightly higher bench suits fine assembly. Choose a height that suits the tallest regular user, and use a mat or step for shorter users.

