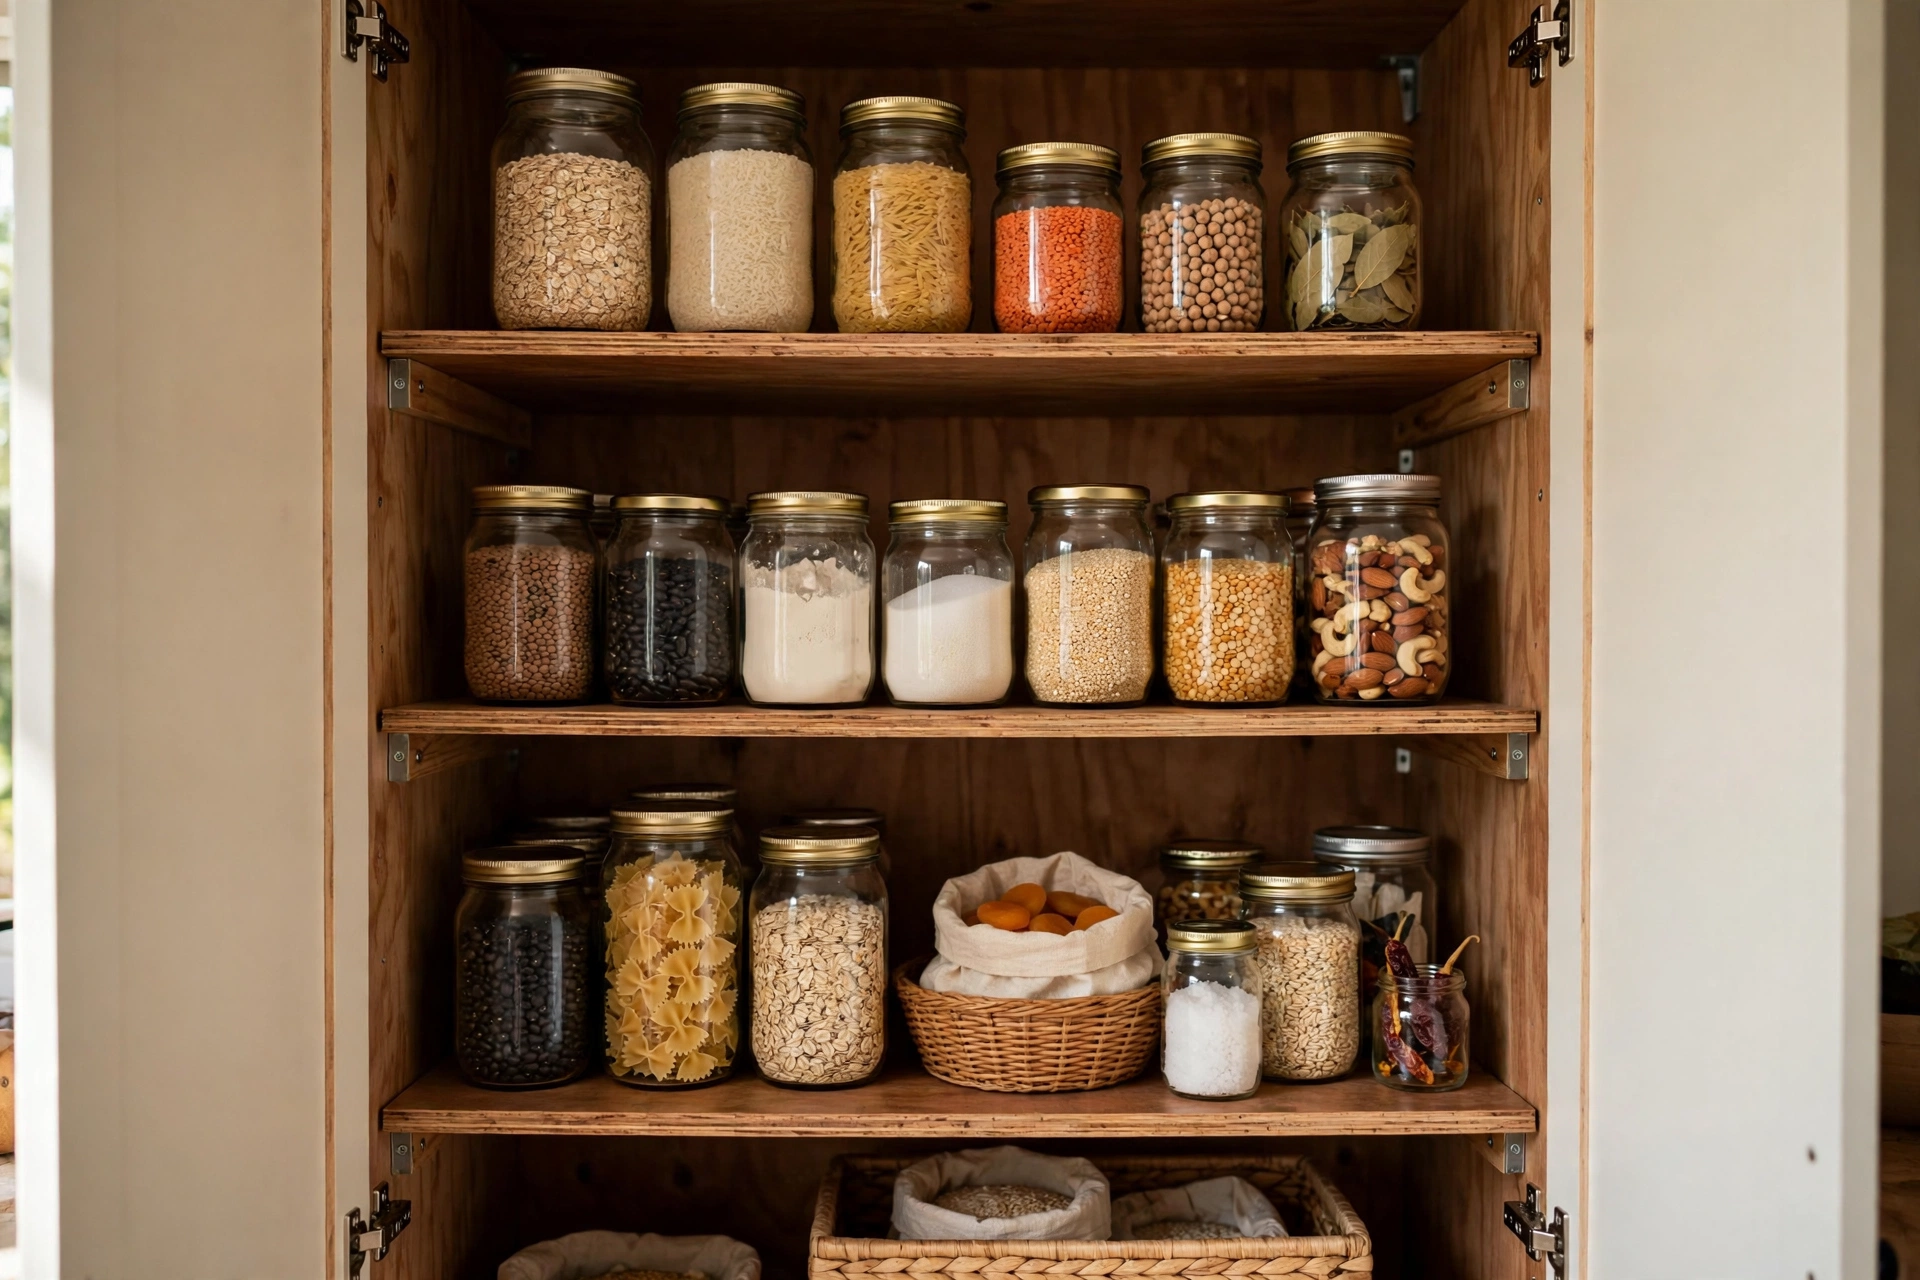
Deep kitchen cabinets look generous until you try to use them. You slide a can toward the back, close the door, and weeks later buy another one because the first has vanished into the dark. Food gets forgotten and thrown away, while the front stays crowded. If you are a beginner, that is not poor organizing. It is shelving working against you.
Here is the direct answer: the best DIY pantry shelving for deep kitchen cabinets brings the back of the cabinet to you, instead of asking you to reach into it. For most beginners, that means pull-out shelves or baskets on the deepest shelves, adjustable heights matched to what you store, a shallow front zone for everyday items, and door racks or turntables for small things. One well-placed pull-out in your worst cabinet often helps more than reorganizing every shelf at once. Costs below are broad estimates only.
Why Deep Kitchen Cabinets Hide Food From Even Careful Homeowners
A standard base cabinet is often around 24 inches deep, while your arm comfortably reaches only part of that distance, especially on a low shelf where you must crouch. Anything behind the front row becomes invisible, and invisible food is effectively lost food. Tall boxes at the front block shorter cans behind them.
Deep cabinets also encourage pushing things back to make room at the front, so the back slowly fills with duplicates bought and forgotten. The fix is not more willpower. It is giving every item a visible, reachable home. Work cabinet by cabinet, starting with the one that causes the most trouble.
Start With Measurements That Make Deep Pantry Shelving Actually Work
Every good project starts with a tape measure, not a shopping trip. Empty one cabinet, wipe it out, and measure the inside width, inside depth, and clear height between shelves. Then measure the door opening itself, because a pull-out must pass through it, and the opening is often narrower than the interior thanks to the face frame.
Write the numbers down before buying anything. For a pull-out, allow roughly an inch to an inch and a half of total clearance for the drawer slides, following the maker's instructions, and leave a small gap at the back so the shelf does not scrape. If the cabinet has a lip at the bottom of the face frame, the lowest pull-out must sit high enough to clear it. Test the empty shelf before loading it.
Shelf Heights Matched to Real Pantry Items
Take stock of what you store before setting heights. Tall boxes need far more height than cans, and a shelf sized for the tallest box wastes inches above every row of cans. As a broad guide, allow 6 to 8 inches for spice jars, 10 to 12 inches for cans and standard jars, and 14 to 16 inches for cereal boxes and tall bottles, adding a finger's width above your tallest item in each group. Sketch the cabinet first, so you never install a pull-out at a height that fits nothing you own.
Seven Beginner-Friendly Deep Pantry Shelving Ideas That Bring the Back Forward
You do not need all seven ideas in one cabinet. Pick the one or two that match your worst problem: heavy cans at the bottom, small packets disappearing, or tall boxes blocking everything behind them.
Pull-Out Shelves That Slide the Whole Row Toward You
A pull-out shelf is a shallow-sided tray on drawer slides that rolls out like a drawer. It turns a blind back row into a visible front row, making it the most effective fix for deep lower cabinets. Full-extension slides are worth the small extra cost, and the heaviest items should stay low.
Adjustable Shelves That Change as Your Groceries Change
Adjustable shelving uses holes or vertical rails with movable brackets, so you can raise or lower a shelf in minutes. That matters because pantry contents change with the seasons. If your cabinet already has shelf-pin holes, use them before buying anything new.
Pull-Out Baskets and Wire Trays for Ventilated Deep Storage
Wire baskets on slides work like pull-out shelves but with open sides, so you can see contents from the side as well as the top. They suit potatoes, onions, and other produce that benefits from airflow, and they are lighter to pull than a solid tray of cans. Keep the heaviest baskets lowest.
Turntables That Spin Hidden Corners Into View
A turntable is a round rotating tray that spins the back of a shelf to the front. It shines in deep corners and on upper shelves where a pull-out would be awkward, and suits oils, sauces, and vinegars. Choose one with a raised lip, and do not overload it with heavy jars.
Door Racks That Rescue Small Items From Deep Shelves
The inside of a cabinet door is wasted space in most kitchens, yet it suits the small items that vanish fastest: spice jars, seasoning packets, tea bags, foil, and wraps. Before installing a rack, check the hinges can carry the extra weight and the rack clears the shelves when the door closes.
Tiered Risers That Lift the Back Row Above the Front
A tiered riser is a small stepped stand that raises the back row above the front row, like stadium seating. Risers are cheap, need no installation, and instantly stop short cans hiding behind taller ones. They work best on upper shelves.
Zones and Clear Bins That Stop Deep Shelves Refilling With Chaos
Even the best hardware fails without a simple rule for what goes where. Divide each cabinet into zones by how you cook: breakfast, baking, canned goods, snacks, and oils and sauces. Put everyday items at eye level or in the front zone, backup stock behind them, and rarely used items highest. Label each bin.
Building a Simple Plywood Pull-Out Shelf for a Deep Cabinet, Step by Step
This is the most useful first build for a beginner, needing only a tape measure, saw, drill, level, wood glue, and screws. Plywood is preferred over particleboard because it holds screws better and resists sagging under heavy cans.
Measure the inside width, depth, and door opening, then subtract the clearance your slides require. Cut the plywood base to that size, keeping the front edge inside the door opening.
Cut narrow side boards into a shallow lip, about 2 to 3 inches high, and glue and screw them to the base so cans cannot slide off when the shelf rolls.
Sand all edges smooth, then paint or seal the tray to protect it from spills. Let it dry fully before fitting the hardware.
Screw one half of each drawer slide to the sides of the tray, keeping them level and at the same height on both sides.
Fix the matching slide halves inside the cabinet, using filler blocks if the sides sit behind the face frame. Level both sides, then slide the tray in until it clicks onto the runners.
Test the empty tray several times, adjust stiff spots, and only then load it, heaviest items low and central.
If the tray binds, the slides are almost certainly not level or parallel. Loosen one side, re-level, and retighten rather than forcing it. A pull-out that glides smoothly empty will glide smoothly loaded.
Choosing Materials and Hardware for Deep Pantry Shelves That Hold Heavy Cans
Deep shelves fail in two ways: they sag under weight, or fixings pull out of thin cabinet sides. Plywood is the strongest common choice for a DIY tray, melamine boards give a wipe-clean fixed shelf, and wire suits lighter storage. Particleboard sags under cans and holds screws poorly, so avoid it for wide pull-outs.
Fixings matter as much as the board. Where possible, screw cleats or brackets into studs or the solid cabinet box, not thin back panels. Use full-extension ball-bearing slides rated for your load, with a centre support on very wide shelves. One DIY pull-out costs a modest amount; a ready-made kit costs more but saves cutting time.
Deep Pantry Shelf Layouts That Keep Everyday Food Within Easy Reach
Things you reach for daily should live where your hands naturally go. Everyday items belong at eye level to waist height, heavy cans and appliances low, and backup stock high or at the back of a pull-out. This keeps heavy lifting low and frequent reaching comfortable.
Within each shelf, keep the front zone shallow: the front few inches hold what you grab today, while the back holds backup stock of the same item. Lighting helps too. A small battery-powered LED strip under each shelf makes labels readable and back rows visible.
Deep Pantry Shelving Slip-Ups Beginners Can Avoid and When a Cabinet Pro Is Worth Calling
Most beginner mistakes are easy to avoid. Measuring the interior but forgetting the narrower door opening produces a shelf that cannot be fitted. Overloading one pull-out with every can is another: spread heavy items across shelves and respect the slide rating. And spacing shelves evenly, instead of around real item heights, wastes the space you created.
Safety matters here too. Switch off and stay clear of outlets or wiring inside or behind a cabinet before drilling, check for pipes before screwing into a wall, and wear eye protection when cutting. Keep heavy items low, and never let children climb shelves; move their snacks to a low zone.
Call a professional cabinet maker or experienced handyperson when the cabinet is damaged, warped, or out of square, when a pull-out must fit a non-standard or corner cabinet, or when the work involves moving wiring, plumbing, or structural cabinetry. One tricky cabinet done professionally is often cheaper than replacing a damaged one.
Final Thoughts for Homeowners Taming Deep Pantry Cabinets
A deep pantry cabinet stops being a black hole the moment its back row becomes reachable. Start with one cabinet, measure carefully, and choose the fix matching your worst problem: a pull-out for heavy cans, adjustable heights for mixed groceries, a door rack for packets, or a turntable for a dark corner. Keep zones simple, label bins, and reset weekly.
Deep Pantry Shelving Questions Homeowners Ask Before Their First Build
How deep is too deep for a regular pantry shelf?
A shelf deeper than about 16 inches starts hiding items at the back, and a 24-inch-deep base cabinet almost always needs help, such as a pull-out, basket, or turntable. Adding movement usually solves it without changing the cabinet.
Are pull-out shelves worth it for a beginner on a budget?
Yes, if you start with one cabinet. A single pull-out where you struggle most delivers a noticeable daily improvement, and building it from plywood and slides is a modest project. Then decide whether to convert others or use cheaper risers and door racks elsewhere.
Can I add pull-out shelves to cabinets with a face frame?
Yes, and most kitchens have face frames. Measure the door opening, not just the inside width, and use filler blocks or rear brackets so the slides clear the frame. Leave the maker's clearance, and test the empty tray before loading it.
What is the best material for DIY pantry shelving?
Plywood is the best all-round choice for a pull-out tray: strong, good at holding screws, and resistant to sagging under cans. Melamine board suits wipe-clean fixed shelves, while wire baskets suit produce and lighter goods.
How do I stop deep pantry shelves from getting messy again?
Give every item a zone, label the bins, and keep the front of each shelf for everyday items with backup stock behind them. A five-minute weekly reset, returning strays and checking expiry dates, prevents the slow drift back to chaos.
Do I need to screw pantry shelving into studs?
Wherever possible, yes for fixed cleats and brackets, because studs and the solid cabinet box hold weight far better than thin back panels. For pull-out slides, follow the kit instructions, use filler blocks on the cabinet sides, and keep heavy loads lowest.
What should I store on the highest deep pantry shelves?
Reserve high, deep shelves for light, rarely used, and backup items, such as spare trays or seasonal supplies. Keep everyday food, heavy cans, and children's items at reachable heights, and never store heavy items where a step stool is needed.

