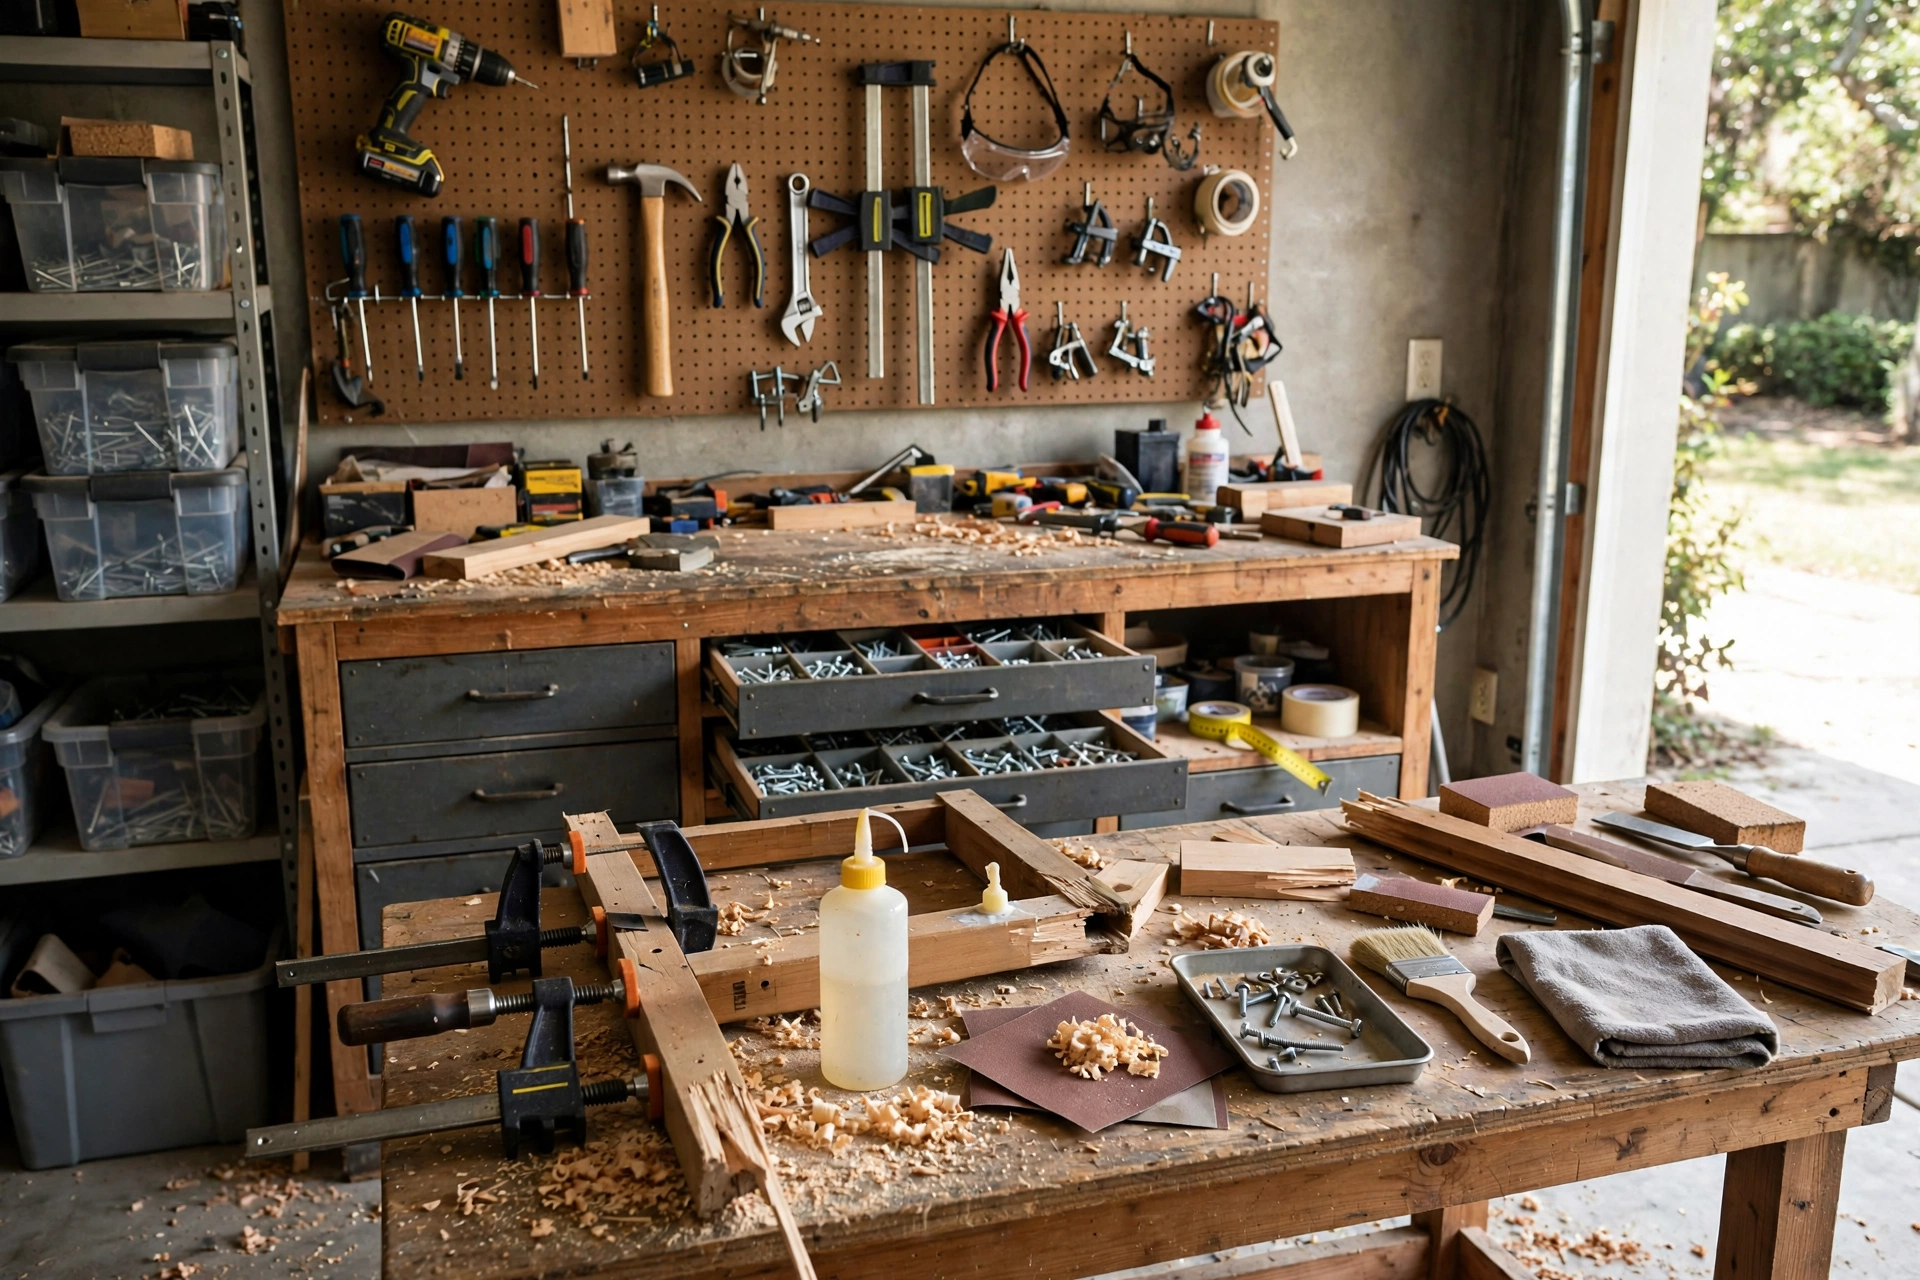
Most garage workbenches fail quietly: they look fine when built, then slowly turn into a shelf. Tools migrate to the top, projects squeeze onto a corner, and the next repair starts with ten minutes of clearing space. The design is at fault: a flat surface with no planned home for the tools is only half a workbench.
A good garage workbench design treats storage and workspace as one system: the top stays clear because every tool already has a place within arm's reach. This guide covers the layouts, sizes, materials, and storage choices that make that happen, whether you build or buy.
The short answer: build or buy a bench 60 to 72 inches long, 24 to 30 inches deep, and 34 to 38 inches high, with wall storage above for hand tools, shallow drawers for small parts, and a lower shelf for power tools. Keep the middle of the top empty.
Start With the Repair Work, Not the Bench Catalogue
Before comparing bench designs, list the repairs you actually do. A homeowner who mostly fixes bicycles and assembles furniture needs a very different bench from someone who rebuilds small engines: the first needs a modest top, a vise, and wall storage; the second needs a heavier frame and deep storage.
Write down your five most common jobs, then note the tools each one needs and how big the workpiece is. Tools used in nearly every job belong on the wall or in the top drawer, tools used monthly belong on a shelf, and tools used once a year belong in a labelled bin further away. Also decide now whether the car still parks in the garage: that choice sets the bench depth and whether casters are worth having.
Sizing a Bench That Fits the Garage and the Job
For most standing repair work, a bench height of 34 to 38 inches suits most adults, keeping wrists neutral and shoulders relaxed. Go lower, toward 34 inches, for heavy work like hammering, where you want your weight over the job. Go higher, toward 38 inches, for detail work like soldering, where hunching over a low bench strains the back.
Depth is the measurement people most often get wrong. A top 24 to 30 inches deep gives room for a project plus a row of tools along the back, while still letting you reach wall storage without climbing onto the bench. In a tight single garage, 24 inches keeps parking usable. Anything deeper turns the back third into a dead zone.
Length follows the wall and the work. Sixty inches covers most home repair jobs, and 72 inches gives room for a vise at one end plus an open assembly area. Leave at least 36 inches of clear standing space in front, and tape the footprint on the floor, car and bins in place, before you build or buy.
Five Bench Layouts That Pair a Work Surface With Real Tool Storage
Nearly every good bench is a variation on one of five designs. The classic wall bench is a fixed frame bolted to the wall with a pegboard or French cleat panel above it. It is the cheapest to build and the most stable for hammering and vise work, but it cannot move, so it suits a dedicated workshop corner, not a shared parking bay.
A mobile bench on locking casters solves the shared-garage problem: roll it out to work, roll it back to park. Look for four-inch locking casters and a frame that locks solidly, because a bench that rocks while you saw is worse than no bench. An L-shaped corner bench wraps two walls and separates dirty repair work from clean assembly, but its corner can clutter up unless you plan storage for it.
A fold-down wall bench suits the smallest garages: it folds flat when the car comes in and drops down for an evening repair, but it cannot carry a heavy vise, so pair it with a separate rolling cabinet. Finally, a rolling tool cabinet with a hardwood worktop combines a full drawer stack with a work surface in one unit: the priciest option per square foot, but ideal for renters who want professional organisation without building anything.
Pegboard, French Cleats, Drawers, or Open Shelves: Where Each Tool Type Belongs
Hand tools you reach for constantly, such as hammers, screwdrivers, pliers, and wrenches, belong on the wall directly above the bench, within easy reach. Pegboard is the affordable classic here, and painting tool outlines on the board means a missing tool is obvious at a glance. French cleats, angled wooden strips that accessories hang on, hold more weight and let you rearrange the wall in minutes without new holes.
Small parts belong in shallow drawers, not in a pile. Screws, drill bits, and sandpaper stay findable in labelled drawers and free of the dust that coats open shelves. Deep drawers are for power tools and bulky items; shallow drawers are for the things you lose. Open shelves under the bench are for the big and infrequent: the shop vacuum, paint tins, and storage bins. Keep heavy items low, and keep clear knee space where you stand most.
Picking a Benchtop That Survives Glue, Oil, and Hammer Blows
A layered plywood top with a replaceable hardboard skin is the most practical choice for general home repair: flat, affordable, and when the skin is scarred by glue, cuts, or stains, you replace the skin, not the bench. Two laminated layers of three-quarter-inch plywood give a top thick enough for clamping and vise work without flexing.
Butcher block is the most forgiving premium top: it absorbs hammer blows, clamps well, and sands back to new when scarred, though it costs more and needs occasional sealing. Steel tops handle heat, solvents, and heavy mechanic work best, but they can dull tool edges and scratch workpieces. Plain MDF is flat and cheap, but it swells with moisture and crumbles under impact, so it suits a dry garage and light work only. Keep a sacrificial panel for drilling.
A Weekend Build Sequence for a Sturdy 2×4 and Plywood Bench
A basic fixed bench is a realistic weekend project for a beginner with a circular saw, a drill, and a level. Published plans commonly call for around nine 2×4 boards and one sheet of plywood for a six-foot bench, and the build takes roughly a full day.
Mark the footprint on the floor with tape, car and bins in place, and cut all frame pieces before assembling anything.
Build two end frames from 2×4 legs and stretchers, join them with long rails, and check every corner with a square.
Add a lower shelf frame about a foot off the floor, which braces the bench and creates the power-tool shelf.
Screw the plywood top down, add a hardboard skin for a replaceable surface, and shim the feet level on a sloping floor.
Anchor a fixed bench to the wall studs, mount the pegboard or cleats above it, and fit a vise at the front-left corner for right-handers.
Use three-inch construction screws and wood glue at the joints, pre-drill near board ends to avoid splitting, and wear eye protection when cutting. For very heavy loads, upgrade the legs to 4×4 posts or add diagonal bracing.
Power, Light, and Dust Control Around the Bench
A bench without power is a table. Plan outlets before the bench goes against the wall: a power strip mounted above the bench, with a dedicated outlet for a larger tool, avoids extension cords snaking across the floor. Use a surge-protected strip for chargers, and have any new fixed wiring done by a licensed electrician.
For lighting, a single bright fixture over the work surface plus a movable task lamp beats a dim ceiling light; aim for cool-white light in the 4000 to 4500K range. For dust, a small shop vacuum on the lower shelf and a sweep after each job beats any new tool.
What a Storage Bench Costs, From Scrap Timber to a Bought Workstation
Costs vary by region and by how much you already own, so treat every figure here as an estimate, not a quote. A simple DIY bench, a 2×4 frame with a plywood top, typically runs about $80 to $150 in materials, and a well-known beginner plan puts a similar six-foot bench at roughly $50 to $100. Adding drawers, casters, and a pegboard wall pushes a custom build to roughly $200 to $500.
A bought workbench with a pegboard, shelf, and power strip commonly sells for roughly $150 to $250, while a rolling tool cabinet with a hardwood top and a full drawer stack can run several hundred dollars and more. Save money with lumber yard cull bins and offcut wall storage before buying drawers. Spend where it counts: locking casters, a vise that does not flex, and a top thick enough to clamp to.
Bench Habits That Keep the Top Clear and the Tools Findable
The best bench design still needs three habits. First, the five-minute reset: at the end of every job, tools go back to their outlines or drawers before you leave the garage. A bench that starts clean stays clean, while a cluttered bench collects more clutter, because every new item has nowhere to go.
Second, the one-in, one-out rule for wall space, and third, labels on every drawer, bin, and shelf edge. Both habits sound fussy, but they are what let you find the right drill bit six months later without emptying three drawers.
When a Bench Job Belongs With a Tradesperson, Not a Saturday Build
Most bench building is safe DIY work, but a few jobs around the bench are not. Anything involving a new electrical circuit or fixed outlets belongs with a licensed electrician. Structural changes, such as cutting into load-bearing framing or hanging a very heavy cabinet without proper anchors, belong with a qualified builder.
Be cautious with older garages: pre-late-1970s paint may contain lead and some older insulation may contain asbestos, so test before sanding or cutting. And know the bench's limits: a light fold-down bench should not carry an engine block, and a vise bolted only through a thin top will tear out under force.
Garage Workbench Questions Homeowners Ask Before They Build or Buy
How high should a garage workbench be for home repairs?
For most standing repair work, 34 to 38 inches suits most adults: the lower end for heavy hammering, the higher end for detail work like soldering. If you are much taller or shorter than average, test the height first.
How deep should a garage workbench be if the car still parks inside?
A depth of 24 inches usually preserves full vehicle clearance in a standard garage while giving a usable work surface. With room to spare, 30 inches gives more project space and room for a vise, but anything deeper is hard to reach.
Is pegboard or a French cleat wall better above a workbench?
Pegboard is cheaper, simpler, and perfectly adequate for hand tools. French cleats hold heavier items and let you rearrange holders without new holes, which suits a workshop that changes often. Many start with pegboard and add a cleat rail later.
What is the best workbench top for mixed home repair jobs?
A layered plywood top with a replaceable hardboard skin is the most practical all-rounder: flat, affordable, and renewable when scarred. Butcher block is the premium choice for a permanent bench, with a steel overlay worth adding for hot or oily work.
How much does it cost to build a garage workbench with storage?
As an estimate, a simple DIY bench runs about $50 to $150 in materials, while adding drawers, casters, and wall storage brings a custom build to roughly $200 to $500. A bought bench with pegboard and a power strip is commonly around $150 to $250. Prices vary by region, so price local lumber first.
The Bench That Turns a Cluttered Garage Into a Repair Station
A garage workbench that combines tool storage with practical workspace is not a furniture project. It is the difference between repairs that start promptly and repairs postponed because the workspace is buried. Size it to your garage and your jobs, give every tool a visible home, and keep the middle of the bench clear on purpose.

