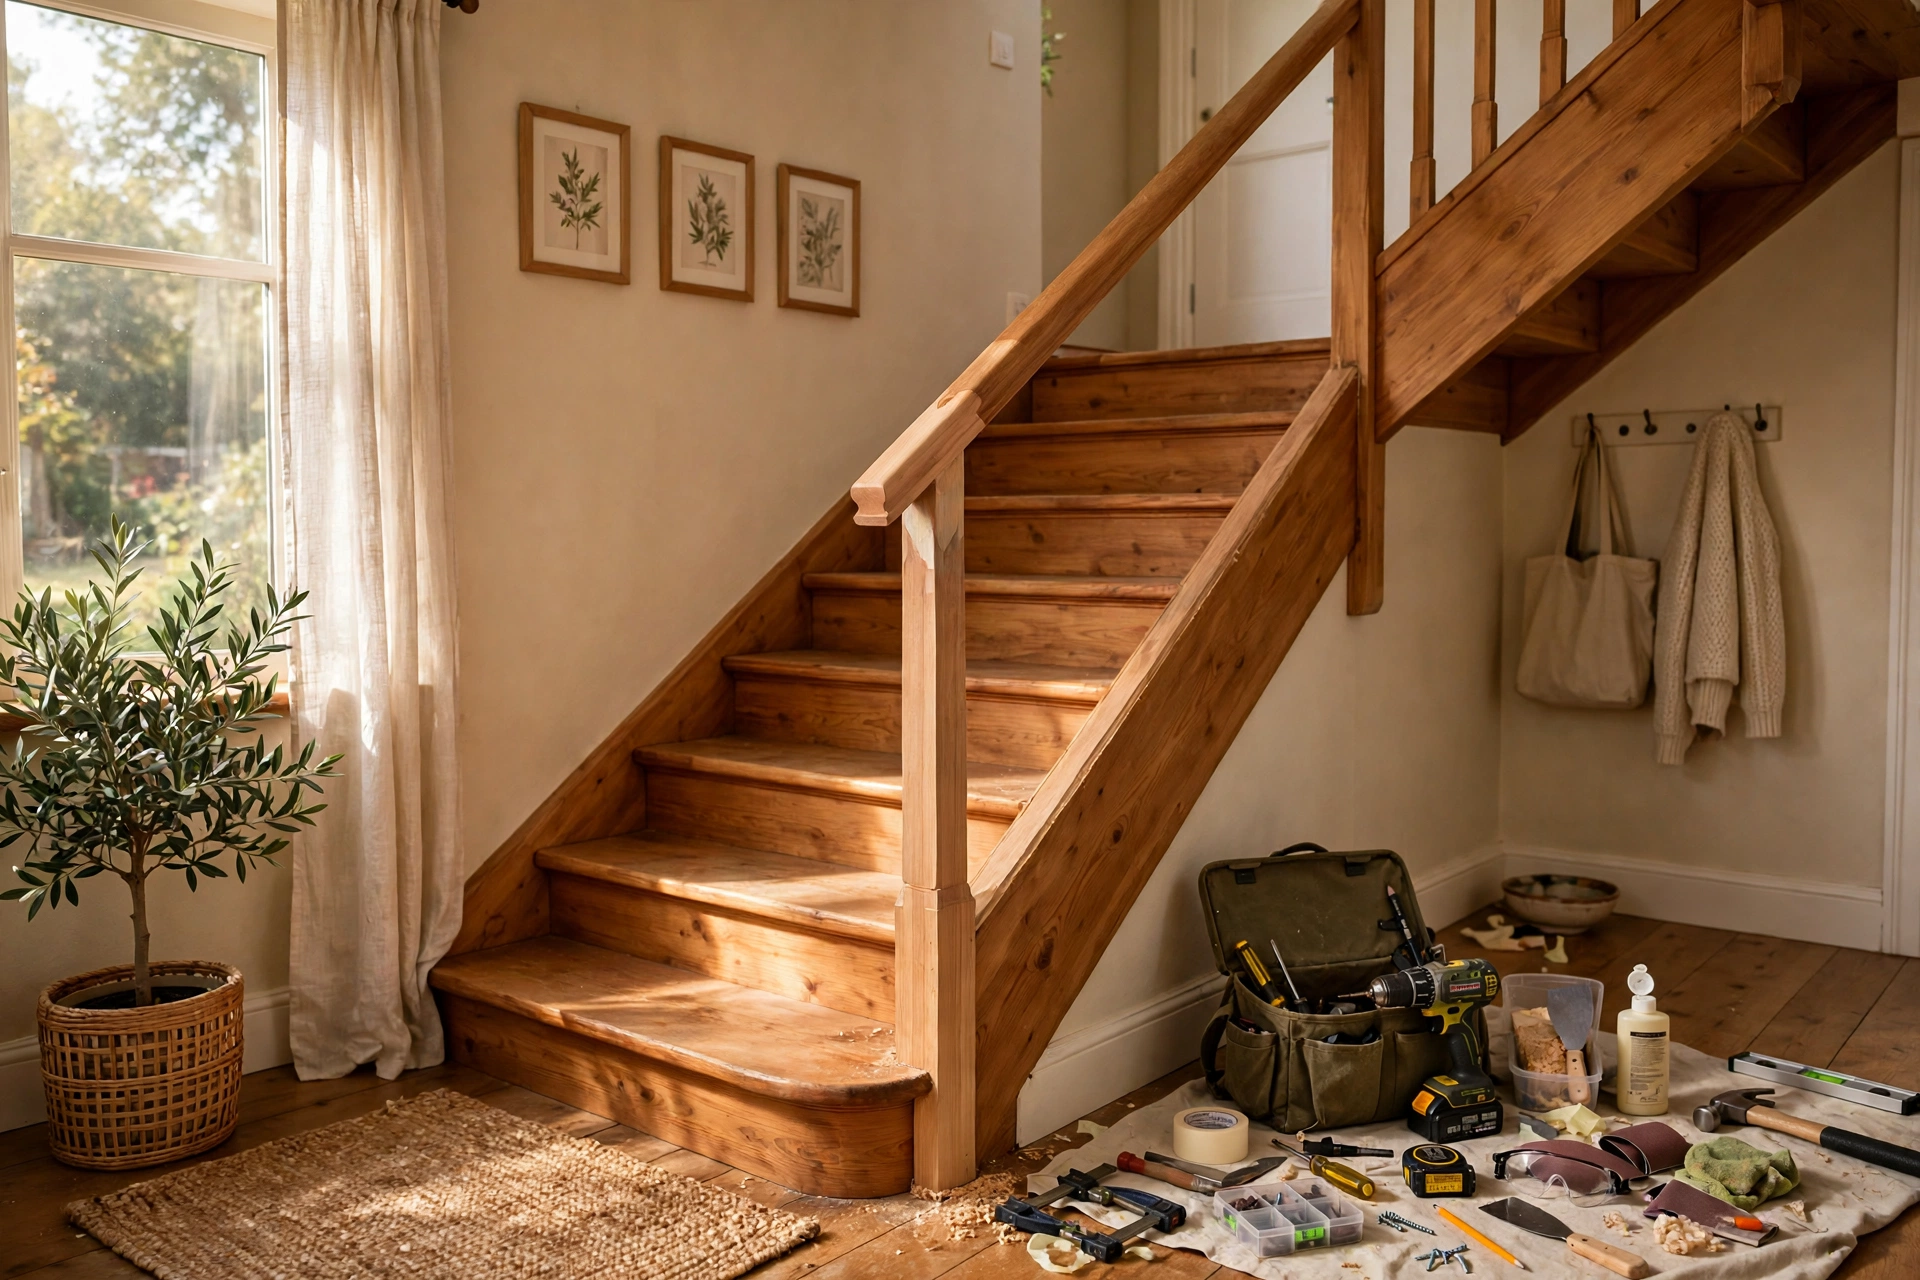
A handrail that wobbles when someone leans on it is one of the most quietly dangerous defects in a home. It looks cosmetic, but the moment someone stumbles and grabs it, a loose railing can give way instead of holding firm. The good news is that most failing railings do not need a new staircase: usually the treads, stringers, and structure are sound, and only a few fasteners, joints, or posts have worked loose over years of use. The repairs in this article restore those connections without touching the staircase itself.
The Short Answer: A Wobbly Railing Is Usually a Failed Fastener, Not a Failed Staircase
A stair railing becomes unsafe when its connections stop resisting a person’s grab. That failure almost always happens at a few points: a wall bracket screwed into plasterboard instead of a stud, a newel post whose base bolt has loosened, balusters that have shrunk away from their sockets, or a handrail joint that has opened up. Each can be repaired in place with screws, glue, shims, or a reinforcement bracket. Replacement is the right answer only when the wood is rotted, split through, or too weak for fasteners to grip.
Reading the Wobble: A Five-Minute Stair Railing Diagnosis Before You Touch a Tool
Repairs that last start with finding the exact joint that moves, because tightening the wrong connection only hides the problem for a few weeks. Work from one end of the railing to the other, pressing the handrail sideways and pulling it toward you, while a second person watches each joint.
- Wall bracket movement means the handrail slides at the wall bracket, the bracket screws have pulled out of the wall or the rail has slipped out of the bracket cup.
- Whole-run sway means the whole run sways, the newel post at the bottom or top of the flight is rocking at its base.
- Rattling spindles mean individual spindles rattle while the rail stays still, the baluster joints have dried out and shrunk.
- Mid-run flex means the rail dips between posts, the handrail joint or an intermediate support has opened up.
Also check the basics that affect safety even when nothing feels loose. Measure handrail height vertically from a tread’s front edge to the top of the rail: residential guidance commonly used in the United States puts it between 34 and 38 inches. Test baluster spacing: a 4-inch ball should not pass between balusters. Press a screwdriver tip into any discolored wood; if it sinks in easily, suspect rot rather than a loose fastener. Local codes vary.
Re-Anchoring a Wall Handrail Bracket Into a Stud It Can Actually Hold On To
Wall-mounted handrails fail most often because the bracket was never attached to anything solid. Plasterboard alone cannot hold a handrail against the force of a falling adult, so a bracket screwed only into plasterboard will work loose no matter how often it is tightened. The repair moves the load into the framing behind the wall.
Find the studs with a stud finder. If a bracket misses a stud, shift it to a stud, or fit a backing plate or heavy-duty toggle bolts rated for handrail loads. Never just drive a longer screw into the same stripped hole.
Remove the bracket, clear crumbled plaster from the old holes, and patch them if the bracket will cover them. For wider wall damage, patch with high-strength filler and let it cure fully before re-fixing.
Re-fix the bracket with structural screws long enough to bite deeply into the stud, typically at least 2.5 to 3 inches, tightening the final turns by hand so you do not strip the timber. Re-seat the rail in the bracket cup, secure it with the bracket’s own screw through the underside of the rail, then test by leaning your full weight into the rail.
Never nail through the top of a handrail to fix a loose bracket. The nail head stays visible, it splits the timber, and it holds far less firmly than a screw driven from underneath into solid framing.
How to Re-Seat a Newel Post That Rocks at Its Base
The newel post anchors the entire railing run, so a post that rocks at its base makes the whole handrail feel unsafe even when every baluster is tight. A slightly loose post can often be stabilized in place; one that moves more than a fraction of an inch at the top usually needs its anchoring rebuilt. Remove the base trim or shoe to see how the post is fixed: a floor-mounted post is usually held by bolts or lag screws into the framing below, while a side-mounted post is often held by a rail bolt (hanger bolt) pulling it tight against the stringer. Tighten that bolt first.
If tightening alone does not hold, drive two to four heavy structural screws or lag bolts down through the post base into the joists or blocking below, angled in opposing directions to brace the post from every side. Fasteners around 3/8-inch diameter and six to eight inches long are typical; confirm they bite into solid framing, not just the finished tread. For a hollow post, a concealed threaded-rod kit bolted into the floor framing restores rigidity invisibly. On a concrete slab, a concealed steel base bracket anchored with sleeve anchors, hidden under a wider shoe, does the same job; check for underfloor heating pipes before drilling.
Silencing Rattling Balusters With Glue, Shims, and Angled Pins
Balusters loosen because wood shrinks as indoor humidity changes, opening small gaps where the spindle meets the handrail above and the tread below. A rattling baluster is rarely dangerous alone, but a row of loose balusters weakens the guard as a whole. The fix combines adhesive with mechanical grip, not filler alone.
Pull the baluster gently out of its socket just enough to work, inject wood glue into the joint, push the spindle firmly home, and clamp or tape it while the glue cures per the product instructions.
Where a gap remains, tap a thin wood shim or glue-coated toothpick into it to wedge the baluster tight. Once cured, score the excess shim flush and sand smooth before touching up the finish.
For a permanent mechanical lock, drill a small pilot hole diagonally through the baluster into the handrail or tread, drive a finishing nail or pin through it, countersink the head, and fill the hole with matching putty. Two pins from opposite sides hold better than one.
Replace rather than re-glue any baluster that is cracked through, split along its length, or missing. A replacement must match the original length and profile so it seats fully in both sockets, secured with glue plus angled finish nails. Filling a large gap with putty and painting over it is not a repair: the putty hides the opening without stopping the movement.
Splits, Rust, and Rot: Patching Railing Damage That Stops Short of Replacement
Not every damaged component needs to come out. Small splits along the grain of a wooden handrail can often be closed by injecting wood glue and clamping the section until it cures, sometimes overnight. Dents respond well to two-part wood filler that hardens quickly and sands smooth for painting or staining. On metal railings, surface rust should be wire-brushed to clean metal, primed with rust inhibitor, and repainted; a railing rusted through or pitted enough to thin the metal has lost strength and should be partly replaced. Rot changes the decision: sound wood resists a screwdriver tip, while rotted wood feels soft and crumbles. Shallow rot on non-structural trim can sometimes be epoxy-filled, but rot in a newel post base, a handrail joint, or the stringer connection means that section should be replaced.
Closing the Gaps Children Slip Through: Baluster Spacing and Guard Height Fixes
A solid-feeling railing can still be unsafe for small children if baluster gaps are wide enough for a child to slip through or get stuck. The widely used test is that a 4-inch sphere should not pass between balusters, and the triangular opening where the bottom rail meets a tread and riser is generally held to a 6-inch sphere limit. Older homes frequently fail this test. Closing the gaps does not require a new railing: adding one extra baluster per tread, or switching from two balusters per tread to three, usually brings spacing inside the limit. Where a handrail sits below the commonly accepted 34 to 38 inch height range, a taller profile can be fitted to the existing posts and balusters, provided it is securely fastened and comfortable to grip.
What Targeted Railing Repairs Cost Compared With a Full Replacement
Targeted repairs usually cost a fraction of a full railing replacement, which is why they are worth attempting first. The figures below are estimates drawn from published 2026 cost guides and vary with region, materials, and staircase length. Treat them as planning ranges, not quotes.
A useful rule of thumb is the 50 percent rule: if the total repair bill climbs past half the cost of a full replacement, replacement starts to make better financial sense, because a heavily repaired old railing may not last as long as a new one. For most homes, a single repair above comes in far below that threshold. Full railing replacement for a standard straight run is commonly estimated at $1,200 to $2,500 professionally installed.
When a Railing Repair Belongs in a Carpenter’s Hands, Not a Weekend Toolbox
Most repairs in this article suit a confident do-it-yourselfer with a drill, a stud finder, and patience. Some situations call for a professional: a stringer that is cracked, rotted, or sagging; a staircase that has pulled away from the wall; a newel post that cannot be anchored because the floor framing beneath it is damaged; or a railing in a rental property or a home being sold, where code compliance may be inspected. A professional is also the right call for curved or continuous handrails, glass panel systems, and cable railings, where tensioning and specialized fittings affect safety in ways that are hard to judge by eye. Like-for-like tightening and re-anchoring rarely need a permit, but structural alterations often do, so check with your local building department before cutting anything structural.
Stair Railing Repair Questions Homeowners Ask Before They Start
Can a wobbly handrail be fixed without replacing the whole staircase?
Yes, in most cases. A wobbly handrail is usually caused by a loose bracket, a rocking newel post, or dried-out baluster joints, each of which can be re-anchored, re-glued, or re-fastened in place. The staircase itself only needs attention when its stringers or treads are damaged.
How do I know whether my railing is actually dangerous or just noisy?
Noise alone is usually a loose baluster joint, but movement is the real test. If the handrail or newel post shifts under your body weight, the railing cannot be relied on in a fall and should be repaired promptly.
Why does my railing keep coming loose after I tighten it?
Repeated loosening almost always means the fastener is gripping weak material rather than solid framing. Screws in plasterboard, stripped holes, or rotted timber will work loose again no matter how often they are tightened. The lasting fix is a longer fastener into a stud or joist, a backing plate, or a new fixing point in sound wood.
Can I add a handrail to the enclosed side of my stairs for extra safety?
Yes, and it is often a good idea for wide stairs and households with children or older adults. A wall-mounted rail on the enclosed side follows the same rules: stud-anchored brackets, a graspable profile, and a height in the commonly accepted 34 to 38 inch range.
Do I need to match the exact wood species when replacing a baluster?
Matching species and profile matters most for stained railings, because different woods absorb stain differently and the replacement will stand out. For painted railings, a close profile match in any paint-grade hardwood is usually indistinguishable once finished.
How long should a repaired stair railing stay solid?
A repair anchored into solid framing with proper fasteners and cured adhesive should last for years. Repairs relying on filler alone, or on screws in plasterboard, typically fail within months.
A Handrail You Can Lean On: Where to Start This Weekend
Start with the diagnosis, not the toolbox. Five minutes of pressing, pulling, and watching each joint will tell you whether your railing needs a re-anchored bracket, a re-seated newel post, re-glued balusters, or an extra spindle. Each repair costs far less than a replacement and restores a handrail’s purpose: something solid to hold on to when it matters most.

