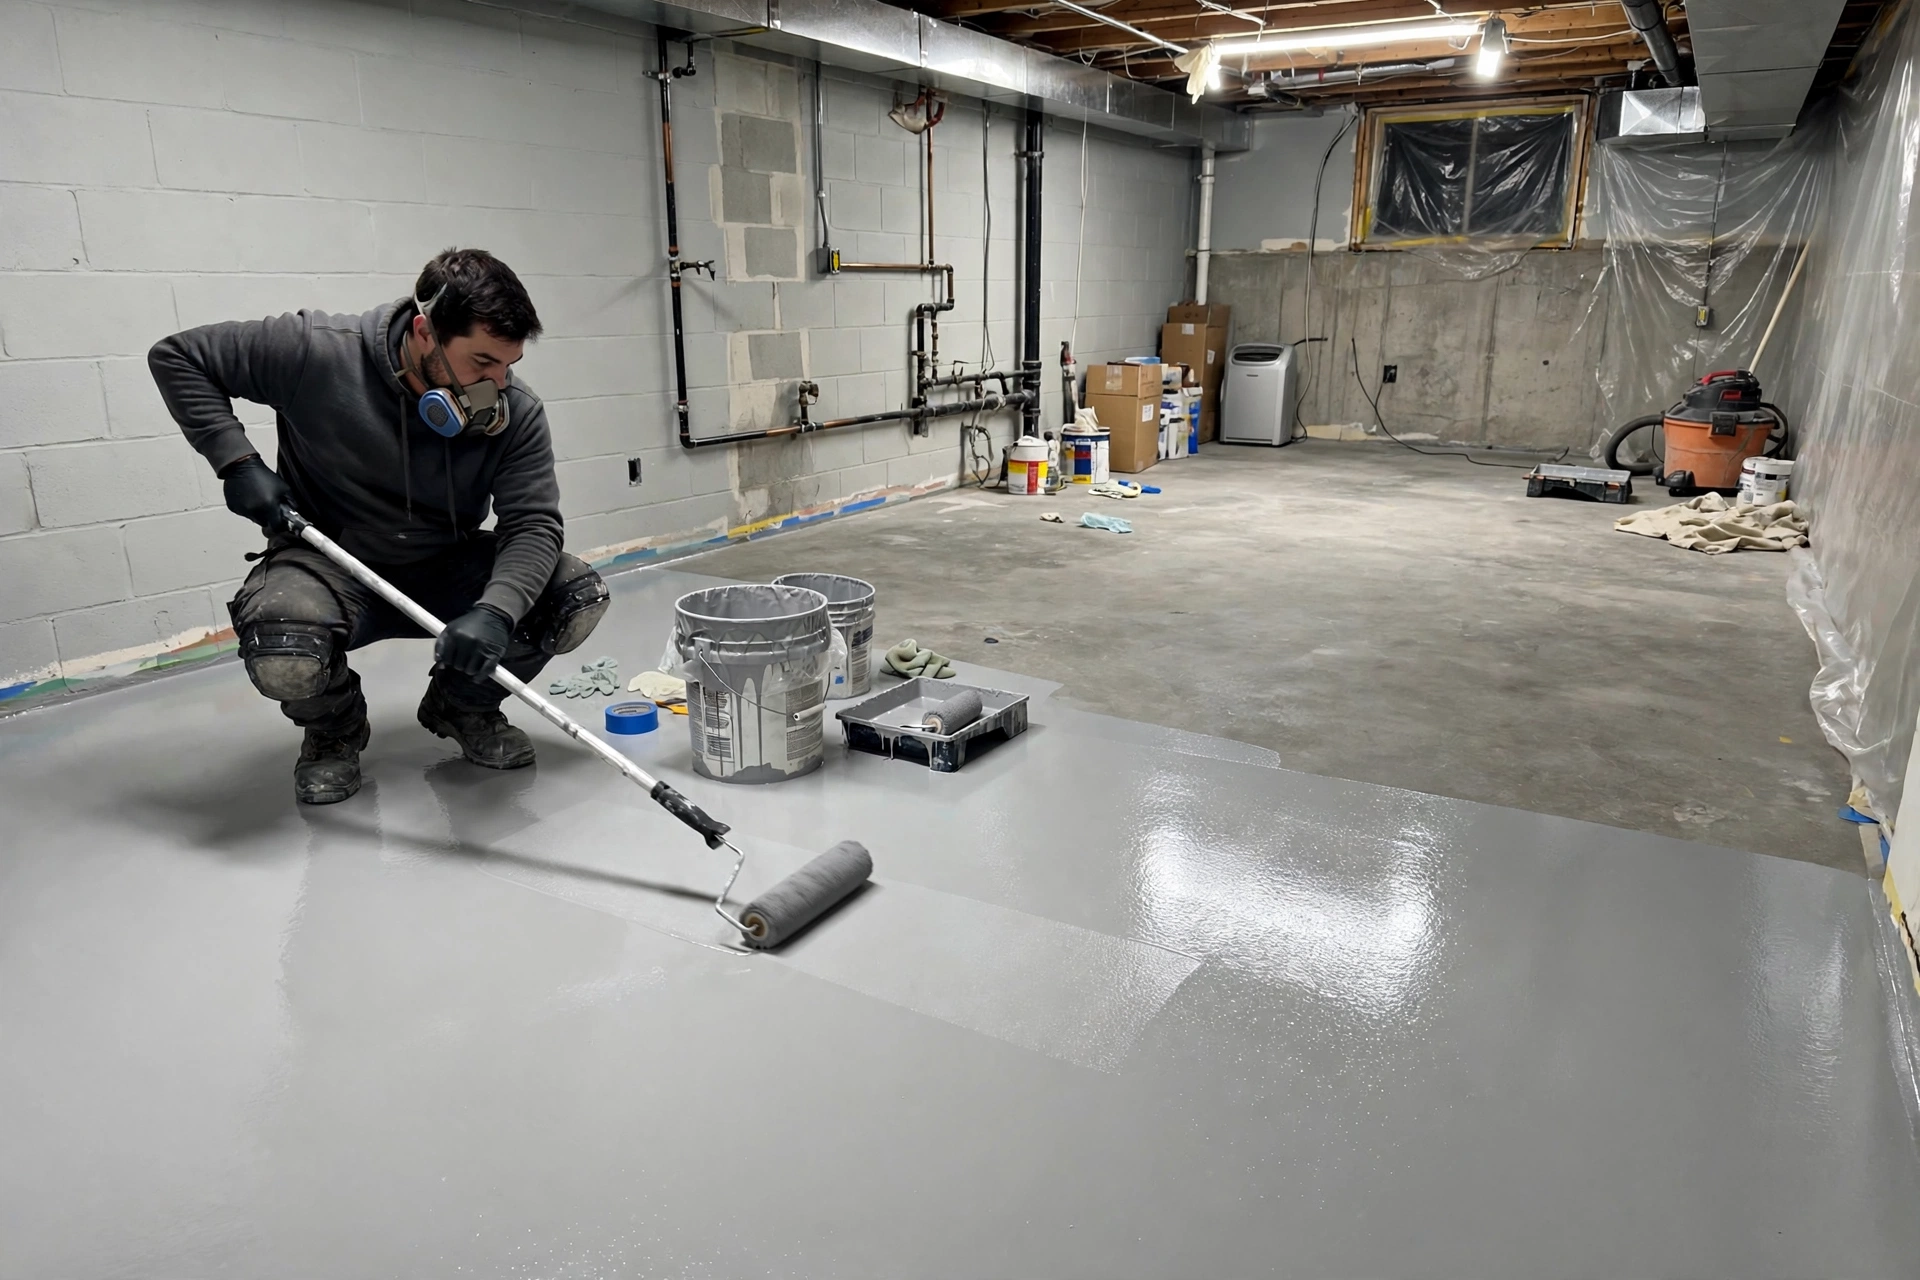
A basement floor lives a harder life than almost any other surface in a house. It sits on concrete that wicks soil moisture, shifts slightly with the seasons, and spends years buried under boxes, bins, and shelving legs. A coating that survives must do three jobs at once: block moisture vapour, flex with small slab movement, and shrug off everyday storage scrapes.
- The short answer: for most basements, a professionally prepared, high-solids epoxy base with a polyaspartic or polyurethane topcoat — over a moisture-mitigating primer when the slab tests damp — best resists moisture, surface cracking, and storage damage. Thin DIY epoxy paints usually fail first, not because the product is bad, but because the slab was never tested, ground, or repaired.
Why Basement Slabs Punish Ordinary Paint and Thin Sealers
Concrete looks solid, but it breathes. Moisture vapour migrates upward through a below-grade slab from damp soil, and older slabs may never have had a vapour barrier underneath. A thin, water-based epoxy paint forms a fragile film; vapour pressure builds beneath it and lifts it into blisters and peeling sheets — why so many basement coatings look perfect for months, then fail in patches after the first wet season.
Movement adds a second problem. Hairline cracks open and close slightly with temperature and soil-moisture changes, and a rigid, brittle coating cannot follow — it cracks along the same lines, letting moisture and dirt in. Storage makes it worse: a shelving unit dragged a few inches across a thin coating can gouge to bare concrete, and a damp cardboard box left in place traps moisture against the surface for months.
A real coating system differs from paint in two ways. It is thick — professional systems are applied at several times the film thickness of a DIY kit — so it absorbs scuffs without reaching concrete. And it is a system: a primer that bonds to ground concrete, a base coat for colour and body, and a flexible topcoat for abrasion and moisture. Skipping any layer is where most failures begin.
The Moisture Test That Decides Everything Before You Buy a Coating
Before choosing a product, test the slab. This single step separates coatings that last a decade or more from coatings that peel within a year. The simplest homeowner check is the plastic-sheet test: tape a square of clear plastic tightly to the floor, seal all four edges, and leave it for 24 hours. Condensation underneath, or a darkened patch, means vapour is moving through the slab.
The more precise method is a calcium chloride test or an in-slab humidity probe, which measures vapour emission in pounds per 1,000 square feet over 24 hours. Many products cap this at around 3 pounds; slabs above that need a moisture-mitigating primer instead of a standard one. Knowing the number lets you specify the right primer instead of guessing.
One distinction matters: a coating is not waterproofing. Active water intrusion — standing water after rain, water through a foundation crack, a leaking wall-floor joint — must be fixed first with drainage or crack repair. Coating over active water traps it against the slab and guarantees failure.
Epoxy, Polyaspartic, Polyurea, and Cementitious Coatings Side by Side
Four coating families dominate basement floors, each trading cost against flexibility, moisture tolerance, and cure time. Epoxy is the oldest and most affordable: a two-part resin curing into a hard, seamless, stain-resistant surface for finished basements and light storage. Its weaknesses are moisture sensitivity during cure, yellowing near walkout doors, and brittleness versus newer resins.
Polyaspartic coatings cure far faster — often within a day — and are more flexible, more moisture-tolerant, and UV-stable, making them a strong topcoat over an epoxy base. Polyurea is closely related, though some formulations can yellow in UV light. Cementitious coatings are thick, slurry-like products that bond chemically to concrete; they suit rough or porous slabs but lack the flexibility and decorative range of resin systems.
*Costs are broad estimates only; quotes should itemise preparation, primer, and topcoat separately.
Reading Your Slab: Cracks, Spalls, and Efflorescence That Change the System
Walk the floor before you buy anything. Hairline cracks are usually cosmetic, but still need filling with a flexible sealant or semi-rigid filler so the coating does not crack along the same line. Wider cracks should be chased out and filled with rigid compound troweled flush, and any crack that is growing, offset, or leaking deserves a structural look first.
Efflorescence — the white, powdery salt residue left when moisture evaporates from concrete — proves water has been moving through the slab, and must be cleaned off before coating or the coating bonds to salt, not concrete. Spalled areas need patching too; a coating follows the slab beneath it, so every dip shows through a thin system and collects dirt under storage.
Old coatings and sealers are another trap: a new coating bonds to whatever is on the surface, so old peeling paint or an oil stain becomes the weak layer. Diamond grinding removes these contaminants and opens the concrete pores so the primer grips mechanically. Acid etching is cheaper but bonds more weakly — a main reason DIY kits peel while professionally ground floors last.
Storage Damage Nobody Warns You About: Dragged Boxes, Metal Feet, and Damp Cardboard
Storage damages floors in ways living-space traffic never does. Heavy shelving concentrates weight on four small feet, and metal feet can dent a thin coating. Cardboard absorbs humidity, softens, and traps damp against the floor for months — exactly what lifts a weak coating. Dragging a loaded bin acts like sandpaper, and a dropped tool can chip a brittle finish to concrete.
A few habits protect any coating. Put glides or plywood pads under shelving feet, keep cardboard off the floor on pallets or shelving, and sweep grit away before moving anything heavy. Where dropped weights are likely, ask for a thicker build or quartz-broadcast finish.
Slip resistance matters too: a glossy floor gets slick when wet, and storage areas are where people carry awkward loads. Decorative flake in the base coat adds texture and hides scuffs, and an anti-slip additive in the topcoat suits laundry and utility zones. Choose the texture before installation — adding grip afterwards is far harder.
A Weekend-Ready Sequence for a Coating That Actually Bonds
Whether you hire a crew or DIY, the sequence is the same, and rushing it is the most common cause of early failure. Allow a full weekend for a DIY job and a week of cure before heavy storage goes back.
- Clear the floor, degrease oil spots, sweep, and vacuum so no dust sits between coating and concrete.
- Test moisture with a plastic-sheet test, or have an installer run a calcium chloride or probe test.
- Repair the slab: fill hairline cracks, chase and patch wider cracks, level spalls, and remove efflorescence.
- Grind with a rented diamond grinder to a clean, open profile, then vacuum with a HEPA-filtered vacuum.
- Apply a primer — moisture-mitigating if the test calls for it — and let it cure as directed.
- Roll the pigmented base coat, broadcast flake or quartz if chosen, and scrape off loose excess once cured.
Seal with a polyaspartic or polyurethane topcoat, add anti-slip additive where needed, and respect full cure before moving storage back.
Temperature and humidity matter throughout: cold, damp basement air slows curing and weakens adhesion. Ventilate well, wear a respirator rated for the product, and keep the space dry during cure. If conditions fall outside the product's range, wait — a delayed coating beats a peeled one.
What a Basement Floor Coating Costs, and Where the Quote Quietly Grows
Installed costs typically fall in the $3–$12 per square foot range, with simple solid-colour epoxy at the lower end and epoxy-plus-polyaspartic or polyurea systems at the upper end. DIY kits look far cheaper at roughly $1–$3 per square foot for materials, but that excludes grinder rental, crack repair, and redoing a failed floor — and pro floors typically last 10–20 years against 2–5 for many DIY kits, so the annual cost often favours the professional job.
Three line items quietly grow a quote, and each is worth paying for. Surface preparation is the largest — removing old coatings, grinding, and repairing a damaged slab can add $2–$5 per square foot. A moisture-mitigation primer adds roughly $1–$3 per square foot on damp slabs, and small rooms cost more per square foot because setup charges do not shrink. A quote itemising prep, primer, base, flake, and topcoat is a good sign; a vague lump sum that skips prep is a warning sign.
Keeping a Coated Basement Floor Sound Through Years of Boxes and Humidity
- A coated floor is low-maintenance, not no-maintenance — and the routine pays for itself in lifespan.
- Sweep regularly so grit does not grind into the topcoat under foot traffic and dragged bins.
- Mop with a pH-neutral cleaner; avoid harsh solvents and abrasive pads that dull the topcoat.
- Wipe spills promptly, and keep cardboard and fabric off the floor on pallets or shelving.
- Check each spring for blisters, cracks along old slab cracks, and worn patches near doorways.
- Reapply a clear topcoat when the surface dulls or scuffs heavily — far cheaper than redoing the whole system.
- Run a dehumidifier in humid months; lower humidity protects the coating and everything stored on it.
Patch small chips promptly with a compatible repair product rather than letting moisture work underneath the surrounding coating.
Coating Slip-Ups That Leave a Basement Floor Peeling by Spring
Most failures trace to a short list of avoidable mistakes. Coating a damp, untested slab is the first and most common; vapour pressure lifts even good epoxy within months. Skipping grinding and relying on acid etching is the second — the coating bonds to dirt or a weak old layer, not concrete. Painting over active water intrusion instead of fixing drainage is the third.
Quieter slip-ups include coating outside its temperature or humidity range, recoating too soon, using a water-based kit where a high-solids system was needed, and moving heavy storage back before full cure.
When a Basement Floor Needs a Waterproofing or Concrete Specialist First
Some slabs should not be coated yet. Call a waterproofing or foundation specialist first if you see water entering after rain, a crack that is widening or offset, a heaved or unevenly settled floor, or damp patches that never dry. A structural engineer is the right call for cracks suggesting foundation movement. The rule is simple — fix water first, coat second.
Basement Floor Coating Questions Homeowners Ask Before Buying a System
Can a floor coating stop my basement from feeling damp?
No — a coating seals the surface, it does not remove the moisture source. It can block vapour passing through the slab, but a damp basement still needs drainage, grading, or dehumidification addressed.
Will a coating crack if my concrete slab cracks again?
A flexible polyaspartic or polyurea topcoat tolerates small movement better than rigid epoxy alone, and properly filled cracks rarely telegraph through. Large or growing structural cracks will show through any coating — repair and monitor cracks first.
How long does a coated basement floor actually last?
A professionally installed, high-solids system typically lasts 10–20 years; many DIY kits show wear within 2–5 years. Lifespan depends most on prep quality, moisture control, and storage use.
Can I coat a basement floor myself and still get a durable result?
Yes, if you rent a diamond grinder, test moisture honestly, repair the slab, and use a commercial-grade high-solids product, not a thin kit. DIY suits a small, dry, low-traffic floor; for damp slabs, professional prep usually costs less per year of service.
Is epoxy or polyaspartic better for a basement with storage?
For storage-heavy basements, the combination wins: an epoxy base for body and colour with a polyaspartic topcoat for flexibility, moisture tolerance, and abrasion resistance. Pure epoxy without a resilient topcoat scuffs most easily.
Do I need to empty the basement completely before coating?
Yes. Every item must come out so the slab can be ground, repaired, and coated edge to edge, and storage should stay out until full cure — often around a week for heavy items.
A Dry, Tough Basement Floor Starts Beneath the Coating
The best basement floor coating is rarely the most expensive product on the shelf — it is the right system, chosen after a moisture test, laid on a ground and repaired slab, and protected by a flexible topcoat. Get the slab dry, get the prep right, and choose a build thick enough for the floor's storage life.

