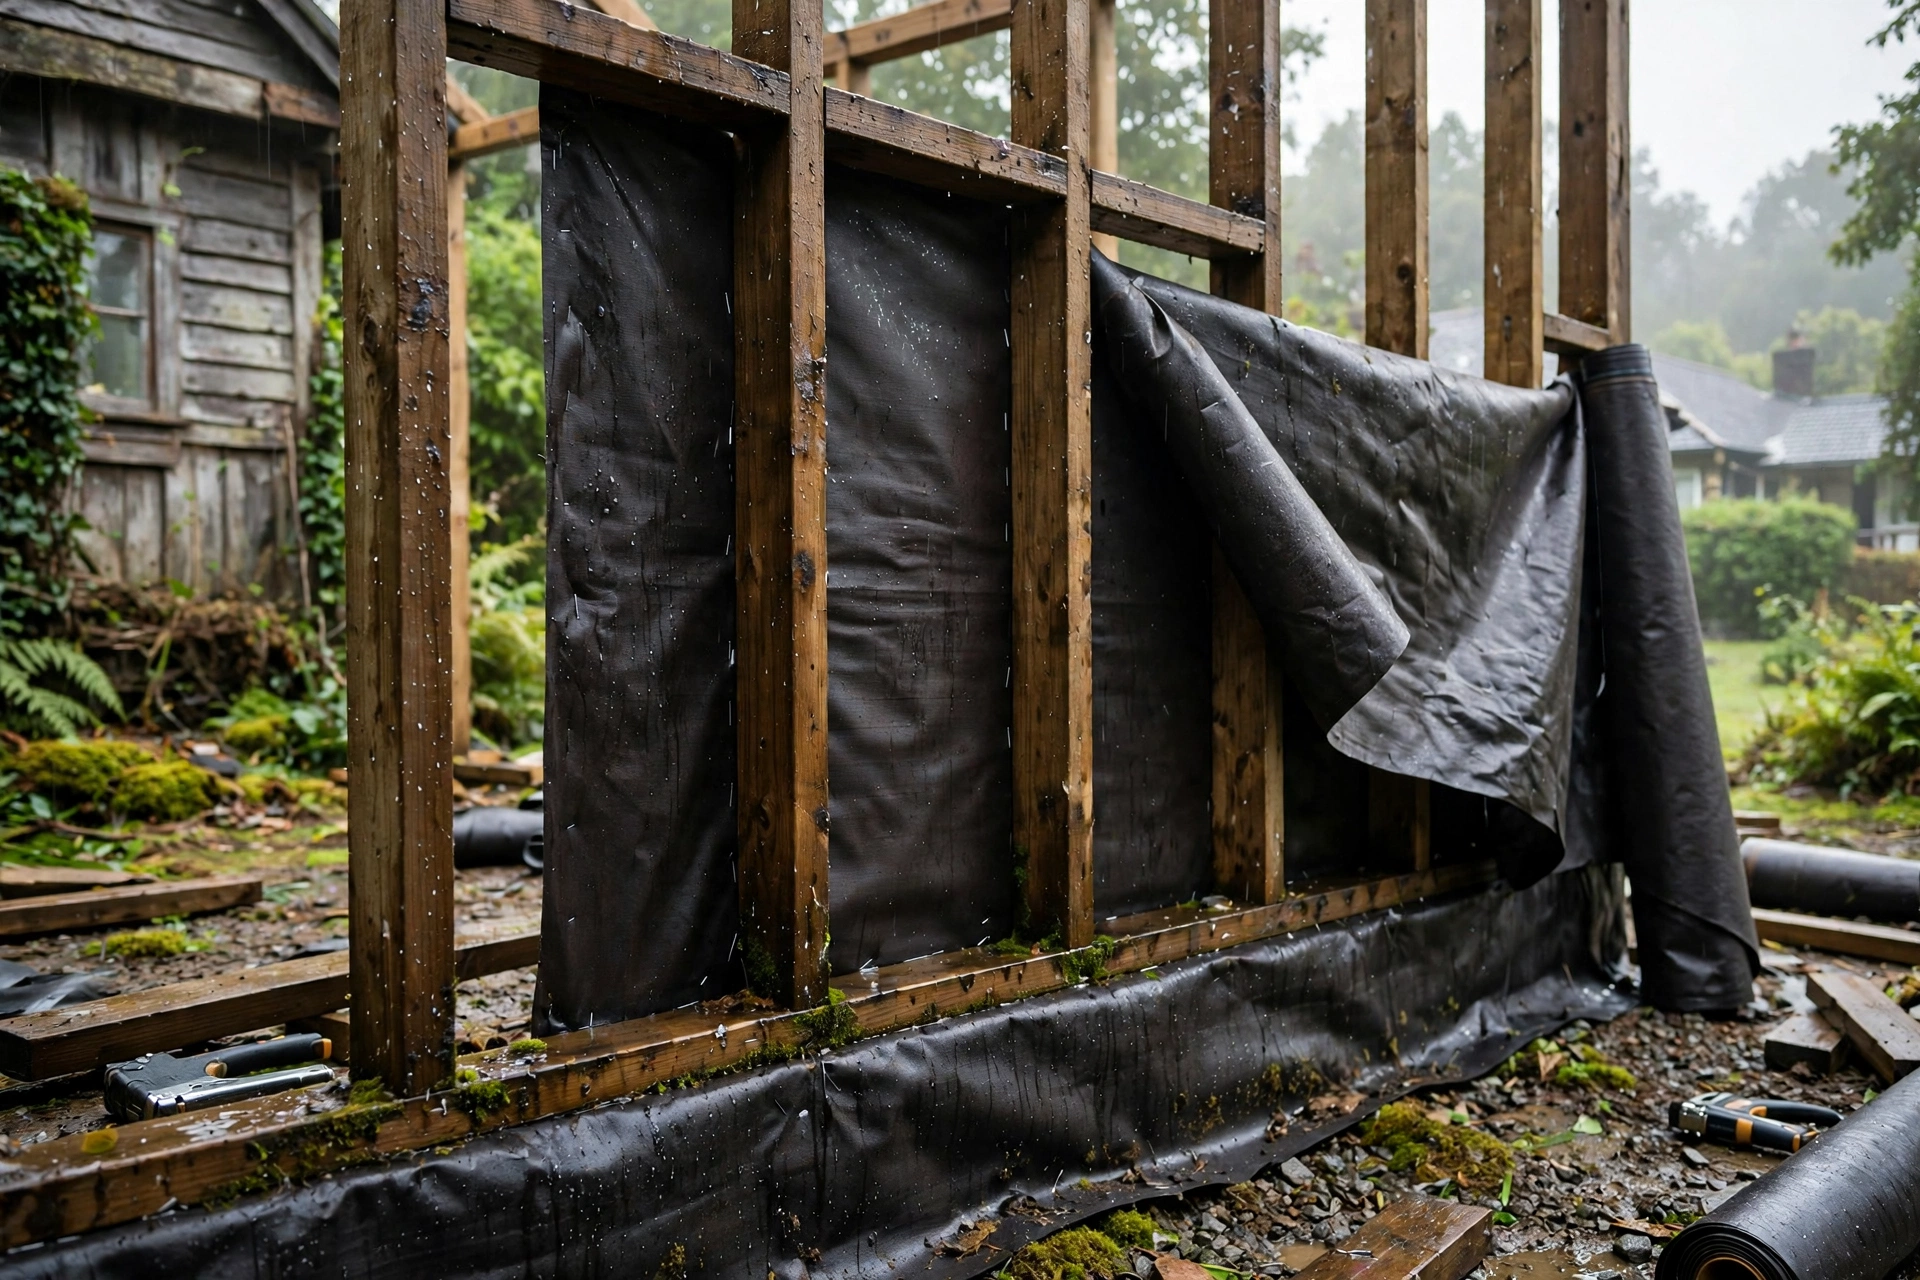
The best moisture barrier for a wooden structure is the one matched to the location, the climate, and the way water actually reaches the wood. In most damp homes that means heavy polyethylene sheeting in crawl spaces, a vapour control layer on the warm side of walls, and a self-adhering membrane where wood meets soil or masonry. No single product protects every part of a house, and a barrier installed in the wrong place can trap moisture instead of stopping it. This guide matches each barrier to its job, explains the perm ratings that decide which one to use, and shows how barriers and drainage work together.
What Exactly Is a Moisture Barrier, and What Does It Do?
A moisture barrier, also called a vapour barrier or vapour retarder, is a material that slows or stops water vapour and liquid water from passing through a wall, floor, or roof assembly. It protects wooden structures in two ways: it keeps outside moisture from soaking into framing and floor joists, and it keeps warm indoor moisture from condensing inside cold wall cavities. Without it, wood absorbs moisture, and once wood moisture content stays above roughly 20 percent for long enough, fungi move in and rot begins.
Barriers are rated by permeability, measured in perms, which describe how much water vapour passes through a material. The lower the perm rating, the less vapour gets through. Understanding this single number is the key to choosing correctly, because the right barrier in one climate can be the wrong barrier in another, and the wrong choice can trap moisture inside the wall it was meant to protect.
Where Damp Attacks Wooden Structures First
Damp rarely attacks a house evenly, and knowing its favourite entry points tells you where barriers matter most. The base of the walls is first: timber sitting close to the ground absorbs splash water and rising damp, which is why wooden walls should stand on a masonry base with the timber well above finished ground. Crawl spaces come next, where bare earth releases ground moisture straight into floor joists, and then basements, where moisture wicks through concrete and into any wood in contact with it.
- Wall bases and bottom plates, where splash water and rising damp meet untreated timber.
- Crawl spaces, where ground moisture rises into joists, beams, and subflooring.
- Basement rim joists and sill plates, where concrete meets wood.
- Bathroom and kitchen walls, where indoor steam condenses inside cold cavities.
- Roof edges and valleys, where leaks soak rafters and top plates before anyone notices.
Vapour Barrier Classes and Perm Ratings Explained
Moisture barriers fall into three classes based on permeability. Class I barriers are the most impermeable, at 0.1 perms or less, and include polyethylene sheeting, rubber membranes, sheet metal, and glass. They are the right choice where you need a near-total block, such as under a concrete slab or over a crawl space floor. Class II barriers, between 0.1 and 1.0 perms, include kraft-faced insulation and some vapour-retarder paints, and they suit many wall assemblies. Class III barriers, between 1.0 and 10 perms, include house wrap, gypsum board, and brick, which slow vapour without stopping it.
The rule that ties it together is simple: make the inside of a wall more vapour-tight than the outside, so moisture can dry outward instead of being trapped. In cold climates the barrier goes on the warm, interior side of the insulation. In hot, humid climates it goes on the exterior side. Getting this backwards is the classic moisture-barrier mistake, and it is why a product that works perfectly in one region can cause rot in another.
Installing Barriers in Crawl Spaces and Basements
Crawl spaces are the highest-value place to install a barrier, because bare earth is a constant source of moisture. The work follows a clear sequence:
Clear the crawl space of debris, sharp stones, and old insulation that could puncture the membrane.
Lay heavy-duty polyethylene sheeting, usually 20 mil for a durable job, over the entire floor, overlapping seams by at least 12 inches.
Run the sheeting 6 inches up the foundation walls and seal the seams and edges with compatible tape.
Seal around piers, pipes, and posts with tape and mastic so ground moisture has no path past the barrier.
Add a dehumidifier or sealed vents where the climate calls for it, and check the space twice a year for tears or standing water.
In basements, the barrier usually goes under the concrete slab as polyethylene sheeting laid before the pour, which stops ground moisture from wicking up into the slab and anything built on it. For existing basements, a barrier on the interior wall must be paired with drainage, because a barrier alone against a wet wall simply hides the water. Rim joists deserve special attention: seal and insulate them with rigid foam or spray foam, since they are a common condensation point where cold concrete meets warm indoor air.
Barrier Placement by Climate: Cold, Mixed and Hot-Humid
Climate decides which side of the wall the barrier belongs on, and this is where most DIY jobs go wrong. In cold climates, indoor air is warm and moist while the outside is cold, so the vapour drive pushes outward and the barrier belongs on the interior, warm side of the insulation. In hot, humid climates the drive reverses: outdoor air is warm and moist, so the barrier belongs on the exterior side, and an interior polyethylene sheet can trap moisture inside the wall.
Mixed climates are the hardest, because the vapour drive changes direction with the seasons. There, a Class II vapour retarder, or a smart membrane that changes permeability with humidity, is often the safer choice than a strict Class I sheet. Local building codes usually specify the correct approach for your climate zone, and following them is the simplest way to avoid a costly mistake. If your area has termites, remember that soil treatments and termite shields at the base of walls matter too, since damp wood is exactly what termites look for.
Polyethylene, Membranes and Liquid-Applied Barriers Compared
Polyethylene sheeting is the cheapest and most widely used barrier, and 6-mil poly is the common minimum, though 20-mil is far more durable in crawl spaces where the membrane gets walked on. Its weakness is seams and penetrations: every joint must be overlapped and taped, or vapour will find the gaps. Self-adhering modified bitumen membranes, often called peel-and-stick, cost more but seal tightly around fasteners and conform to awkward shapes, which makes them the best choice where wood meets soil, masonry, or retaining walls.
Liquid-applied barriers, including rubberized asphalt and brush-on coatings, form a seamless layer with no joints at all, which is ideal for complex details and repairs. Their weakness is thickness control: a coat applied too thin will not perform, so follow the manufacturer’s coverage rate and apply the specified number of coats. For most homeowners the practical rule is simple: use polyethylene where the area is large and flat, membranes where the detail is tricky, and liquid coatings where seams are the enemy.
Barriers Plus Drainage: Why One Without the Other Fails
A moisture barrier stops vapour, but it does nothing about liquid water under pressure, and that is why barriers fail when they are installed without drainage. Water accumulating behind a barrier creates hydrostatic pressure that will find any weakness, and a barrier that holds water against wood can keep it wetter than no barrier at all. Every barrier needs a drainage path on the wet side: gutters and downspouts that discharge away from the house, soil graded away from the walls, and French drains or perimeter drains where groundwater is a problem.
What Moisture Barrier Work Costs in Broad Terms
Costs depend on area, access, and material choice, so use these as broad planning ranges only. Polyethylene sheeting is inexpensive, often well under a dollar per square foot in materials, and a DIY crawl space encapsulation for a typical home usually runs into the low thousands including tape, fasteners, and a dehumidifier. Self-adhering membranes cost several times more per square foot, and liquid-applied coatings sit in between, with labour a significant share where surfaces need preparation.
Professional crawl space encapsulation, including a heavy membrane, sealed seams, and a dehumidifier, commonly runs into the mid thousands for an average home, while a full basement waterproofing system with exterior membrane and drainage can reach well into five figures. Get quotes that list the membrane type and thickness, seam treatment, and drainage provisions separately, because a cheap quote that skips seam sealing or drainage is not a bargain. The barrier is only as good as its weakest joint.
Moisture Barrier Installation Errors That Trap Water Inside
The most damaging error is putting a Class I barrier on the wrong side of the wall for your climate, which traps moisture inside the assembly instead of letting it dry. The second is leaving seams untaped or penetrations unsealed, since vapour takes the easiest path and a barrier with gaps is barely a barrier at all. A third is laying a membrane over wet timber and closing it in, which seals the moisture inside the wall where fungi can work undisturbed.
- Installing a vapour-tight sheet on the wrong side for the local climate.
- Skipping seam tape or leaving pipe and wire penetrations unsealed.
- Covering wet or dirty timber instead of drying and cleaning it first.
- Puncturing the membrane with fasteners and never sealing the holes.
- Forgetting drainage, so the barrier holds water against the wood it should protect.
When Damp Wood Means Calling a Specialist
Most barrier work is straightforward DIY, but some damp problems need a professional diagnosis first. Call a specialist if you find wood moisture content consistently above 20 percent, visible fungal growth or fruiting bodies, sagging floors or joists, or a musty smell that persists after basic drying. These signs can mean rot, insect damage, or a hidden leak that a barrier alone will not fix, and covering the problem can make it worse.
Also call a professional if the house has structural timber in contact with soil, if a basement leaks every time it rains, or if you suspect a failed damp-proof course in an older home. A damp survey, a moisture meter reading taken properly, and a drainage assessment will identify the source before any barrier goes in. Barriers treat the symptom of moisture movement; a specialist finds the source, and that order matters.
Moisture Barrier Questions Homeowners Ask Most
Do I need a moisture barrier in a dry climate?
Usually yes in specific places, even in dry climates. Ground moisture under a slab or in a crawl space exists almost everywhere, and bathrooms and kitchens generate indoor steam in any climate. The barrier type may be lighter, but the vulnerable locations still need protection.
Can a moisture barrier cause mould?
Yes, if it is installed on the wrong side for the climate or over wet timber. A barrier that traps moisture inside a wall creates exactly the damp, still conditions mould needs. Correct placement and dry timber before installation prevent this.
What thickness of polyethylene should I use in a crawl space?
A 20-mil reinforced membrane is the durable choice for crawl spaces that may be entered for maintenance, while 6-mil poly is a minimum for undisturbed areas. Thicker membranes resist tears and punctures that would defeat a thinner sheet.
Should the vapour barrier go inside or outside the insulation?
It depends on climate. In cold climates it goes on the warm, interior side. In hot, humid climates it goes on the exterior side. In mixed climates a Class II retarder or a smart membrane is often the safer choice. Check your local code for your zone.
How do I know if my wooden structure has moisture damage?
Look for musty smells, discoloured or soft timber, paint that peels from the inside, and floors that feel springy. A moisture meter reading above 20 percent in structural wood is a clear warning sign that needs investigation.
Is house wrap a moisture barrier?
House wrap is a Class III vapour retarder and a weather barrier, not a true moisture barrier. It slows vapour and sheds liquid water while letting walls dry outward, which is its job. It should not be relied on where a Class I or II barrier is required.
Final Thoughts: Dry Wood Is Strong Wood
Wooden structures fail slowly and quietly, and moisture barriers are the cheapest way to keep them dry. Match the barrier to the location and the climate, seal every seam and penetration, and never install a barrier without drainage behind it. Dry timber lasts for generations; wet timber rots in years. The barrier you install today is the reason the structure is still standing tomorrow.

