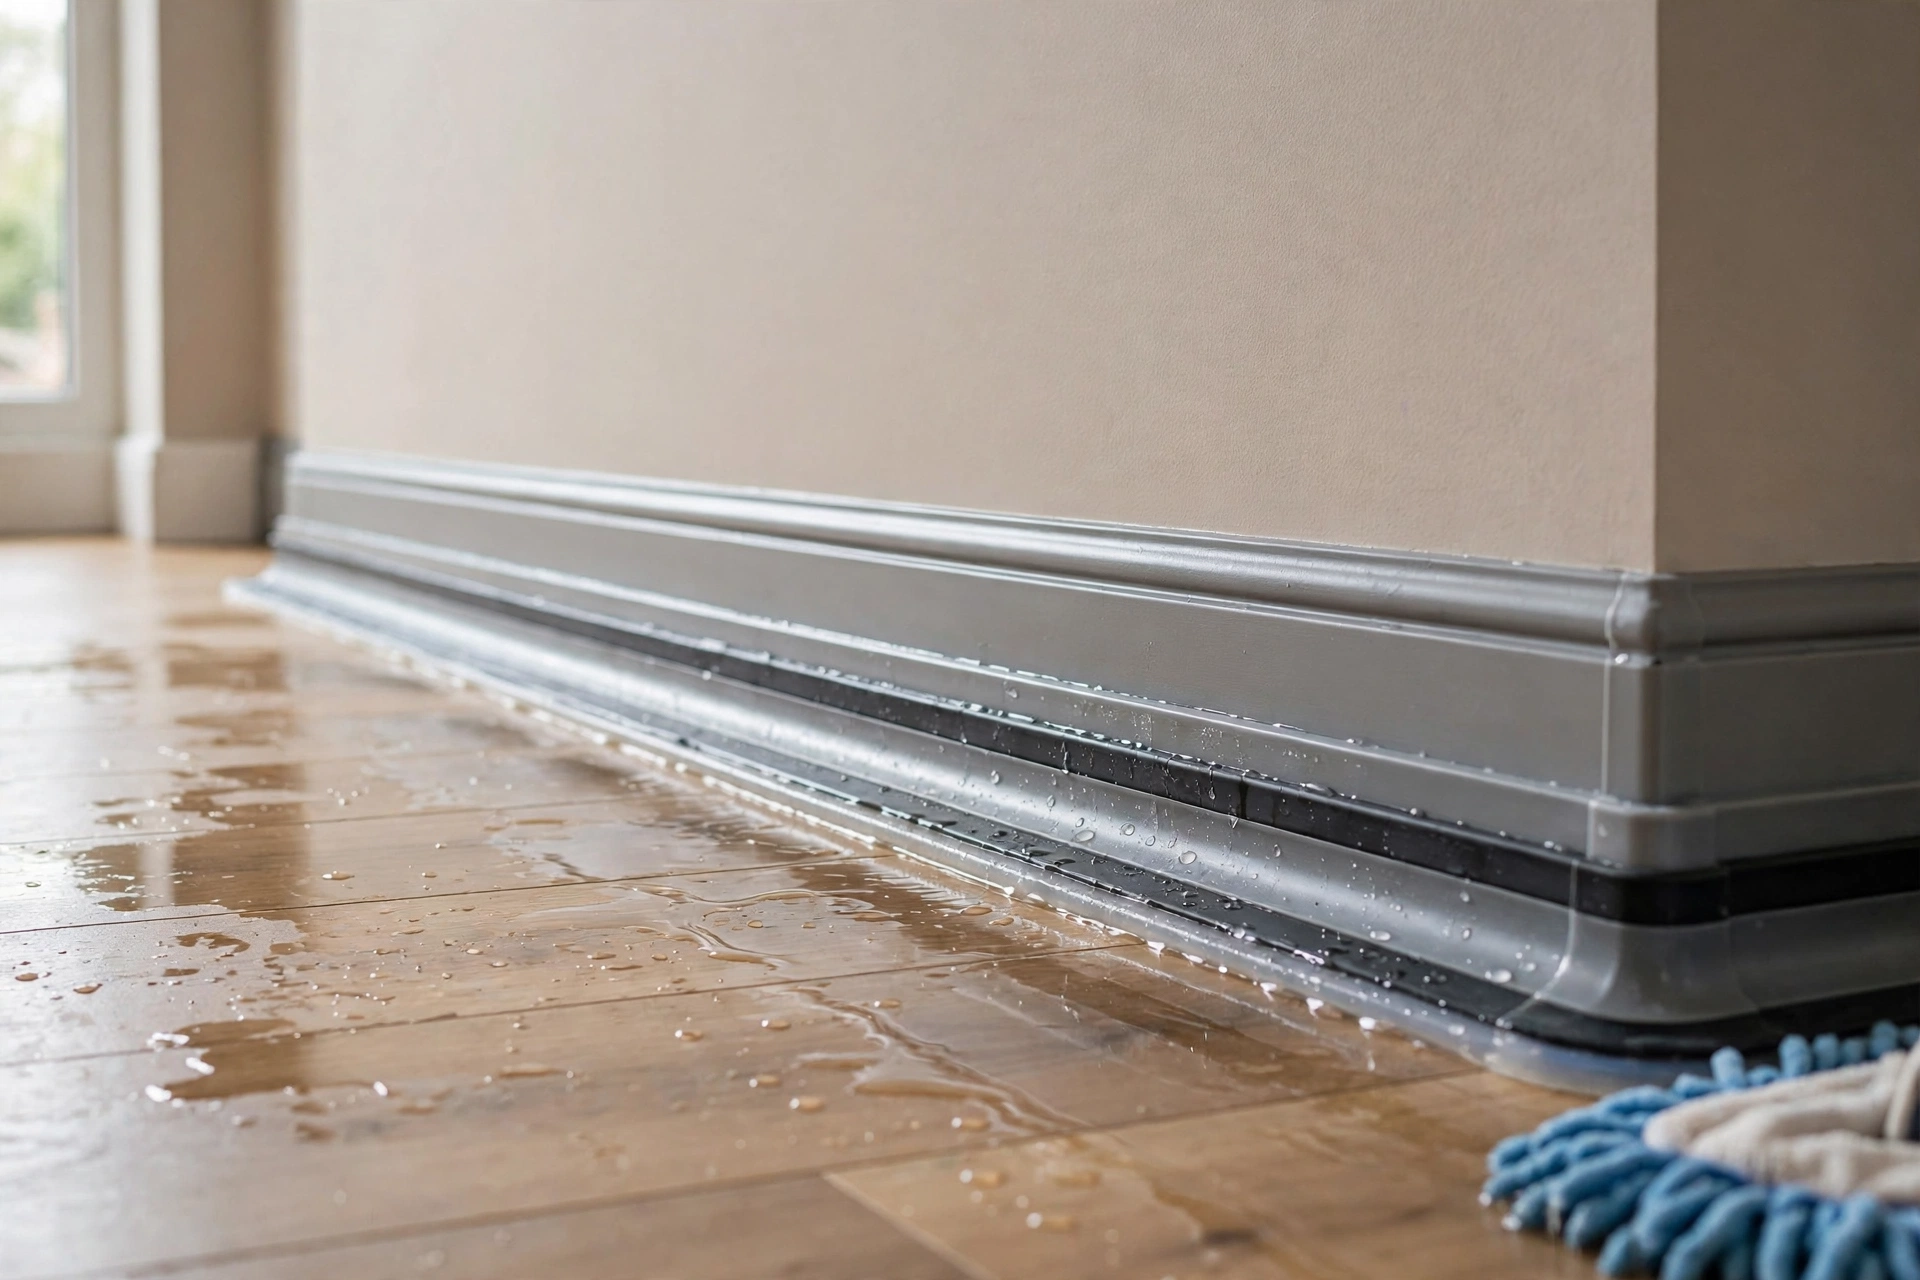
The bottom few inches of a wall take more punishment than any other part of a room. Every mop pushes dirty water against it, every vacuum bumps it, furniture scrapes it, and shoes scuff it on the way past. Over time the paint peels, the plaster softens, and damp creeps up from the floor joint into the drywall. A wall base protection system, the skirting or baseboard and the sealing behind it, is the sacrificial layer that takes this damage instead of the wall. The short answer is to choose a material that suits each room’s moisture level, seal the floor-to-wall joint properly, install it with fixings that allow for movement, and inspect the base of the wall as part of routine cleaning rather than waiting for the damage to show.
This guide compares the materials available for modern homes, explains how to match the protection to each room, and walks through installation, sealing, and repair. It covers kitchens, bathrooms, hallways, and living rooms, because each one damages a wall base in a different way.
Why the Bottom Few Inches of a Wall Take the Most Damage
Damage at the wall base comes from three directions at once: impact, water, and dirt. Vacuum cleaners and mops strike the same strip of wall dozens of times a year, and each knock chips a little more paint or plaster. Cleaning water runs down to the floor joint and sits there, wicking upward into porous plaster and drywall through capillary action. Dust and grit collect in the joint itself, holding moisture against the wall long after the floor has dried.
The damage is slow, which is why it is usually ignored until it is obvious. A small paint chip becomes a soft patch, the soft patch becomes a stain, and the stain becomes a section of skirting that has pulled away from the wall because the plaster behind it has failed. Replacing a length of skirting is a small job; replastering the bottom of a wall and repainting the room is not. Protection at the base exists to keep the first problem from becoming the second.
Which Materials Actually Stand Up to Mops, Vacuums, and Spills
Not all skirting materials handle water equally, and the wrong choice in a wet room will fail within a year or two. Untreated timber and MDF swell, warp, and rot when they absorb cleaning water repeatedly, while tile, PVC, aluminium, and stone barely notice it. The trade-off is appearance and cost: timber looks warm and traditional, metal looks sharp and modern, and tile matches a tiled floor perfectly but is unforgiving to install.
| Material | Moisture Resistance | Best Rooms | Maintenance |
|---|---|---|---|
| Timber skirting | Moderate, needs sealing | Bedrooms, living rooms | Repaint and reseal periodically |
| MDF skirting | Poor unless moisture-rated | Dry rooms only | Replace if it swells |
| PVC skirting | High, fully waterproof | Kitchens, baths, utility rooms | Wipe clean, no painting |
| Aluminium skirting | Excellent, non-porous | Hallways, entries, wet areas | Occasional damp wipe |
| Tile skirting | Excellent, fully waterproof | Bathrooms, kitchens, balconies | Clean grout, check joints |
| Stone or marble | Excellent, very durable | Entries, premium interiors | Seal occasionally |
Height matters as well as material. In most homes skirting runs between 75 and 150 millimetres high, with taller profiles in rooms with high ceilings and shorter ones in compact spaces. A taller board protects more wall but also catches more mop water at its top edge, so the top joint needs sealing just as carefully as the bottom one.
Choosing a Protection System Room by Room: Kitchens, Baths, and Hallways
Kitchens need protection that survives daily mopping, splashed cooking water, and the occasional dropped pan. Tile or PVC skirting works best here, because both can be wiped clean and neither absorbs water. In a kitchen, run the skirting behind the plinth of the units as well as along the open walls, since the hidden stretches are where leaks from a dishwasher or sink go unnoticed the longest.
Bathrooms are the wettest room in the house, and the wall base there should be treated as part of the waterproofing rather than as decoration. Tile skirting with properly filled joints is the standard choice, and it should run continuously around the room, including behind the bath and the vanity. Hallways and entries take impact rather than water, so a tough aluminium or hardwood skirting that resists scuffs and vacuum bumps earns its place there, even if it costs more than MDF.
Sealing the Floor-to-Wall Joint Against Cleaning Water and Damp
The joint where the floor meets the wall is the weakest point in the whole system, and sealing it badly is worse than not sealing it at all. The skirting itself must be fixed so its bottom edge sits tight against the floor, and the top edge should be sealed to the wall with a flexible, paintable sealant that moves with the building. A rigid filler at the top will crack within a year as the wall and floor shift with the seasons.
One joint should never be sealed: the gap between a floating timber floor and the skirting. Timber floors need an expansion gap around the perimeter to allow for seasonal movement, and the skirting covers that gap without touching the floor. Caulking this joint traps the floor, and the floor will either buckle or push the skirting off the wall. The sealant belongs at the top of the skirting and at the wall joints, not at the floor.
Installing Tile, PVC, Metal, and Timber Base Protection Properly
Good installation starts with a clean, straight wall base. Remove the old skirting, scrape off loose paint and plaster, and check the wall for damp before covering it up. A damp wall behind new skirting will keep rotting the plaster unseen, so fix the moisture source first, whether that is a leaking pipe, a failed seal, or water running in from outside.
- Tile skirting: bed each strip in adhesive, keep joints tight and grout them fully, and seal the top edge to the wall.
- PVC skirting: cut cleanly, fix with adhesive and screws, and use matching corner pieces instead of mitring every joint.
- Metal skirting: fix with screws into plugs or adhesive, keep the sections level, and protect the face from scratches during fitting.
- Timber skirting: prime all faces including the back and cut ends before fixing, so moisture cannot enter the unsealed wood.
- All types: leave the fixings slightly proud until the adhesive sets, then set them flush and fill the holes.
Measure twice and cut once is not a cliche here: skirting runs are long, corners are rarely square, and a miscut length wastes material and time. Cut internal corners as scribed joints rather than mitres where the wall is uneven, because a scribed joint stays tight even when the corner is not a true right angle.
Recessed and Flush Profiles That Keep Dirt From Collecting
Standard skirting sticks out from the wall and creates a ledge that collects dust, while recessed or flush skirting sits level with the plaster and leaves no ledge at all. Recessed aluminium profiles, often called shadow-gap skirting, are popular in modern interiors for exactly this reason: there is nowhere for dust to settle, and a vacuum passes straight along the wall without catching an edge.
Flush profiles need more planning, because the wall has to be built out or channelled to receive them, and the metal profile must be fixed before the final plaster coat. They cost more than a surface-fixed board, but in a home where the wall base is mopped daily, the absence of a dust ledge and the hard metal face repay the cost in cleaning time and in how long the finish lasts. For existing homes, a slim surface-fixed aluminium profile is a practical compromise that gives most of the benefit without rebuilding the wall.
Repairing Water-Stained and Impact-Damaged Wall Bases
Repair starts with finding the cause, because replacing skirting over an active leak only buys a few months. Check the floor joint for water entry, look behind the skirting for damp plaster, and trace any staining upward to its source, whether that is a pipe, a window, or a roof leak finding its way down the wall. Fix the source first, let the wall dry thoroughly, and only then fit the new protection.
- Swollen MDF: remove the damaged length entirely, since swollen MDF never shrinks back to shape.
- Peeling paint: scrape back to sound paint, prime the bare timber, and repaint with a moisture-resistant finish.
- Soft plaster: cut out the soft section, let it dry, patch with a suitable filler, and seal before refitting skirting.
- Loose sections: re-fix with screws and plugs rather than adhesive alone, and fill the fixing holes before painting.
- Stained grout: clean tile joints with a suitable cleaner, and re-grout any joints that have cracked or fallen out.
Where the damage keeps returning in the same spot, the protection system itself may be the wrong material for that room. A timber skirting that swells every winter in a bathroom is not a maintenance problem, it is a specification problem, and the honest fix is to replace it with tile or PVC rather than repainting it for the third time.
Matching Base Protection to Flooring Expansion and Movement
Floors move, and the wall base has to move with them or it will fail. Timber and laminate floors expand and contract with humidity, which is why the expansion gap at the perimeter exists and why the skirting must cover it without pinning the floor down. Tile floors move less, but the grout joints at the wall base still need a flexible sealant rather than a rigid fill, because the building itself shifts with temperature and settlement.
The same logic applies to the skirting fixings. Screws driven hard into a masonry wall hold well, but screws into plasterboard need proper fixings or they will pull out the first time a vacuum hits the board. Adhesive alone works on a flat, clean wall, but on an uneven wall it leaves hollow spots that sound empty when knocked and crack when bumped. The best installations use both: adhesive for a continuous bond and screws for mechanical hold.
Cleaning and Maintaining Wall Base Protection So It Lasts
Wall base protection only works if it is cleaned correctly, and the most common mistake is using too much water. Mop with a damp mop rather than a soaking one, and wring out the mop before it reaches the wall so water does not pool at the floor joint. After mopping a wet room, run a dry cloth along the top edge of the skirting to pick up the water that collects there, since that thin line of standing water is what softens paint and swells timber over time.
Inspect the base of every wall twice a year as part of a normal home check. Look for paint lifting at the top edge, gaps opening at the joints, soft spots in timber or MDF, and grout cracking in tile skirting. Touch up sealant where it has shrunk, tighten any loose screws, and repaint timber skirting before the bare wood is exposed to a wet season. These are all ten-minute jobs when caught early, and they are what keep a protection system working for decades instead of failing in five years.
Wall Base Protection FAQs: Materials, Heights, and Maintenance
What height should skirting be in a normal room?
In most homes skirting runs between 75 and 150 millimetres high. Taller rooms suit taller profiles, and smaller rooms suit shorter ones. The height is a design choice, but the protection value comes from the material and the sealing, not from the extra centimetres.
Can I use MDF skirting in a bathroom?
Standard MDF should not be used in bathrooms or other wet areas, because it swells and rots when it absorbs water. Moisture-resistant MDF is better, but tile, PVC, or aluminium will last longer and need less maintenance in a room that is mopped and splashed daily.
Should I caulk the joint between the skirting and the floor?
No, not where a floating timber floor is involved. That gap must stay free so the floor can expand and contract with the seasons. Seal the top edge of the skirting to the wall instead, and leave the floor joint open behind the skirting.
Why does paint keep peeling at the bottom of my walls?
Peeling paint at the wall base usually means moisture is wicking up from the floor joint or through the plaster. Check for leaks, improve the sealing at the floor joint, and make sure the skirting material suits the room’s moisture level before repainting.
Is recessed skirting worth the extra cost?
In a new build or a major renovation, yes, because it removes the dust ledge, protects the wall base with a hard metal face, and gives a clean modern finish. In an existing home it is harder to justify, and a slim surface-fixed aluminium profile gives most of the practical benefit for less work.
Final Thoughts: A Wall Base Built to Survive Daily Cleaning
The wall base is the hardest-working strip in any room, and it deserves to be specified like it matters. Choose the material for the room’s moisture, not for the showroom, seal the top joint and leave the floor joint free to move, and fix the protection properly the first time. Then keep an eye on it during routine cleaning, because a small stain or a loose section caught early is a ten-minute repair, while the same fault ignored for a year is a replastering job. Build the base to survive daily cleaning, and the rest of the wall will take care of itself.

