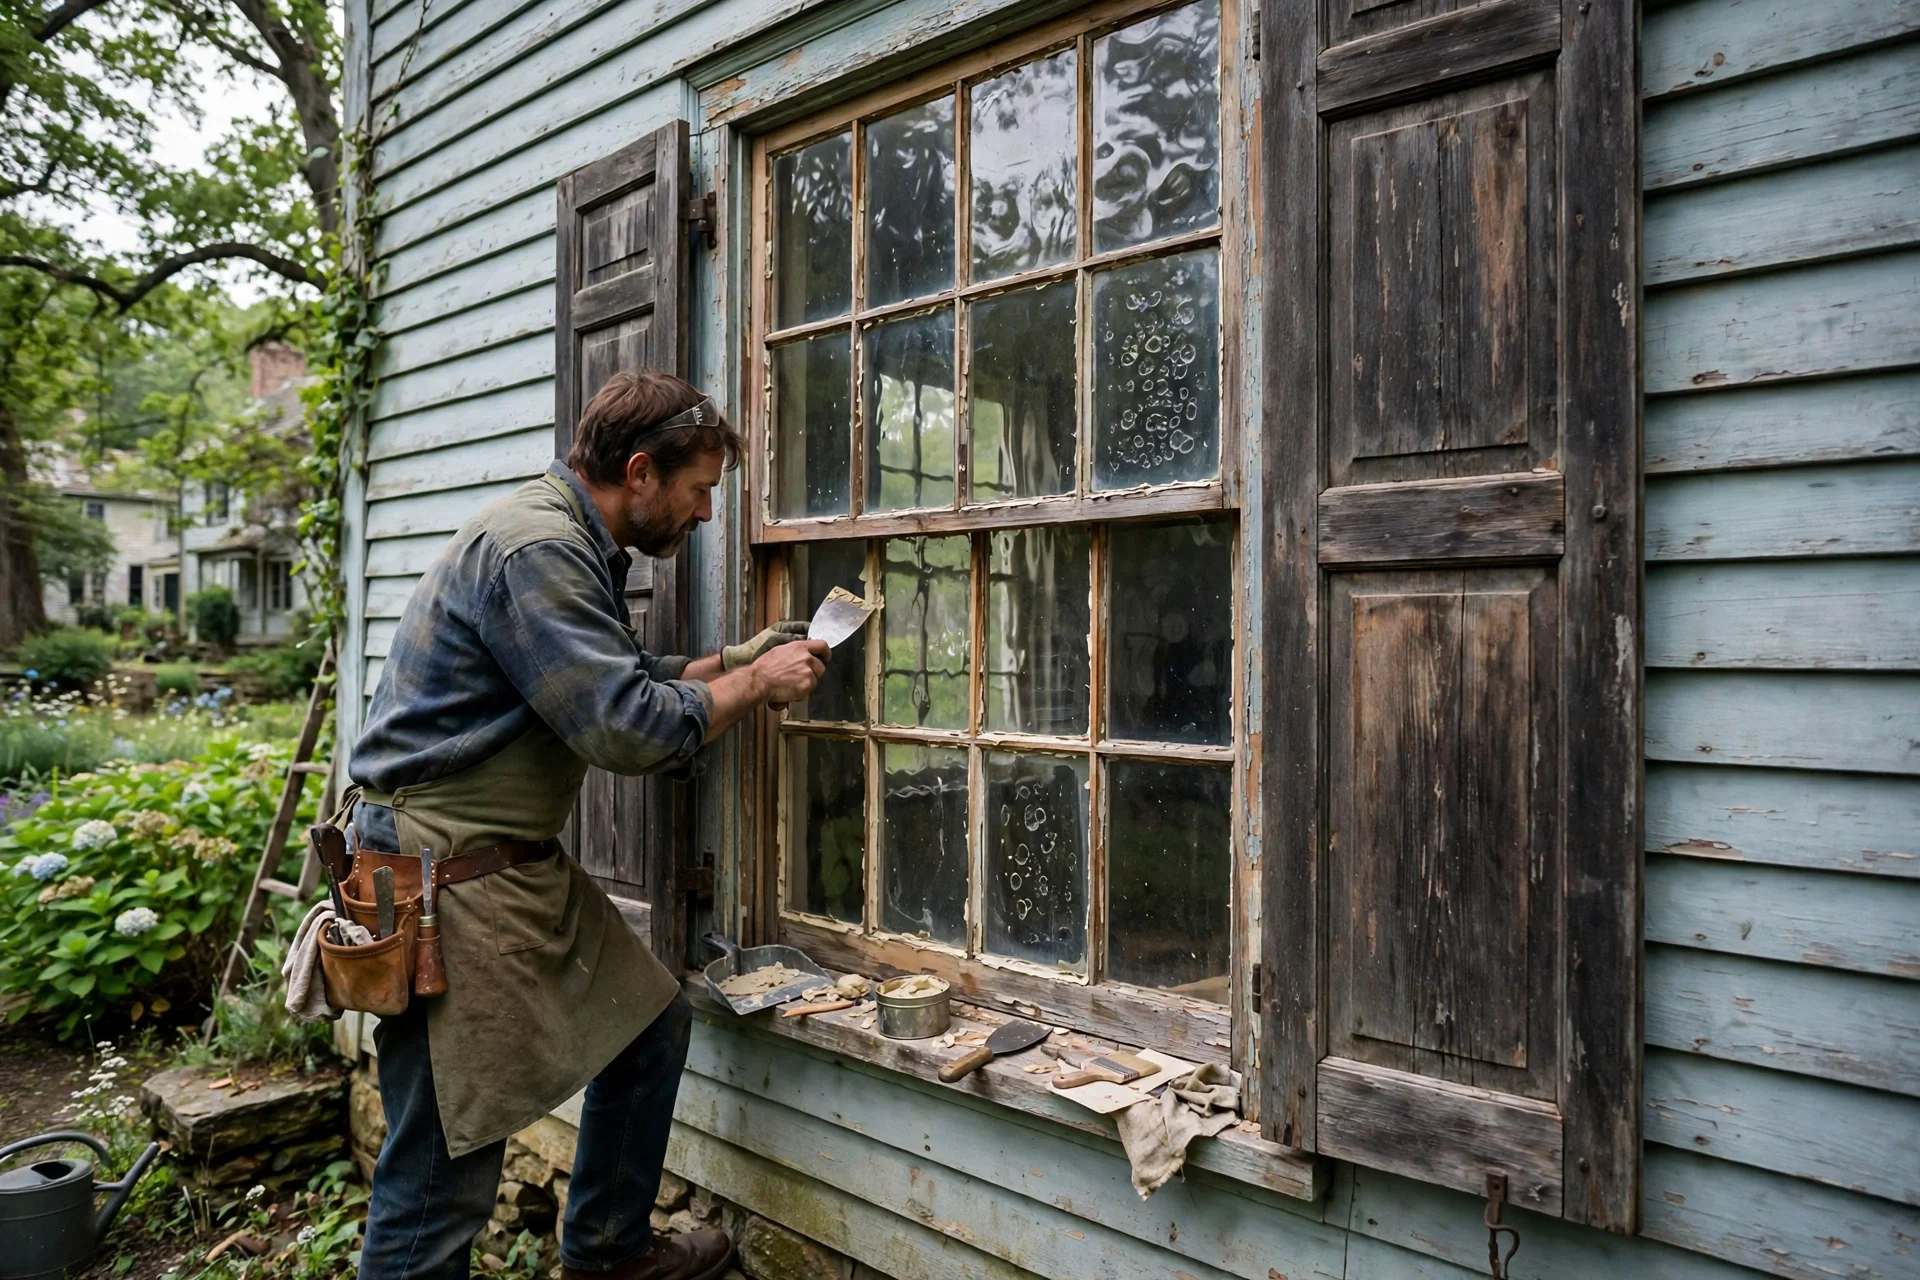
Original wood windows in a historic home are usually worth restoring, not replacing. The sash was cut from old-growth timber far denser than anything milled today, and it is routinely still sound after a century once the paint seal is cut and the cords are renewed. Restoration means repairing the sash, reglazing the original glass, rebuilding rotted sections with matching wood, and renewing the cords, pulleys, and hardware, so the window keeps working and keeps the character of the house intact.
This guide walks through the full process: assessing what can be saved, removing and stripping the sash without damaging it, splicing out rot, reglazing period glass, re-cording the weights, and sealing drafts the period way. It also covers lead paint safety, the cost range to expect, and the mistakes that erase the very character the restoration was meant to preserve.
Why Original Wood Windows Outlast Their Replacements When Maintained
Old windows are often the most distinctive feature of a historic home. They frame the view, regulate light, and contribute to the building’s character in a way no stock replacement unit can match. But the case for restoration is practical as well as aesthetic: the timber in a pre-war sash grew slowly over centuries, making it dense, stable, and resistant to rot in a way modern fast-grown pine simply is not. A sash that has survived eighty to one hundred and twenty years has already proven its durability.
Replacement windows, by contrast, are built to a price and a warranty period, not to a century. Their vinyl or composite frames cannot be repaired in the same way, their sealed glass units fog and fail, and their proportions rarely match the original openings, which is why a replacement often looks visibly wrong in a period facade. Restoring the originals is usually both cheaper over the life of the house and truer to the architecture, provided the sash is not rotted through beyond repair.
What Makes a Period Window Worth Restoring Instead of Replacing
Not every old window deserves saving, and the first job is an honest assessment. A sash with sound stiles and rails, a frame that is square, and glass that is intact or repairable is an excellent candidate.
- Old-growth timber: dense, stable, and repairable in ways modern stock is not.
- Period glass: wavy, hand-blown, or crown glass that cannot be bought off the shelf.
- Original hardware: brass lifts, cast iron pulleys, and mortise locks made to be serviced.
- Proportions: tall, narrow openings that stock replacements rarely match.
Reading the Damage: Rot, Failed Glazing, Broken Cords, and Loose Joints
Historic wood windows fail in specific, predictable ways, and every one of those failure modes has a correct restoration response that does not require replacing the original frame or glass. The skill is in reading the damage accurately before picking up a tool, because each failure points at a different repair and a different cost.
| Failure | What You Will See | Restoration Response |
|---|---|---|
| Failed glazing | Cracked or missing putty, loose glass | Reglaze with oil-based compound on a primed rebate |
| Frame rot | Soft timber at the sill or bottom rail | Cut out rot, borate treatment, epoxy rebuild or splice |
| Broken sash cords | Dropped sash that will not stay up | Re-cord with new cord and the original weights |
| Painted-shut sash | Sash sealed by layers of paint | Cut the paint seal, free the sash, strip and repaint |
| Cracked period glass | A broken pane in an otherwise sound sash | Fit matching wavy or relic glass in the same rebate |
Start with a full frame audit of every window, not just the worst one. Note the condition of each sash, the state of the glazing, the hardware, and the sill, and photograph everything before work begins. The audit turns a vague sense that the windows are in bad shape into a list of specific repairs with a realistic order, and it stops the common error of replacing a window that needed only a new cord and a tube of glazing compound.
Sash Removal and Paint Stripping Without Damaging Old-Growth Timber
Restoration begins by getting the sash out of the frame intact. Cut the paint seal along the stops and parting beads with a sharp knife, then ease the stops out with a thin pry bar, working along the length rather than levering at one point. Label every piece as it comes out, since sashes and stops from one window rarely fit another, and a swapped stop is a common source of drafts and sticking.
Score the paint seal around the stops, beads, and sash with a utility knife.
Remove the interior stops carefully, then free the lower sash and its cords.
Unhook the cords from the weights, tie the cords off, and lift the sash clear.
Strip paint with a gentle heat gun or a chemical stripper that does not scorch the grain.
Clean the bare timber, note any rot or loose joints, and set the sash aside for repair.
Splicing Rot and Rebuilding Sills With Matching Species and Epoxy
Rot in a historic sash almost always starts where water collects: the sill, the end grain of the bottom rail, and the lower corners of the stiles. Complete replacement of the sash is rarely necessary, because rot confined to one section can be addressed properly. The damaged wood is cut back to sound timber, the remaining fibres are treated with a borate preservative, and the missing section is rebuilt, either by splicing in a piece of matching wood or by rebuilding the profile with a structural epoxy consolidant.
- Match the original species, often pine, oak, or fir, and use reclaimed wood when possible.
- Cut back to bright, sound timber; epoxy over soft wood only hides the problem.
- Apply borate treatment to the exposed fibres before rebuilding the section.
- Rebuild the profile to match the original molding, not to a convenient square edge.
The choice between a wood splice and an epoxy rebuild depends on the size and position of the damage. A splice is stronger and more authentic for a missing section of sill or rail, while epoxy is ideal for rebuilding a profile where the damage is shallow and the surrounding wood is sound. Either way, the repair must be primed and painted promptly, since bare timber and bare epoxy both absorb water and the rot will simply return to the same spot.
Reglazing Period Glass and Fitting Wavy Replacement Panes
Glazing compound is the most common failure in an original sash, typically cracking, separating, or falling out after fifteen to twenty years without maintenance. The repair is straightforward but exacting: remove the old putty with a putty knife and gentle heat, clean the rebate with a brush and mineral spirits, prime the bare wood, bed the glass in a thin bead of oil-based compound, set the pane, and tool the new putty to a clean bevel.
When a pane is cracked beyond saving, the replacement should match the original glass. Period glass is wavy and imperfect, and that waviness is part of the window’s character, so a flat modern pane in one light looks wrong against its neighbours. Hand-blown or relic glass mimics the waviness of historic panes while offering better insulation, and a good glazier can cut it to the exact rebate. Keep any sound original panes wherever possible, even if they are hazy, since original glass is irreplaceable once it is gone.
Re-Cording Weights, Fitting Hardware, and Sealing Drafts the Period Way
A double-hung sash that will not stay up almost always has a broken cord, and re-cording is one of the most satisfying repairs in the whole job. The weights sit in pockets beside the frame, and the cord runs over a pulley at the top.
Hardware follows the same principle: repair and reuse where possible, replace with period-appropriate reproduction where not. Brass sash lifts, cast iron pulleys, and mortise sash locks were made to be serviced, and reproductions in the same materials keep the window working the way it was designed to. Drafts are sealed with weatherstripping that matches the original profile, often a V-strip or tubular foam, fitted so the sash still slides freely instead of being wedged tight.
Lead Paint, Dust, and the Safety Rules Restoration Work Must Follow
Every historic window should be treated as lead-painted until testing proves otherwise, and the safety rules are not optional. Stripping, sanding, and cutting painted timber creates lead dust, which is hazardous to the worker and to everyone in the house, especially children. Work should follow EPA Lead-Safe practices: contain the work area with plastic sheeting, avoid open-flame burning and high-heat guns, use a HEPA vacuum for cleanup, and keep the area sealed until the dust is gone.
A licensed contractor should verify compliance with local building codes and hold EPA Lead-Safe Certification, and a homeowner doing the work should use the same precautions rather than treating them as professional formalities. Dust masks rated for lead, disposable coveralls, and wet methods for paint removal all reduce exposure. The rules slow the job down, but they are the reason a restoration can be done safely in an occupied home.
Restoration Errors That Erase the Character You Were Trying to Save
The saddest restoration failures are not the ones that fall apart, but the ones that succeed technically and erase the window’s character in the process. A sash that comes back square and weather-tight but fitted with flat glass, modern hardware, and a thick coat of paint over every detail has lost what made it worth saving. The goal is a window that works like new and still reads as original.
- Replacing wavy period glass with flat modern panes, which looks wrong against the surviving lights.
- Scorching the timber with a high-heat gun, which chars the grain and weakens the joints.
- Over-sanding profiles until the molding detail disappears under a smooth, featureless surface.
- Fitting modern hardware that clashes with the period and cannot be serviced the same way.
- Painting the sash shut again by bridging the gaps with thick paint instead of fitting stops correctly.
Final Thoughts: Windows That Keep a Historic Home’s Face Intact
Restoring original wood windows is slow work, and it rewards patience more than any other trade in the house. A typical project runs three to five days for an average eight-to-twelve-window home, and costs commonly fall in the broad range of a few hundred dollars per window depending on the extent of the damage and the materials involved.
Historic Wood Window Restoration Questions Answered Before You Start
Is it cheaper to restore or replace old wood windows?
Restoration is usually cheaper, especially when the sash is sound and the work is limited to reglazing, re-cording, and minor rot repair. Replacement costs more per window, and the new unit rarely matches the original proportions. Full restoration of a badly rotted sash can approach replacement cost, which is why the frame audit comes first.
How long does window restoration take?
A typical restoration project takes three to five days for an average eight-to-twelve-window home, depending on the weather and the extent of repairs. The sash are usually removed and restored in a workshop, then rehung, so the house is never left open for long.
Can original wavy glass be saved?
Yes, in most cases. Sound original panes should be kept even if they are hazy, since period glass is irreplaceable once removed. Only cracked panes need replacement, and they should be replaced with hand-blown or relic glass that matches the waviness of the originals.
Do restored windows perform as well as new ones?
A restored sash with new weatherstripping, tight glazing, and a properly fitted storm window performs close to a modern unit, and often better than a cheap replacement. The combination of a restored original sash and a storm window is a proven approach in preservation work, delivering most of the energy benefit without losing the period character.
Is lead paint a problem during restoration?
Yes, and it must be handled properly. Most pre-1978 paint contains lead, and stripping it creates hazardous dust. Work should follow EPA Lead-Safe practices, with containment, HEPA cleanup, and no open-flame burning. A licensed, Lead-Safe Certified contractor should verify compliance with local codes.
When should a historic window be replaced instead of restored?
Replacement is the right call when the sash is rotted through multiple members, the frame has lost its shape, or the glass and hardware are gone beyond matching. Even then, the replacement should match the original proportions, materials, and glazing pattern as closely as possible, rather than being a stock unit forced into a period opening.

