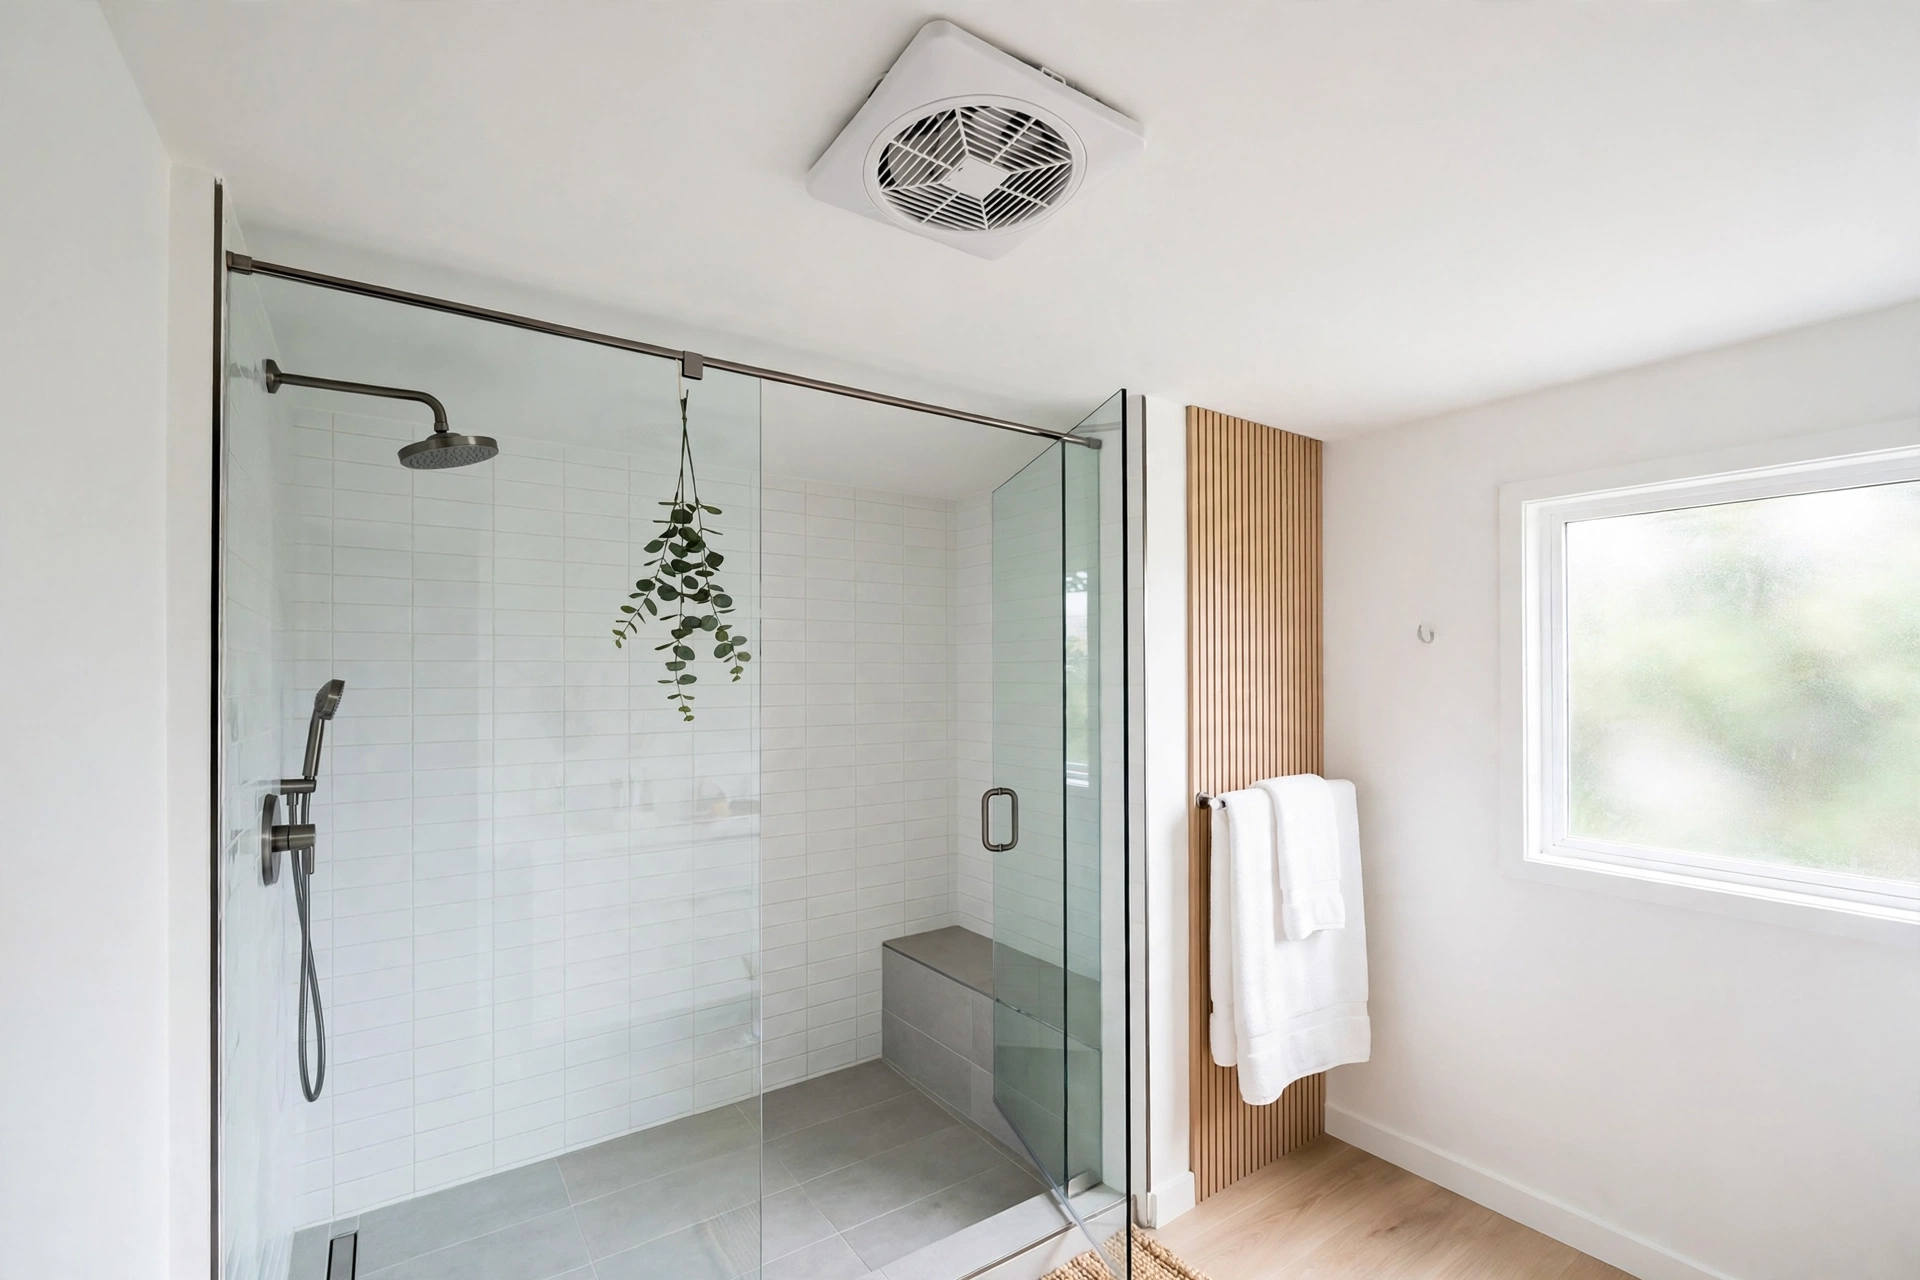
Water dripping from a bathroom exhaust fan, or staining the ceiling around it, is alarming, and it is easy to assume a major roof repair is needed. In many homes the cause is far simpler: warm, moist shower air condenses inside a cold duct, or a small seal, damper, or vent cap has failed and lets water back into the system. Both problems can often be fixed without tearing out ceilings or replacing the roof, provided you first identify which one you are dealing with. That diagnosis is the most important step, because condensation and a roof leak need different fixes.
The short answer is to stop the water at its source: insulate and slope the duct correctly to prevent condensation, seal joints and the ceiling penetration properly, and repair or replace a faulty vent cap, damper, or flashing. Use the fan correctly, keep it running long enough after showers, and check the attic side if you can access it safely. Most fan leaks respond to those targeted repairs, and you should only consider larger renovation when the leak is actually coming from the roof structure, plumbing, or widespread ceiling damage.
Telling Fan Condensation Apart From a Roof Leak Around the Fan
Timing is your best clue. Condensation usually appears during or shortly after hot showers, especially in cold weather, when warm moist air meets a cold duct in an unconditioned attic. The drip is often clear water, intermittent, and linked to bathroom use. A roof leak, by contrast, often appears during or after rain, regardless of whether the shower has been used, and may show as a growing stain, discoloured water, or dampness that persists in dry, unused periods. Note when the leak happens for a few days before you start work, because that pattern points directly to the cause.
Location helps too. Condensation water typically drips from the fan grille or pools inside the duct and housing, while a roof or flashing leak often wets the drywall around the fan, the attic insulation above it, or timber near the roof penetration. If you can safely access the attic, look for wet insulation, stained wood, or water tracks following the duct, but do not walk on ceiling plasterboard or disturb insulation unnecessarily. If water is near wiring, pooling inside the fan housing, or you see signs of electrical damage, switch the fan off at the breaker and get professional advice before touching it further.
First Steps When Water Appears Around a Bathroom Exhaust Fan
Start by protecting the room and making the situation safe. Place a towel or container under the drip, dry the grille and surrounding ceiling gently, and photograph stains so you can tell whether they are growing. Check whether the fan still runs normally, whether the grille is blocked with dust, and whether the bathroom door or window habits have changed. A fan that is rarely used, or switched off immediately after a shower, allows moist air to sit in the duct and condense, so running the fan during and for a sensible period after showers is part of the fix, not just a habit to ignore.
Do not seal the fan shut or block the vent to stop a drip, because that traps moisture in the bathroom and duct, encouraging mould and damage elsewhere. Similarly, do not paint over a stain without finding the source, because the water will return and the stain will reappear, often larger.
Insulating a Bathroom Fan Duct So Warm Air Does Not Turn to Water
In a cold attic, an uninsulated duct is a condensation machine. Warm, humid bathroom air travels through a cold duct, cools below its dew point, and turns to water that runs back toward the fan. Insulating the duct keeps its inner surface warmer, so humid air is more likely to reach the outside before condensing. Use insulated ducting rated for bathroom fans, or wrap existing rigid duct with foil-faced duct insulation, sealing seams with foil tape, and keep insulation continuous along the whole run through unconditioned space.
Duct type matters as well. Smooth rigid metal duct, correctly sized and supported, moves air efficiently and resists sagging, while flexible duct must be kept short, pulled reasonably taut, and supported so it does not form low bellies where water can pool. Avoid long, sagging, or crushed flex runs, and avoid sharp bends that restrict airflow. If the existing duct is damaged, kinked, or undersized for the fan, replacing that section with correctly sized, insulated duct is often a better fix than adding insulation over a poor run. Keep the duct as short and straight as practical to the outside termination.
Sloping, Sealing, and Supporting a Fan Duct to Drain Water Outward
Even a well-insulated duct can produce a small amount of condensation, so slope matters. The duct should fall continuously toward the outside vent, so any water drains out rather than back into the fan housing. A common guideline is a gentle, continuous fall, often around an eighth of an inch per foot, but the key principle is no low spots, no bellies, and no uphill sections. Support the duct at intervals so it holds that slope, and check that supports have not slipped or that insulation has not weighed a flex run down into a sag.
Seal every joint properly, because warm air leaking from a joint into a cold attic condenses and can also carry moisture into insulation and timber. Use foil HVAC tape and suitable clamps at connections, and seal the ceiling penetration around the fan housing where it meets drywall, using appropriate sealant for the materials involved. Do not use ordinary cloth duct tape for duct joints, because it can fail with heat and moisture. A sealed, sloped, supported duct is far less likely to drip, and it also improves fan performance, because less air is lost before it reaches outside.
Vent Caps, Dampers, and Flashing That Let Rain Into a Fan Duct
The outside end of the system deserves as much attention as the duct itself. A vent cap or wall hood that is cracked, blocked, or missing its damper flap can let rain, wind-driven water, and cold air back into the duct. Check the termination from outside where safe, looking for damage, debris, bird nests, or a damper that is stuck open or closed. A damper that does not close allows cold air and moisture to enter, while one that does not open restricts airflow and traps humidity. Replacing a damaged cap or damper is usually a modest repair compared with ceiling work.
Where the duct passes through the roof, flashing seals the penetration against rain. Failed, lifted, or cracked flashing can let water follow the duct into the ceiling, and that leak will often appear around the fan even though the fan itself is sound. Roof flashing work involves working at height and around roofing materials, so it is not a job to improvise without proper access and safety equipment. If you suspect flashing failure, especially after storms or on an older roof, get a roofing professional to inspect it. Fixing flashing correctly is far cheaper than repeatedly repairing ceiling damage caused by an unresolved roof leak.
Fan Size, Run Time, and Bathroom Humidity Habits That Prevent Drips
A fan that is too small, too weak, or switched off too soon cannot clear shower moisture before it condenses. Check that the fan is rated appropriately for the bathroom size and that it actually moves air, by holding a tissue near the grille while it runs. Clean the grille and fan blades regularly, because dust build-up reduces airflow noticeably over time. Run the fan during showers and for a sensible period afterwards, often twenty minutes or so depending on the bathroom and fan, or use a timer or humidity-sensing control if your fan supports one.
Repairing Ceiling Stains and Checking for Mould After a Fan Leak
Once the leak source is fixed, ceiling stains still need attention. Small, dry stains can often be cleaned, primed with a stain-blocking primer, and repainted, but only after the area is fully dry and the source is confirmed fixed. Larger stains, soft or sagging drywall, or any sign of mould need more care. Do not sand or disturb large areas of suspected mould without proper protection and advice, and do not simply paint over active mould, because it will return and may affect indoor air quality.
Check the attic side as well if you can do so safely, looking for wet insulation that needs drying or replacement, and for timber that has stayed damp. Wet insulation loses performance and should be dried or replaced, not left in place hoping it will recover. If mould is extensive, if drywall is sagging, or if the leak has affected wiring, insulation, or structure, bring in a professional. Ceiling repair after a fan leak is usually straightforward once the source is fixed, but it should never be used to hide an unresolved leak.
When a Bathroom Fan Leak Needs a Professional, Not a DIY Fix
Some fan leaks are beyond sensible DIY repair. Call a professional if water is near wiring or the fan motor, if the roof flashing or vent cap needs roof work, if plumbing above the bathroom is suspected, if the ceiling is sagging or extensively damaged, or if mould is widespread. Electrical work, roof work at height, and structural repairs all carry risks that outweigh the saving from a DIY attempt. A professional can also confirm fan sizing, duct routing, and ventilation compliance where local rules apply.
Safety throughout is simple: switch off power at the breaker before removing a fan grille or housing, use a stable ladder and proper attic access, and do not walk on ceiling plasterboard. Keep tools and materials clear of wiring, and stop if you find damaged wiring, asbestos-containing materials, or structural damage you do not understand. A short professional visit to diagnose a tricky leak is often the fastest route to a lasting fix, and it leaves you with a system you can then maintain confidently yourself.
Final Thoughts: Stop Bathroom Fan Leaks by Fixing Condensation, Seals, and Venting
Stopping water leaking around a bathroom exhaust fan without major renovation comes down to diagnosis first, then targeted fixes: insulate and slope the duct, seal joints and penetrations, repair the vent cap or flashing if needed, and run a clean, correctly sized fan long enough after showers. Most drips are condensation or small seal failures, not roof replacements, and fixing those causes protects the ceiling, prevents mould, and keeps the bathroom comfortable. Once the source is fixed and the ceiling is dry, a simple stain repair finishes the job, and regular fan and duct checks will keep it from returning.
Bathroom Exhaust Fan Leak FAQs Without Major Renovation
Why does my bathroom fan drip only in winter?
Cold attic air cools warm shower air inside an uninsulated duct, causing condensation that drips back through the fan. Insulating the duct, keeping it sloped outward, and running the fan longer after showers usually solves winter-only drips.
Can a bathroom fan leak be a roof leak instead?
Yes. If dripping happens during rain even when the shower is unused, or staining keeps growing regardless of bathroom use, suspect roof flashing, a vent cap, or another roof penetration. That type of leak needs roof inspection, not just duct insulation.
Should bathroom fan ducts slope toward the fan or outside?
They should slope continuously toward the outside vent, so any condensation drains out rather than back into the fan housing. Avoid low bellies, sagging flex duct, and uphill sections that trap water.
How long should I run my bathroom fan after a shower?
Run it during the shower and for a sensible period afterwards, often around twenty minutes depending on bathroom size and fan capacity. A timer or humidity-sensing control can automate this and prevent moisture sitting in the duct.
Can I just seal around the fan to stop a leak?
Sealing the ceiling penetration helps, but sealing alone will not fix condensation inside the duct or a failed vent cap. Diagnose the source first, insulate and slope the duct if needed, and seal joints as part of that targeted repair.
When is ceiling damage from a fan leak serious?
It is serious when drywall sags, feels soft, shows widespread mould, or water is near wiring. In those cases, switch off power to the fan if needed, avoid disturbing large mould areas, and get professional assessment before repainting or repairing.

