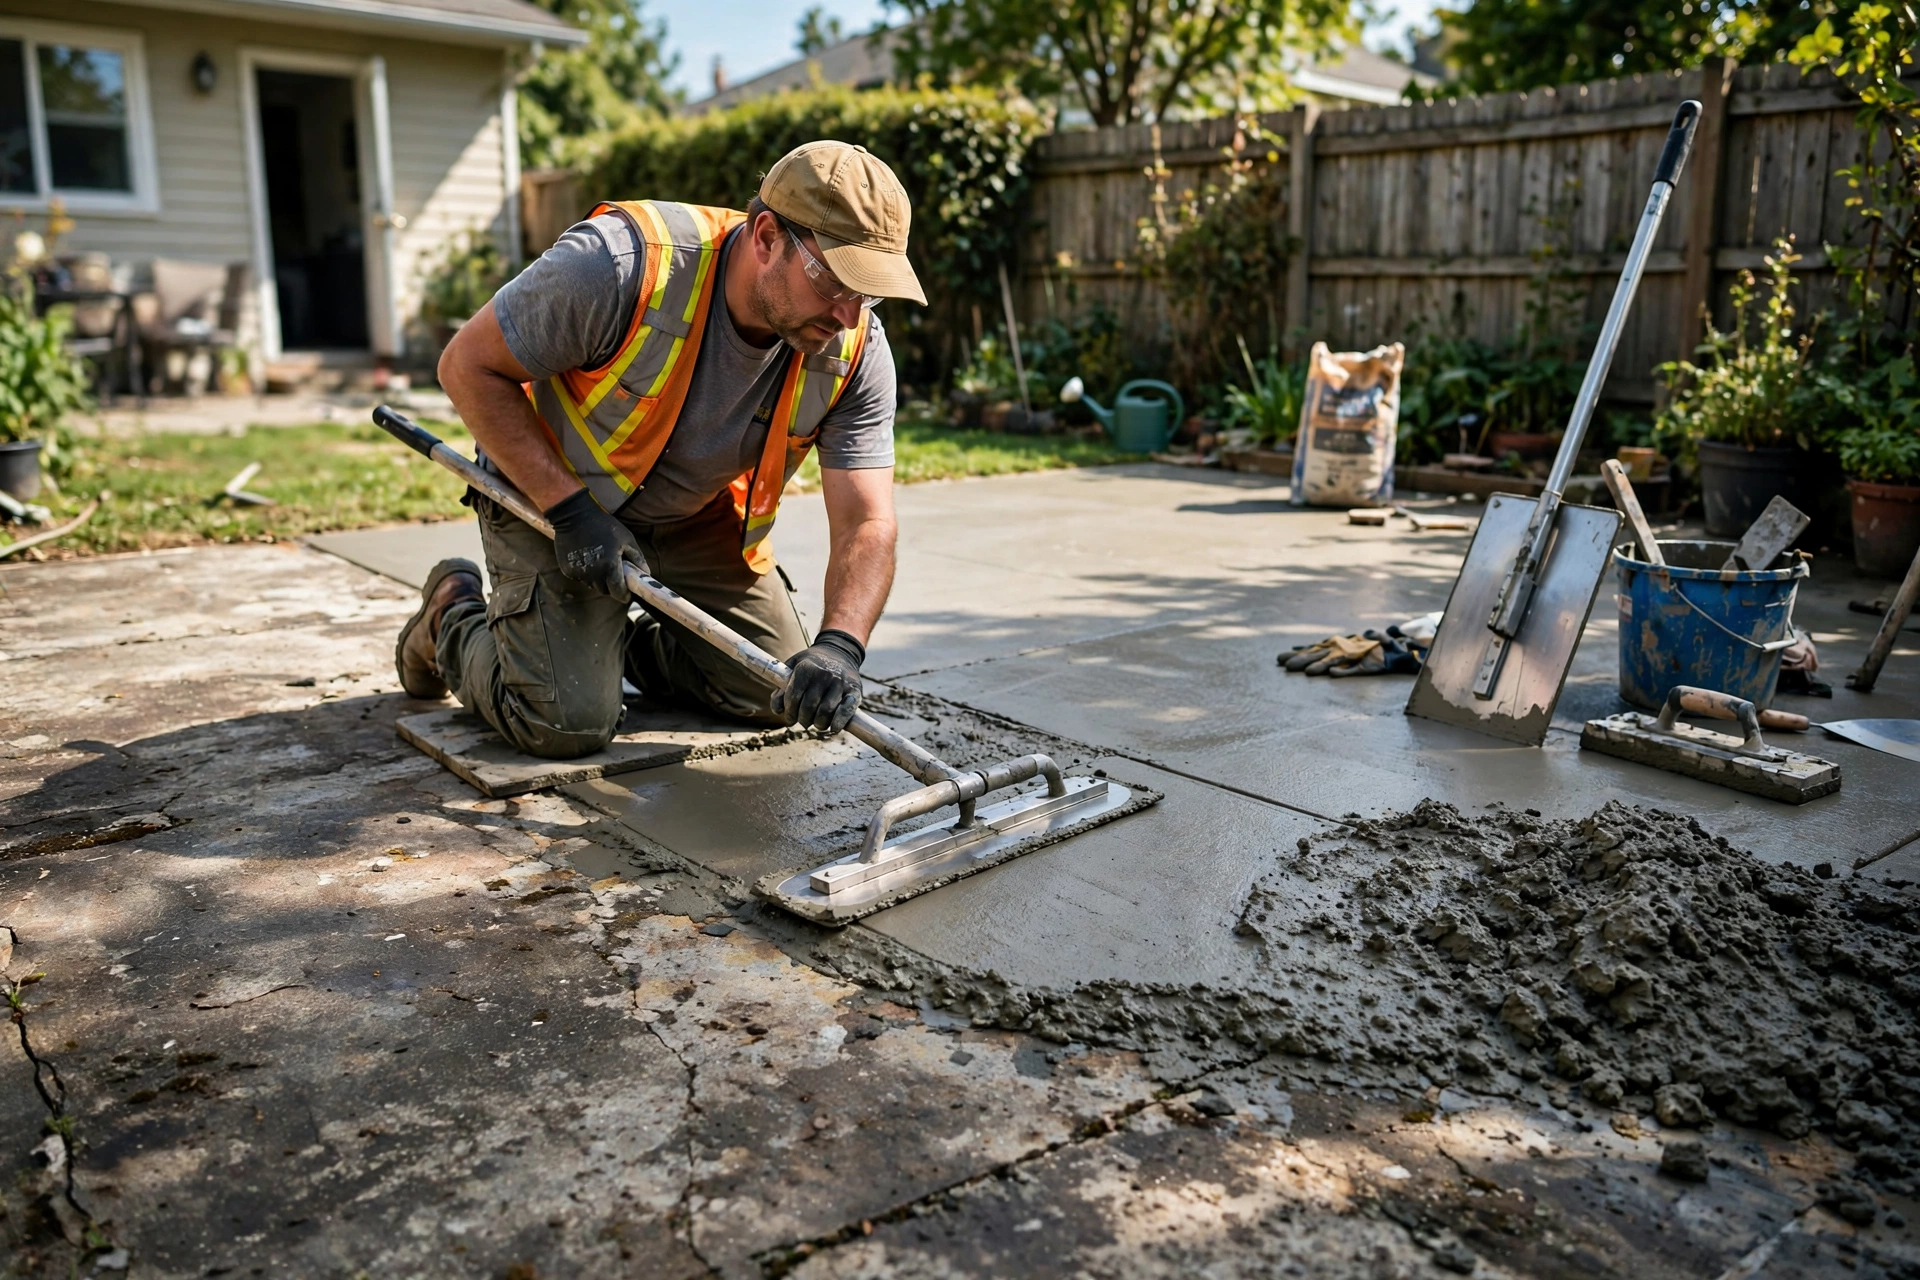
An old concrete patio can make an otherwise pleasant garden feel tired, even when the slab itself is still sound. Years of weather, stains, moss, and minor cracking dull the surface, and many first-time DIYers assume the only answer is expensive replacement. In most cases that is not true. If the slab is structurally sound, with no major settlement or widespread deep cracking, a series of affordable improvements can restore colour, texture, and usability for a fraction of replacement cost, and most of them are well within beginner skills.
The short answer is to start with cleaning and repair, then choose one surface improvement that matches the patio condition and your budget: a wash and seal for a sound but dull slab, a stain or paint for colour, a thin resurfacer for surface damage, or a modular overlay such as deck tiles for a quick cover. Do the preparation properly, work in dry weather, and seal the finished surface. A patio improved in that order looks better, lasts longer, and avoids the common beginner trap of coating over dirt, cracks, and loose material that will soon peel.
Checking an Old Concrete Patio Before You Spend Anything on It
Begin with a honest assessment, because not every old patio is a good candidate for cosmetic improvement. Walk the slab and look for large cracks that run across the whole patio, sections that have sunk or lifted, rocking slabs, and areas where water pools after rain. Small hairline cracks, surface stains, and minor pitting are normal wear and can be improved. Wide, growing cracks, significant settlement, or a slab that moves underfoot point to ground or drainage problems that a coating will not fix, and those cases deserve professional advice before you invest in finishes.
Also check drainage and edges. Water should run away from the house, not toward it, and the patio should not trap water against walls or door thresholds. Clear blocked joints and drains, note where moss grows most, because that often marks damp, shaded, or poorly drained spots, and check for loose or crumbling edges that need patching. A few minutes of assessment, plus photos of cracks and damp areas, will help you choose the right improvement and avoid buying products for a slab that first needs structural or drainage work.
Cleaning and Patching: The Affordable Patio Refresh Most Beginners Skip
Cleaning alone often transforms an old patio more than beginners expect. Sweep thoroughly, remove moss and weeds from joints, and pressure wash carefully, keeping the nozzle moving and avoiding damage to weak spots or mortar joints. For oil or grease stains, use a suitable degreaser and follow product guidance, and for stubborn algae, a patio cleaner designed for concrete can help. Work in sections, rinse well, and let the slab dry fully before deciding on the next step, because a clean, dry slab reveals its true colour and condition.
Patching comes next, and it is essential before any coating. Fill hairline and narrow cracks with a flexible concrete crack filler, and use a polymer-modified patching compound for spalled or pitted areas, following the product instructions for depth and curing. Do not fill wide or moving cracks with a rigid filler and expect them to stay filled, because movement will reopen them. After patching, let repairs cure and check that they are level with the surrounding slab. A smooth, stable base is what allows stains, resurfacers, and overlays to bond and last, while a rushed coating over loose material will peel within a season.
Staining and Painting an Old Patio for Colour on a Tight Budget
Concrete stain is one of the most affordable ways to add colour, because it penetrates the surface rather than sitting as a thick film, which reduces peeling. Acid-based stains react with the concrete to create varied, mottled tones, while water-based stains give more uniform colour and a wider palette. Both need a clean, sound surface and a test patch in an inconspicuous corner, because the final colour depends on the existing concrete tone and porosity. Seal after staining to protect the colour and make cleaning easier.
Patio paint is cheaper still, but it is less durable under foot traffic and weather, and it will need recoating sooner than stain or resurfacer. If you choose paint, use a product made for exterior concrete, prepare the surface thoroughly, and accept that it is a shorter-term refresh rather than a long-term finish. For first-time DIYers, a stain plus sealer often offers the best balance of cost, appearance, and durability, especially on a patio that is sound but simply dull. Avoid painting over a damp or dirty slab, and do not apply coatings in very hot, cold, or wet conditions, because curing problems are a common cause of early failure.
Thin Resurfacers and Micro-Toppings for Worn Concrete Patio Surfaces
When stains and paint cannot hide surface damage, a thin cement-based resurfacer or micro-topping creates a new surface layer over the old slab. These products are mixed on site and spread, troweled, or sprayed to a thin layer, often around an eighth to a quarter of an inch thick depending on the product, and they can be coloured, textured, or stamped while still workable. They are ideal for pitted, stained, or lightly spalled patios that are structurally sound, and they avoid the cost and disruption of breaking out and replacing the slab.
Resurfacing demands more care than painting, so read the product guidance carefully and work in manageable sections. The slab must be clean, repaired, and slightly roughened for bond, and the resurfacer must be mixed, applied, and cured as directed, with protection from rain and frost during curing. For larger patios or decorative finishes such as stamping, a professional may be worth the cost, because timing and finishing skill affect the result. For a small, simple resurface, a confident beginner can succeed by preparing thoroughly, practising on a small area, and not rushing the cure.
Interlocking Tiles, Rugs, and Other Quick Covers for Old Patios
Interlocking deck tiles are a popular quick cover because they snap together over the existing slab with little mess and no curing time. Wood-composite and plastic tiles are common, and they can hide stains and minor surface flaws while creating a warmer, deck-like feel underfoot. They work best on a fairly level slab with good drainage, because water trapped underneath can encourage moss and damp. Lift a few tiles occasionally to check and clean underneath, and keep joints and edges clear so water can drain.
Outdoor rugs, planters, and furniture can also transform a patio without touching the slab, and they are useful while you decide on a permanent finish. A large outdoor rug softens hard concrete, defines a seating area, and hides stains, while planters and lighting draw the eye away from surface flaws. These are not repairs, and they should not hide serious cracking or drainage problems, but for a first-time DIYer they offer an immediate improvement with almost no risk. Use them as a complement to cleaning and repair, not as a substitute for fixing a slab that needs attention.
Sealing an Improved Patio So the Work Lasts Through Weather and Use
Sealing is the step that protects all the work before it. A suitable exterior concrete sealer helps resist stains, moisture, and freeze-thaw damage, and it can deepen colour and make cleaning easier. Choose a sealer suited to your finish, whether that is bare concrete, stain, or resurfacer, and apply it to a clean, dry surface in suitable weather. Some sealers change the appearance, adding gloss or darkening colour, so test in a small area first and check slip resistance, especially around steps, pool areas, or where the patio gets wet.
Re-sealing is part of patio care, not a one-time job. How often depends on traffic, weather, and product type, but a simple water test can help: if water no longer beads and instead soaks in quickly, the sealer may be wearing thin. Clean the patio regularly, sweep leaves and debris, and remove moss promptly, because trapped organic matter holds moisture and accelerates wear. With that basic care, a well-prepared and sealed patio improvement can last years, while an unsealed finish on the same slab may look tired again within a single season.
Patio Drainage, Joints, and Edges That Beginners Often Overlook
Drainage and joints affect how long any patio improvement lasts, yet they are easy to overlook when the focus is on colour. Keep expansion joints and control joints clear and sealed where appropriate, because they allow the slab to move without cracking the new finish. Do not bridge a moving joint with a rigid coating and expect it to hold, and do not let soil, mulch, or paving build up against the house above damp-proof levels. Those details protect both the patio and the building, and they cost little compared with repairing water damage later.
Edges also deserve attention. Crumbling edges, loose border stones, and gaps where the patio meets lawn or paths can trip users and let water under the slab. Patch edges properly, reset loose units, and consider a simple border or edging to define the patio and protect its perimeter. A tidy edge makes the whole patio look finished, even if the main surface improvement was modest, and it helps prevent the edge damage that spreads inward over time.
When an Old Patio Needs Professional Help Instead of a DIY Finish
Call a professional if the slab has major settlement, widespread deep cracking, rocking sections, or drainage that directs water toward the house. Those issues may involve ground movement, broken drainage, or tree roots, and a coating will not solve them. A professional can assess whether sections need replacement, whether drainage needs redesigning, or whether a full resurface by an experienced contractor is the sensible option. The same applies if the patio supports heavy structures, vehicle traffic, or steps that must meet safety requirements.
Safety is simple but important for patio work. Wear eye and skin protection when pressure washing or using cleaners, follow product guidance for chemicals, and keep children and pets away from wet coatings and curing areas. Work in dry, mild weather where possible, and do not rush curing times to use the patio sooner. A finish that is allowed to cure properly will reward patience with a surface that looks good and stays sound, while a rushed job often needs redoing far sooner than expected.
Final Thoughts: An Old Concrete Patio Improved Step by Step, Not Replaced
Improving an old concrete patio as a first-time DIYer is mostly about order: assess the slab, clean and patch it, choose one finish that matches its condition, and seal it properly. A sound slab does not need replacement to look inviting again, and a modest budget spent on preparation and a suitable finish will usually beat an expensive coating applied over dirt and cracks. Start small, test products in a corner, and enjoy a patio that is cleaner, safer, and far more pleasant to use, without the cost and disruption of starting from scratch.
Old Concrete Patio FAQs for First-Time DIYers
Can I improve a cracked concrete patio without replacing it?
Yes, if cracks are small, stable, and the slab is not settling. Clean, fill narrow cracks with flexible filler, patch spalled areas, and then stain, resurface, or cover the slab. Wide, growing, or settlement cracks need professional assessment first.
Is pressure washing enough to improve an old patio?
Often it makes a large difference, especially on a sound but dirty slab. Pressure wash carefully, remove moss and stains, then seal. If the surface is still pitted or badly stained after cleaning, consider stain or resurfacing as the next step.
How long does concrete resurfacer last on a patio?
Lifespan depends on preparation, product, traffic, and sealing, but a well-prepared professional or careful DIY resurface can last many years. Poor preparation, moisture during curing, or unsealed finishes shorten life noticeably.
Should I stain or paint my concrete patio?
Stain usually lasts longer than paint because it penetrates rather than forming a thick film that can peel. Paint is cheaper and offers solid colour, but expect more frequent recoating, especially in high-traffic or wet areas.
Can deck tiles go over any old concrete patio?
They work best on fairly level, well-drained slabs. Avoid them over rocking, badly cracked, or poorly drained patios without fixing those issues first, and lift tiles occasionally to clean underneath and check for trapped moisture.
When should I seal a newly improved patio?
Seal after the stain, paint, or resurfacer has cured fully, following product guidance, on a clean and dry surface in suitable weather. Test the sealer in a small area first to check colour, gloss, and slip resistance.

