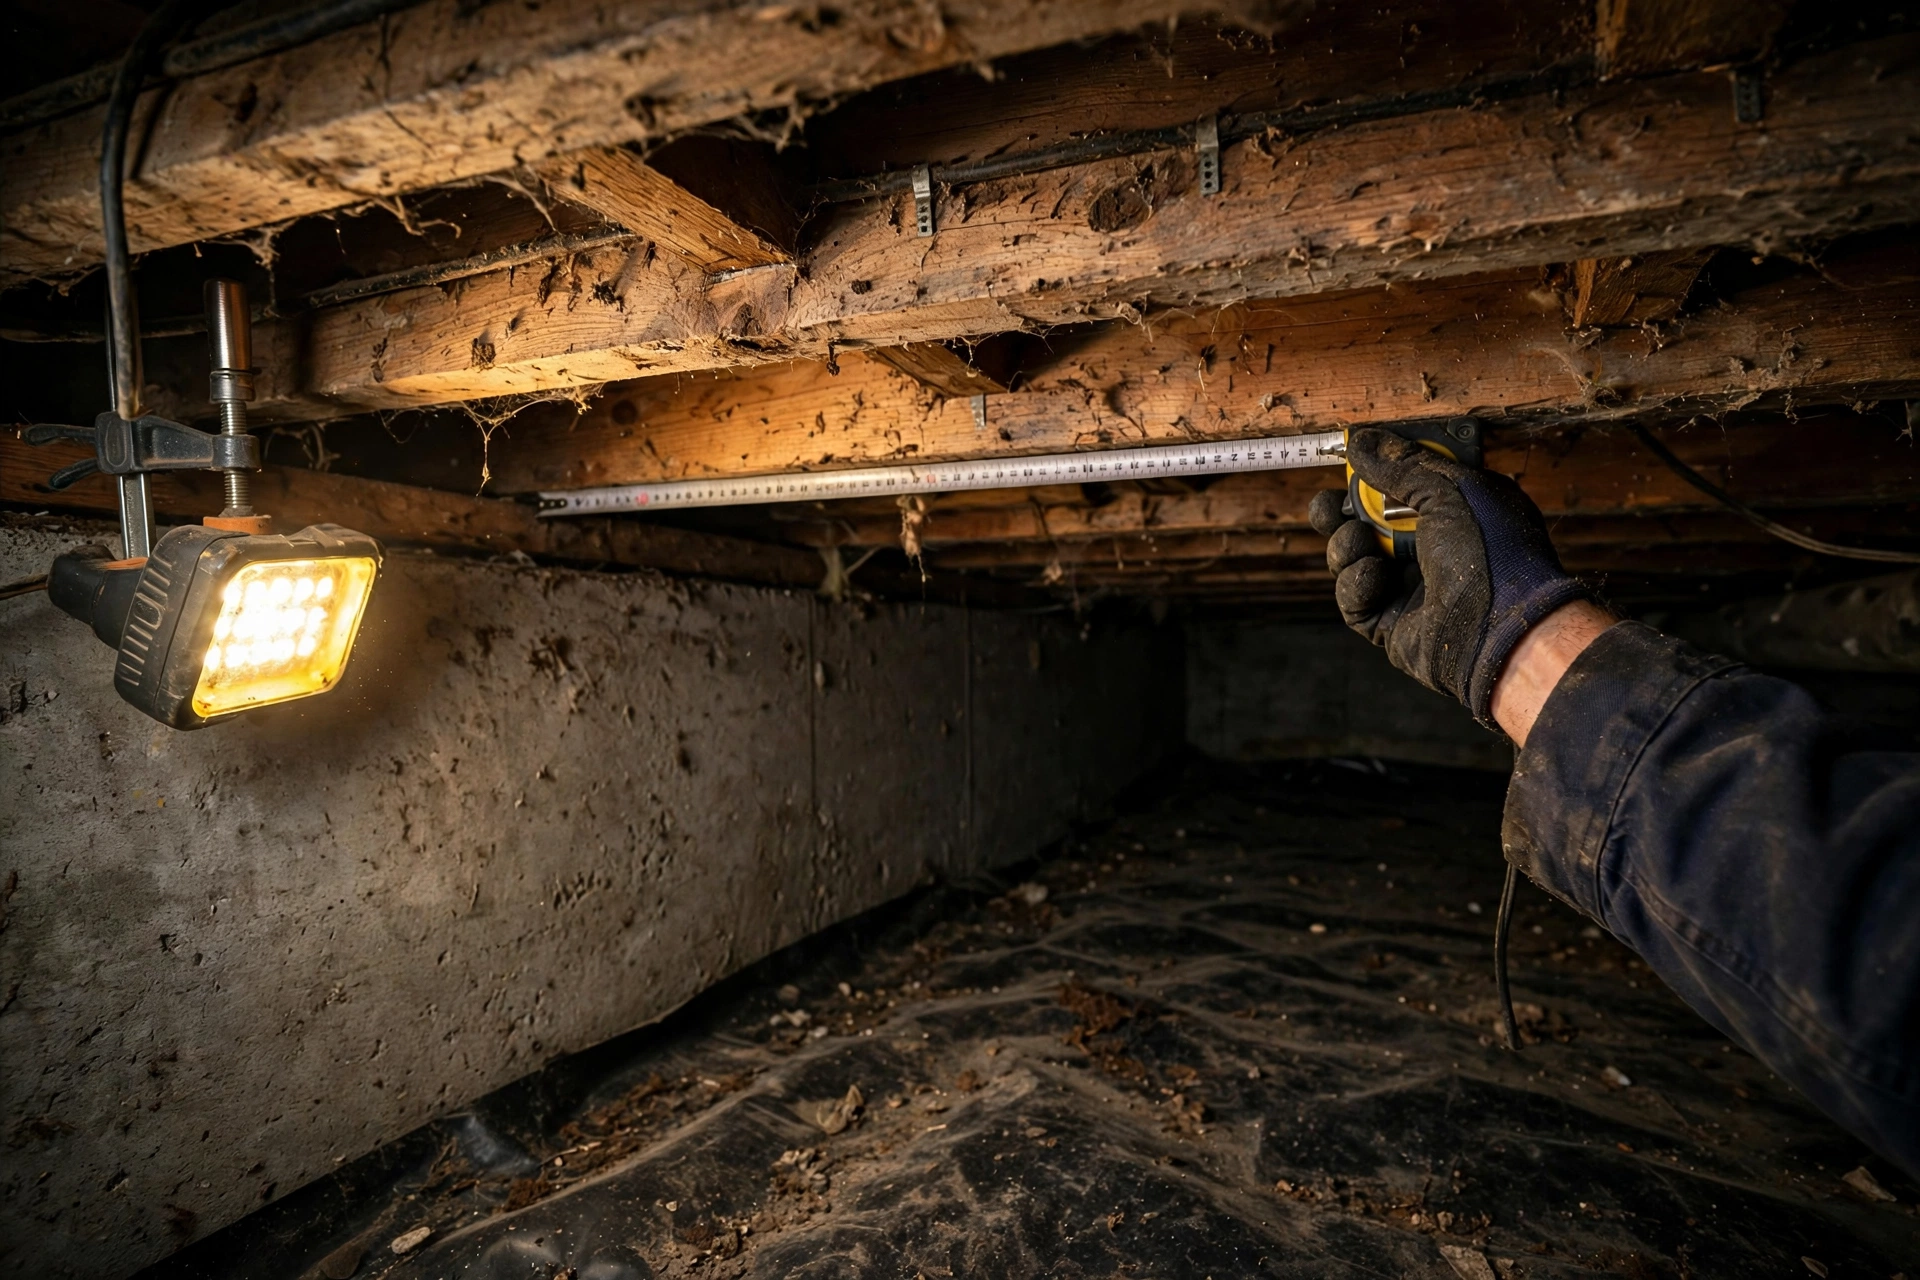
Every wood floor bends a little under weight — that movement is called deflection, and it is normal up to a point. But a floor that bounces noticeably, sags toward the middle of a room, or cracks the finishes above it may have joists that are over-spanned, undersized, or damaged. A floor joist deflection assessment measures how much the structure moves, compares it against code limits, and tells you whether your renovation can proceed safely or the framing needs reinforcement.
The short answer: measure how much your floor bends under load and compare it to the limit of span/360 for residential live loads — a 12-foot span should deflect no more than 0.4 inches under normal household weight. Use a string line, a laser level, or a load test. Stable, decades-old sag that has not changed is often cosmetic; new or worsening bounce, fresh cracks, and visible joist damage need a structural engineer before you add heavy new flooring or fixtures.
What Floor Joist Deflection Actually Means
Deflection is the bending that occurs when load is applied to a structural member — all joists deflect; the question is how much. The limit is a fraction of the span: L (clear span in inches) divided by a number — a 10-foot joist spans 120 inches, so its live-load limit is 120/360, or 1/3 inch. Live load is the temporary weight of people and furniture; dead load is the permanent weight of the floor assembly (L/240).
The International Residential Code (IRC), Table R301.7, sets L/360 for floors and plastered ceilings and L/240 for most other structural members — the stricter floor limit protects brittle finishes like tile grout and plaster.
These limits describe bending stiffness under load, not permanent sag — a joist that settled over 40 years may show a visible dip while still deflecting within limits. Deflection is a serviceability rule, not a strength rule: a floor can feel springy without being in danger of collapse.
Why Assess Deflection Before Renovation
Renovations change the loads a floor must carry. Swapping carpet for natural stone, setting a cast-iron tub where a fiberglass shower stood, or installing a granite-topped island can add thousands of pounds — a floor that was fine under carpet can become bouncy under tile and heavy fixtures. Assessing first establishes a baseline, identifies over-spanned or damaged joists while they are accessible, and protects your investment: cracked grout, popped tile, and doors that will not latch after a remodel almost always trace back to a framing problem nobody measured.
Warning Signs of Possible Structural Problems
Bouncy Floors, Sag, and Finish Damage
A floor that visibly dips underfoot, vibrates after you walk past, or rattles furniture mid-room is showing excessive live-load deflection. A dip toward the center — a rolling marble, a gap under a straight edge — indicates long-term sag. A stable sag unchanged for decades is often just lumber settling; a deepening sag signals an active problem such as rot or a cracked joist. Fresh angled cracks in drywall above the sag, cracked tile grout, and doors that suddenly bind all point to structural movement rather than seasonal swelling.
What You See and Smell From Below
Persistent squeaking means joists are flexing or connections have loosened. A musty smell in a crawl space suggests moisture has promoted mold or rot. From underneath, look for longitudinal cracks and splits, dark soft wood under a screwdriver probe, termite tunneling, or joists pulling away from the support beam. Any of these moves your assessment straight to the repair and professional-review stages.
How to Assess Floor Joist Deflection
The Visual Survey
From above, map dips with a marble or a long straightedge. From the crawl space or basement, walk each joist with a flashlight and check for cracks, notches, bored holes through the middle third of the span (where bending stress is highest), water staining, rot, and insect damage. Record joist size, spacing, and span between bearing points.
String-Line and Laser Tests
Stretch a mason’s line tightly along the bottom of a joist from bearing point to bearing point and measure the gap at mid-span — that maximum gap is the joist’s existing sag. Repeat across the room to find the worst case, recording each measurement with the span length. For a faster survey, set a self-leveling laser at a fixed height and measure from the floor surface up to the line at a grid of points; the differences reveal low spots relative to the supports.
A Simple Load Test
To measure live-load deflection, place a known load — bagged sand or weight plates totaling roughly 300 pounds — over a 4-square-foot area at mid-span, directly over two joists. Measure the floor’s position before and after loading, from underneath the joists or against the laser reference. The difference is the live-load deflection; compare it to your span’s L/360 allowance.
Checking Size, Spacing, and Span
Measure joist depth and width, on-center spacing, and clear span between supports, then check the combination against published span values.
When Deflection Is Normal Versus a Structural Problem
Usually Not an Emergency
- A shallow, even sag unchanged for many years — typical of older homes.
- Minor bounce only in the middle of a long span, with no cracks, no sticking doors, and solid-looking joists below.
- Squeaks from a loose subfloor, where the joists themselves measure within span limits.
Treat It as a Structural Problem When You See
- Sag or bounce visibly worsening over months, not decades.
- Fresh cracks in drywall, plaster, or tile grout above or below the affected area.
- Doors or windows newly binding near the sag, or joists pulling away from beams.
- Rot, termite damage, cracked joists, or unauthorized notches and holes through the middle third of joists.
- Measured deflection under a modest load exceeding the L/360 allowance — for example, more than about 1 inch on a 12-foot span.
Decision rule: stable plus old plus no damage usually means cosmetic — reinforce only if your renovation adds heavy weight. New, worsening, or damage-backed movement means active trouble — get an engineer before renovating.
Reinforcement Options for Undersized or Damaged Joists
Sistering: The Go-To Repair
Sistering means fastening a new joist alongside the existing one so the two act as a single, stronger member. The sister should ideally run the full span and bear on the same supports; when impossible, it must extend at least 3 feet past the damaged area on both sides. Use a new joist the same depth as the original, construction adhesive on the contact face, and structural screws, carriage bolts, or 16d nails staggered every 12 to 16 inches — never drywall screws. If the floor has sagged, jack it out first, lifting no more than about 1/8 inch per day. If more than a third of the cross-section is compromised, replace rather than sister.
Other Reinforcement Options
- Mid-span support beam with posts cuts the span roughly in half — the simplest fix for room-wide bounce.
- Steel flitch plates bolted to a joist’s side add large stiffness without changing floor depth, useful where headroom below is tight.
- Plywood scabbing — 3/4-inch plywood glued and nailed to both sides — is a fast, cheap spot repair, especially around plumbing penetrations.
- Fix the cause first: sistering a joist still sitting in standing water or active termite tunnels will fail again.
Common Mistakes in Assessment and Repair
Judging by feel alone — bounce is subjective, so measure with a string line or laser.
Ignoring the cause — reinforcing without fixing the leak or termites that weakened the joist is temporary.
Cutting structure for utilities — keep notches near joist ends, under one-quarter of the depth; bore holes only through the middle of the depth, under one-third of it, never in the middle third of the span.
Sistering with mismatched lumber or weak fasteners — match the joist depth, use structural screws or through-bolts, and run the span-table check: cosmetic stiffening will not fix a room-wide bounce from undersized joists.
Cost Considerations
All figures are estimates and vary by region and access. Get written quotes before committing.
The engineer’s visit is the cheapest insurance here: a few hundred dollars can prevent thousands in cracked finishes or a remodel that has to be redone.
Safety and When to Call a Professional
Treat these as urgent: a floor actively dropping, joists cracked through or pulled free of their supports, or a floor that feels as though it might give way under normal walking load. Keep heavy loads off the area and call a structural engineer promptly. Call a licensed structural engineer — not just a contractor — when measured deflection exceeds code limits, when joists show widespread rot, termite damage, or cracking, or when your renovation changes load paths by adding beams, removing walls, or concentrating heavy loads. The engineer sizes the repair, a licensed contractor executes it, and the building department inspects it.
Final Thoughts
A floor joist deflection assessment is one of the highest-value hours you can spend before a renovation: a string line, a tape measure, and a slow walk through the crawl space tell you whether your floor is merely settled or genuinely struggling. Measure the sag against the L/360 benchmark, confirm the joists are sized for their span, and fix the cause before the symptom. Your next step: run the string-line and span-table checks on the room you plan to renovate first — and if anything measures beyond the limits or shows damage, bring in a structural engineer before you buy a single box of tile.
Frequently Asked Questions
What is floor joist deflection in simple terms?
Deflection is how much a floor joist bends under weight. Every joist deflects a little; the question is whether the movement stays within the code limit of span/360 — no more than 0.4 inches on a 12-foot span. Permanent sag that never changes is different from live deflection, which disappears when the load is removed.
How much floor sag is acceptable before renovation?
As a screening rule, sag plus expected live-load movement should stay within the code allowance: about 0.4 inches on a 12-foot span (L/360) for live load, or 0.6 inches total including dead load (L/240). Sag beyond roughly 1 inch on a 12-foot span, especially if new or worsening, needs professional review before adding new finishes.
Are bouncy floors always a structural problem?
No. Some bounce near mid-span is normal — the floor may simply sit at the flexible end of the code-allowed range. It becomes a concern when new or worsening, when finishes crack, when doors stick, or when joists below show rot, insect damage, cracks, or over-spanning. A stable, decades-old spring with no damage is usually cosmetic.
Can I assess floor joist deflection myself?
Yes, for a screening assessment. A string line along the bottom of joists measures existing sag, a laser level maps the floor surface, and a known load at mid-span measures live-load movement against the L/360 limit. Also check joist size, spacing, and span against published span tables. Beyond code limits or with damaged wood, get a structural engineer.
What is sistering a floor joist, and how long should the sister be?
Sistering is fastening a new joist alongside a weakened one so they act as one stronger member. The sister should ideally run the full span and bear on the same supports; if impossible, it must extend at least 3 feet past the damage on both sides, be glued with construction adhesive, and be fastened with structural screws or through-bolts staggered every 12 to 16 inches.
How much does it cost to fix sagging floor joists?
Estimates vary by region: DIY sistering materials run roughly $100 to $325 per joist; contractors typically charge $12 to $14 per linear foot; full replacement costs about $1,000 to $2,000 per joist; a mid-span beam can run $1,500 to $5,000 or more. An engineer inspection typically costs $300 to $800.
When should I call a structural engineer instead of a contractor?
Call a structural engineer when measured deflection exceeds code limits, when joists show widespread rot, termite damage, or cracking, when members have pulled away from supports, or when your renovation changes load paths — adding beams, removing walls, or concentrating heavy loads. The engineer diagnoses and sizes the repair; the contractor executes it.

