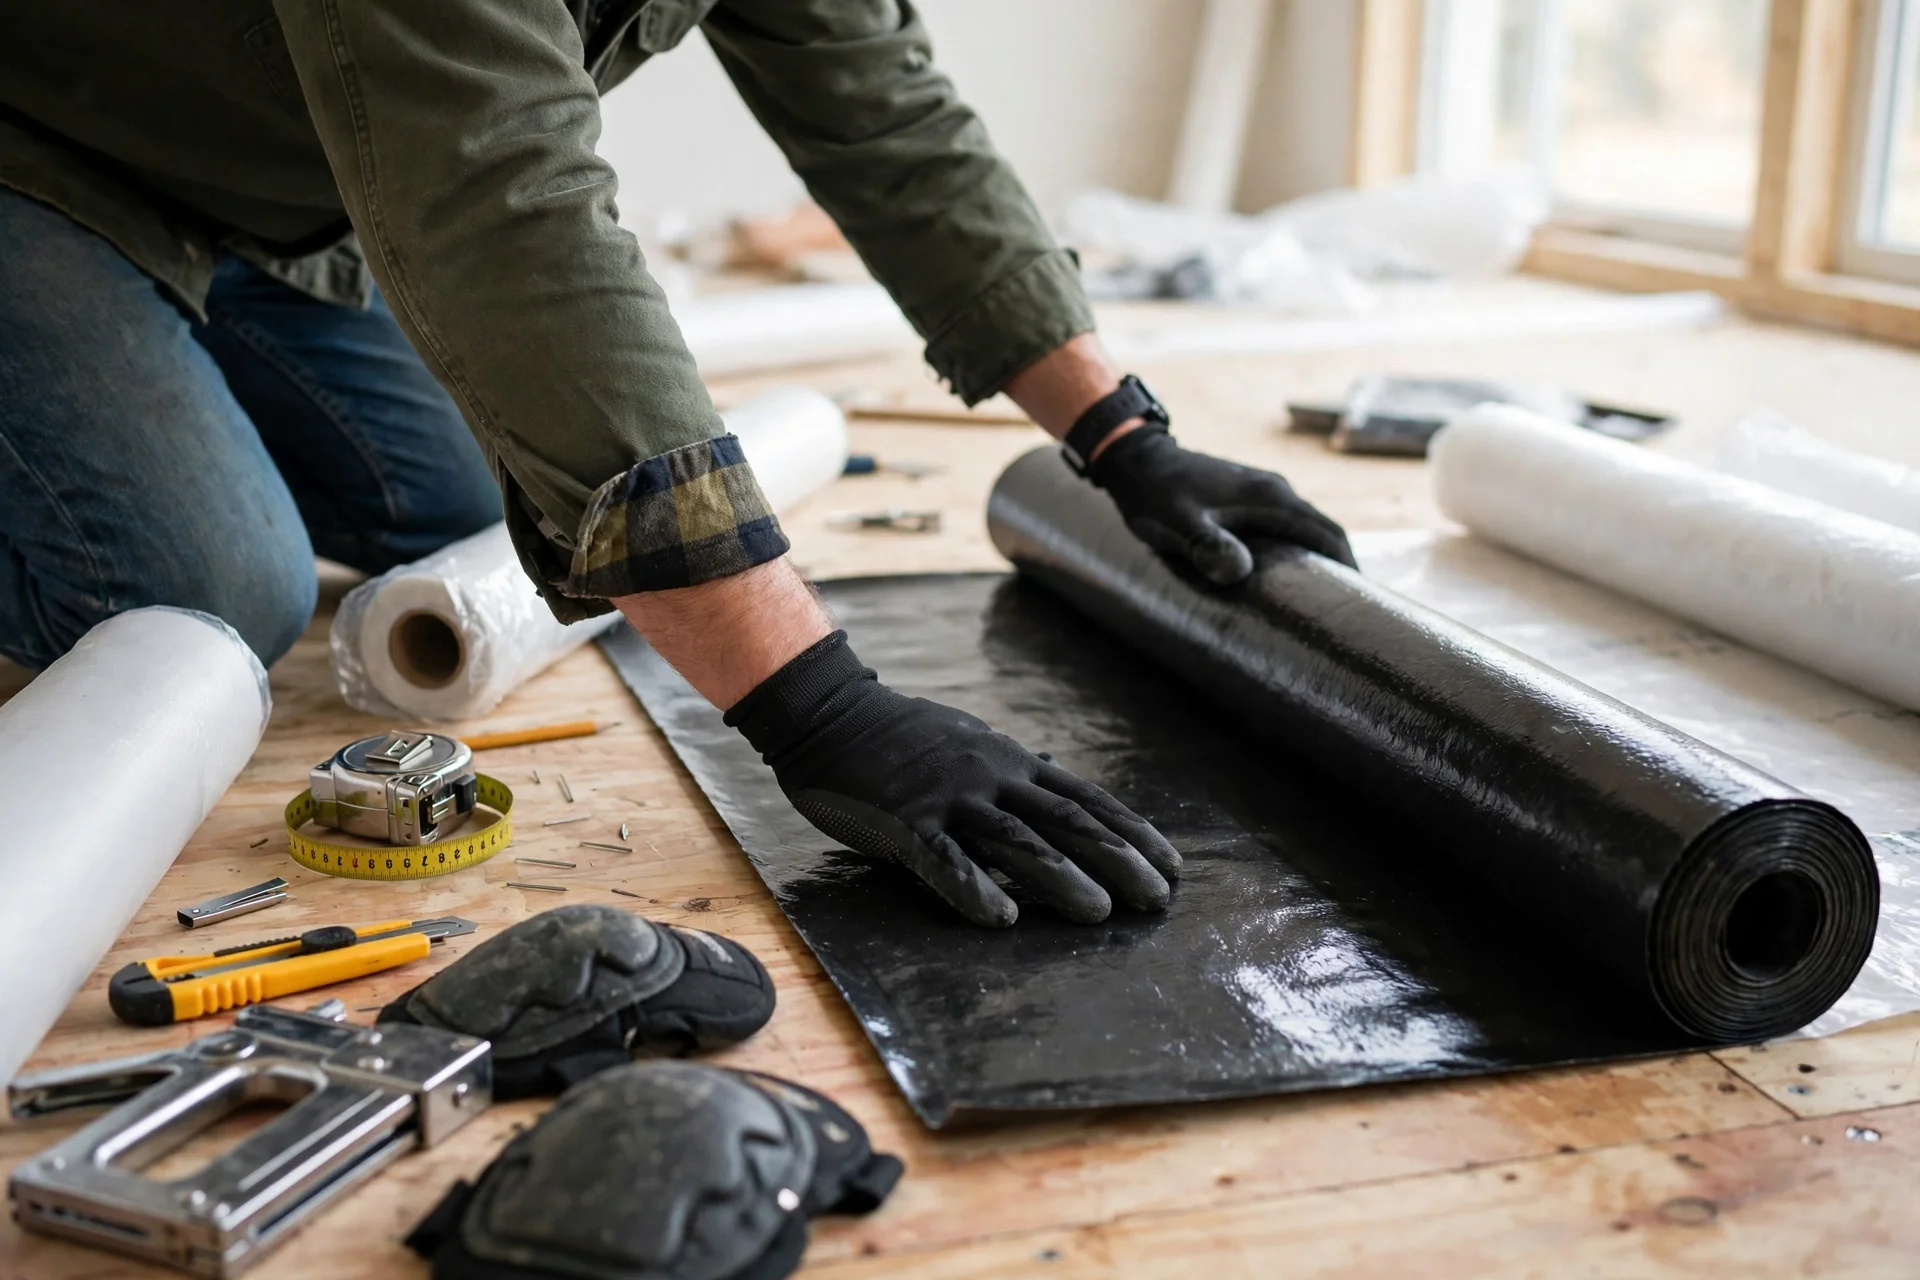
Engineered flooring looks like the safe choice for a damp-prone home. Its layered construction resists movement better than solid hardwood, and many boxes carry reassuring words about water resistance. Yet cupped boards, swollen joints, and delaminated planks remain among the most common flooring callbacks, and the cause is almost always the same: moisture rising from the subfloor that nobody measured or controlled before installation.
The direct answer is that engineered flooring needs a moisture control system chosen for the subfloor beneath it, not a generic barrier picked off the shelf. Concrete slabs need a very different defence from plywood over a crawl space, and the installation method, floating, glue-down, or nail-down, changes the answer again. Test the subfloor first, match the barrier to the test result, and the floor will stay flat for decades.
Why Engineered Flooring Fails When Subfloor Moisture Goes Unchecked
Engineered planks are built from a thin hardwood wear layer bonded to a core of plywood or high-density fibreboard, known as HDF. That construction resists the seasonal expansion of solid wood, but it does not make the floor waterproof. The core still absorbs water vapour, and an HDF core absorbs it faster than a plywood core, swelling, softening, and in severe cases separating from the wear layer above it.
The damage usually appears slowly. A plank’s moisture content can climb several percent in the first months after installation if the subfloor is damp, and the first visible signs are cupping at the edges, gaps that open and close with the seasons, and joints that no longer sit flush. The National Wood Flooring Association insists on a vapour retarder beneath every wood floor installation, precisely because this failure is so predictable and so preventable.
How Moisture Travels From the Ground Into an Engineered Floor
Moisture reaches a floor in two forms, and they behave very differently. Liquid water comes from leaks, flooding, or a slab in contact with wet soil, and it is obvious when it arrives. Water vapour is invisible: it diffuses steadily upward through porous concrete and through wood, driven by the difference in humidity between the ground and the room. A slab can look dry while still releasing vapour continuously.
A second route is air leakage. Warm, humid air from a crawl space or basement can carry far more moisture into a floor assembly than diffusion alone, moving through gaps around pipes, ducts, and the perimeter of the subfloor. Once inside, that moisture condenses on the coolest surface it meets, often the underside of the flooring itself. This is why moisture control has two halves: a vapour retarder to slow diffusion, and air sealing to stop humid air from bypassing it.
Testing Before You Build: Slab RH Probes, Calcium Chloride, and Wood Moisture Meters
No moisture system should be chosen before the subfloor is tested, because the test result decides how strong the defence must be. For concrete slabs, the modern standard is the in-situ relative humidity probe, described in ASTM F2170, which measures humidity inside the slab itself. The National Wood Flooring Association requires slab moisture of 4 percent or less by the calcium chloride method, and in-situ probes should generally read under 75 percent relative humidity before wood flooring goes down.
| Test method | What it measures | Safe threshold for flooring |
|---|---|---|
| In-situ RH probe (ASTM F2170) | Humidity inside the concrete slab | Under 75 percent relative humidity |
| Calcium chloride test | Vapour emitted from the slab surface | Under 3 lb per 1,000 sq ft per 24 hours |
| Pin moisture meter (wood) | Moisture content of wood subfloor | Within 2 to 4 percent of the flooring planks |
| Pinless moisture meter | Moisture near the slab surface | Use for comparison, not as a pass or fail |
| Plastic sheet test | Surface condensation under a sealed sheet | Any visible moisture means test further |
Wood subfloors need testing too. A pin meter should show the subfloor within a few percent of the flooring planks’ moisture content, because planks installed over a wetter subfloor will shrink as the assembly equalises, opening gaps. A slab poured two months ago can still test wet, so never trust the calendar alone.
Polyethylene Sheeting and Underlayments With Built-In Vapor Layers
For floating engineered floors over concrete, the workhorse is 6-mil polyethylene sheeting, a Class I vapour retarder with a permeance of 0.1 perm or less. It is laid directly on the slab, seams overlapped by at least 8 inches and taped, and run slightly up the walls before trimming, so slab vapour has no path to the underside of the flooring. Thicker sheeting, 10 to 20 mil, offers better tear resistance and is worth the small extra cost on rough slabs or in basements.
Combination underlayments simplify the job by bonding a vapour film to a foam or felt cushion in a single roll. These are popular for floating floors because they provide cushioning, sound reduction, and vapour protection in one pass, but the vapour layer is only as good as its seams, so tape every joint and never assume the product is continuous. Use one or the other, not both, or moisture can be trapped between the two layers.
Liquid-Applied Epoxy and Urethane Moisture Mitigation Membranes
Glue-down engineered flooring on concrete needs a different solution, because a sheet of poly would interfere with the adhesive bond. The answer is a liquid-applied membrane, usually a two-part epoxy or a moisture-cure urethane, rolled or troweled onto the slab to form a continuous, non-porous barrier. These systems cure into a hard layer that penetrates the concrete pores and can handle high vapour emission rates, with some rated for slabs testing up to 99 percent relative humidity.
The key rule is to use the membrane and the adhesive as a matched system. Adhesive manufacturers approve specific moisture mitigation products for use under their glues, and mixing brands can void both warranties. The slab must be clean, sound, and properly profiled before application, and the membrane needs its full cure time before flooring goes down, which is usually a day or more.
Breathable Retarders for Plywood and OSB Subfloors Over Crawl Spaces
Wood subfloors play by different rules from concrete, and the most common do-it-yourself mistake is treating them the same. A plywood or oriented strand board subfloor must be allowed to breathe: trapping household humidity between an impermeable plastic sheet and a wooden subfloor leads to fungal growth, joist rot, and fastener failure. Polyethylene sheeting should never go over a wood subfloor.
The correct choice is a semi-permeable Class II or Class III retarder. Traditional 15-pound asphalt-saturated felt paper is the standard for nail-down floors over wood, because it slows liquid water from below while letting trapped moisture escape upward. Silicone-treated vapour shield papers offer a modern alternative with similar breathability and better tear resistance. The retarder goes down in a single layer with 4-inch overlaps, and the flooring is nailed through it in the normal way.
Matching the Moisture System to Your Installation Method
Each installation method creates a different moisture path, so each needs its own barrier strategy. A floating floor sits loose on its underlayment, which makes a continuous sheet barrier easy to install and very effective. A glue-down floor bonds directly to the slab, so the barrier must be a liquid membrane or an all-in-one adhesive. A nail-down floor over wood needs a breathable retarder that the nails can pass through without compromising the layer. Choosing the barrier before the installation method is backwards; decide how the floor will be fixed first.
| Installation method | Subfloor | Recommended moisture system |
|---|---|---|
| Floating | Concrete slab | 6-mil poly sheet, seams taped, or combo underlayment |
| Floating | Plywood or OSB | Foam underlayment without poly, or breathable felt |
| Glue-down | Concrete slab | Liquid epoxy or urethane membrane, matched adhesive |
| Glue-down | Plywood or OSB | Approved urethane adhesive; felt optional |
| Nail-down | Plywood or OSB | 15-lb asphalt felt or silicone vapour shield paper |
| Nail-down | Concrete slab | Plywood sleeper system with barrier below the sleepers |
Whatever the method, two details decide success or failure: continuity and acclimation. Every seam, penetration, and perimeter edge must be sealed or overlapped, because vapour finds the one gap you left. And the flooring itself must acclimate in the room, in its packaging opened as the manufacturer directs, until its moisture content matches the subfloor and the room’s normal humidity. Skipping acclimation is the fastest way to ruin an otherwise perfect moisture system.
Crawl Space Encapsulation and Dehumidification as Subfloor Protection
When the subfloor sits over a vented crawl space, the moisture problem often starts below the floor rather than in it. Warm, humid air enters through foundation vents, condenses on cool joists and ductwork, and rises into the floor assembly. A vapour retarder under the flooring can only do so much against a constant supply of damp air from below, which is why encapsulation is often the more durable fix.
Encapsulation means sealing the crawl space floor with a heavy polyethylene liner, sealing the foundation vents, insulating the walls rather than the floor joists, and adding a dehumidifier set to hold relative humidity between 30 and 50 percent. The result is a dry, conditioned space that stops feeding moisture into the floor above. It costs more than a roll of felt paper, but on homes with chronic damp crawl spaces it protects not just the flooring but the joists, the insulation, and the indoor air quality as well.
Subfloor Moisture Red Flags During and After Installation
Some warning signs appear before the first plank is laid, and recognising them saves the cost of a floor that has to come up again. A slab that darkens under a taped plastic sheet, a musty smell in the room, white mineral deposits on the concrete surface, or a moisture meter reading that varies widely across the floor all point to a subfloor that is not ready. Stop, test properly, and fix the source before installing anything.
- Cupping at plank edges within the first months, pointing to moisture entering from below.
- Gaps that open in winter and close in summer, showing the floor is drying and rewetting seasonally.
- A hollow sound when tapped, suggesting adhesive failure over a damp area.
- Musty odour near the floor, which can mean mould growth in the core or subfloor.
- Discoloured or softened joints, a sign that the core has swollen and may be delaminating.
After installation, keep indoor relative humidity between 30 and 50 percent with ventilation and, where needed, a dehumidifier. That range protects the flooring, the subfloor, and the people living above it. If problems appear, test the subfloor again before blaming the flooring: the planks are usually the victim, not the cause.
Engineered Flooring Moisture Control FAQs
Do I need a moisture barrier over a plywood subfloor?
Yes, but a breathable one. Plywood and OSB subfloors need a Class II or III retarder such as 15-pound asphalt felt or silicone vapour shield paper. Never use polyethylene sheeting over a wood subfloor, because it traps moisture and can rot the framing.
What relative humidity reading is safe for engineered flooring?
For concrete slabs, in-situ probes under ASTM F2170 should generally read under 75 percent relative humidity, and the calcium chloride test should show under 3 pounds per 1,000 square feet per 24 hours. Indoors, keep room humidity between 30 and 50 percent year-round.
Is 6-mil poly enough, or should I use thicker sheeting?
Six-mil virgin polyethylene is the accepted standard for floating floors over concrete, and it is enough when seams are overlapped and taped. Thicker sheeting, 10 to 20 mil, is worth choosing on rough slabs or in basements, where tear resistance matters more.
Can I glue engineered flooring to a damp concrete slab?
Only with a proper moisture mitigation system. Apply a liquid epoxy or urethane membrane rated for the slab’s test reading, use the adhesive the manufacturer approves with it, and allow the full cure time. Never glue directly to a slab that tests above the adhesive’s rated limit.
Is engineered flooring safe for a basement?
It can be, provided the slab is tested, a 6-mil poly barrier or liquid membrane is installed, and humidity is controlled with a dehumidifier. Engineered flooring handles basement conditions better than solid hardwood, but no flooring survives a slab that floods or a room that stays above 60 percent humidity.
How long should engineered flooring acclimate before installation?
Follow the manufacturer’s instructions, but as a rule the planks should sit in the installation room, with packaging opened as directed, until their moisture content is within a few percent of the subfloor. That usually takes several days, and longer in humid or unconditioned spaces.
Final Thoughts: Protecting Engineered Flooring Starts Below the Surface
Engineered flooring fails from below far more often than from above, and the fix is decided before the first plank is laid. Test the subfloor, choose the barrier for the subfloor type and the installation method, seal every seam, and let the flooring acclimate. A floor protected this way stays flat, quiet, and beautiful for decades, while a floor laid over an untested subfloor is a repair waiting to happen.

