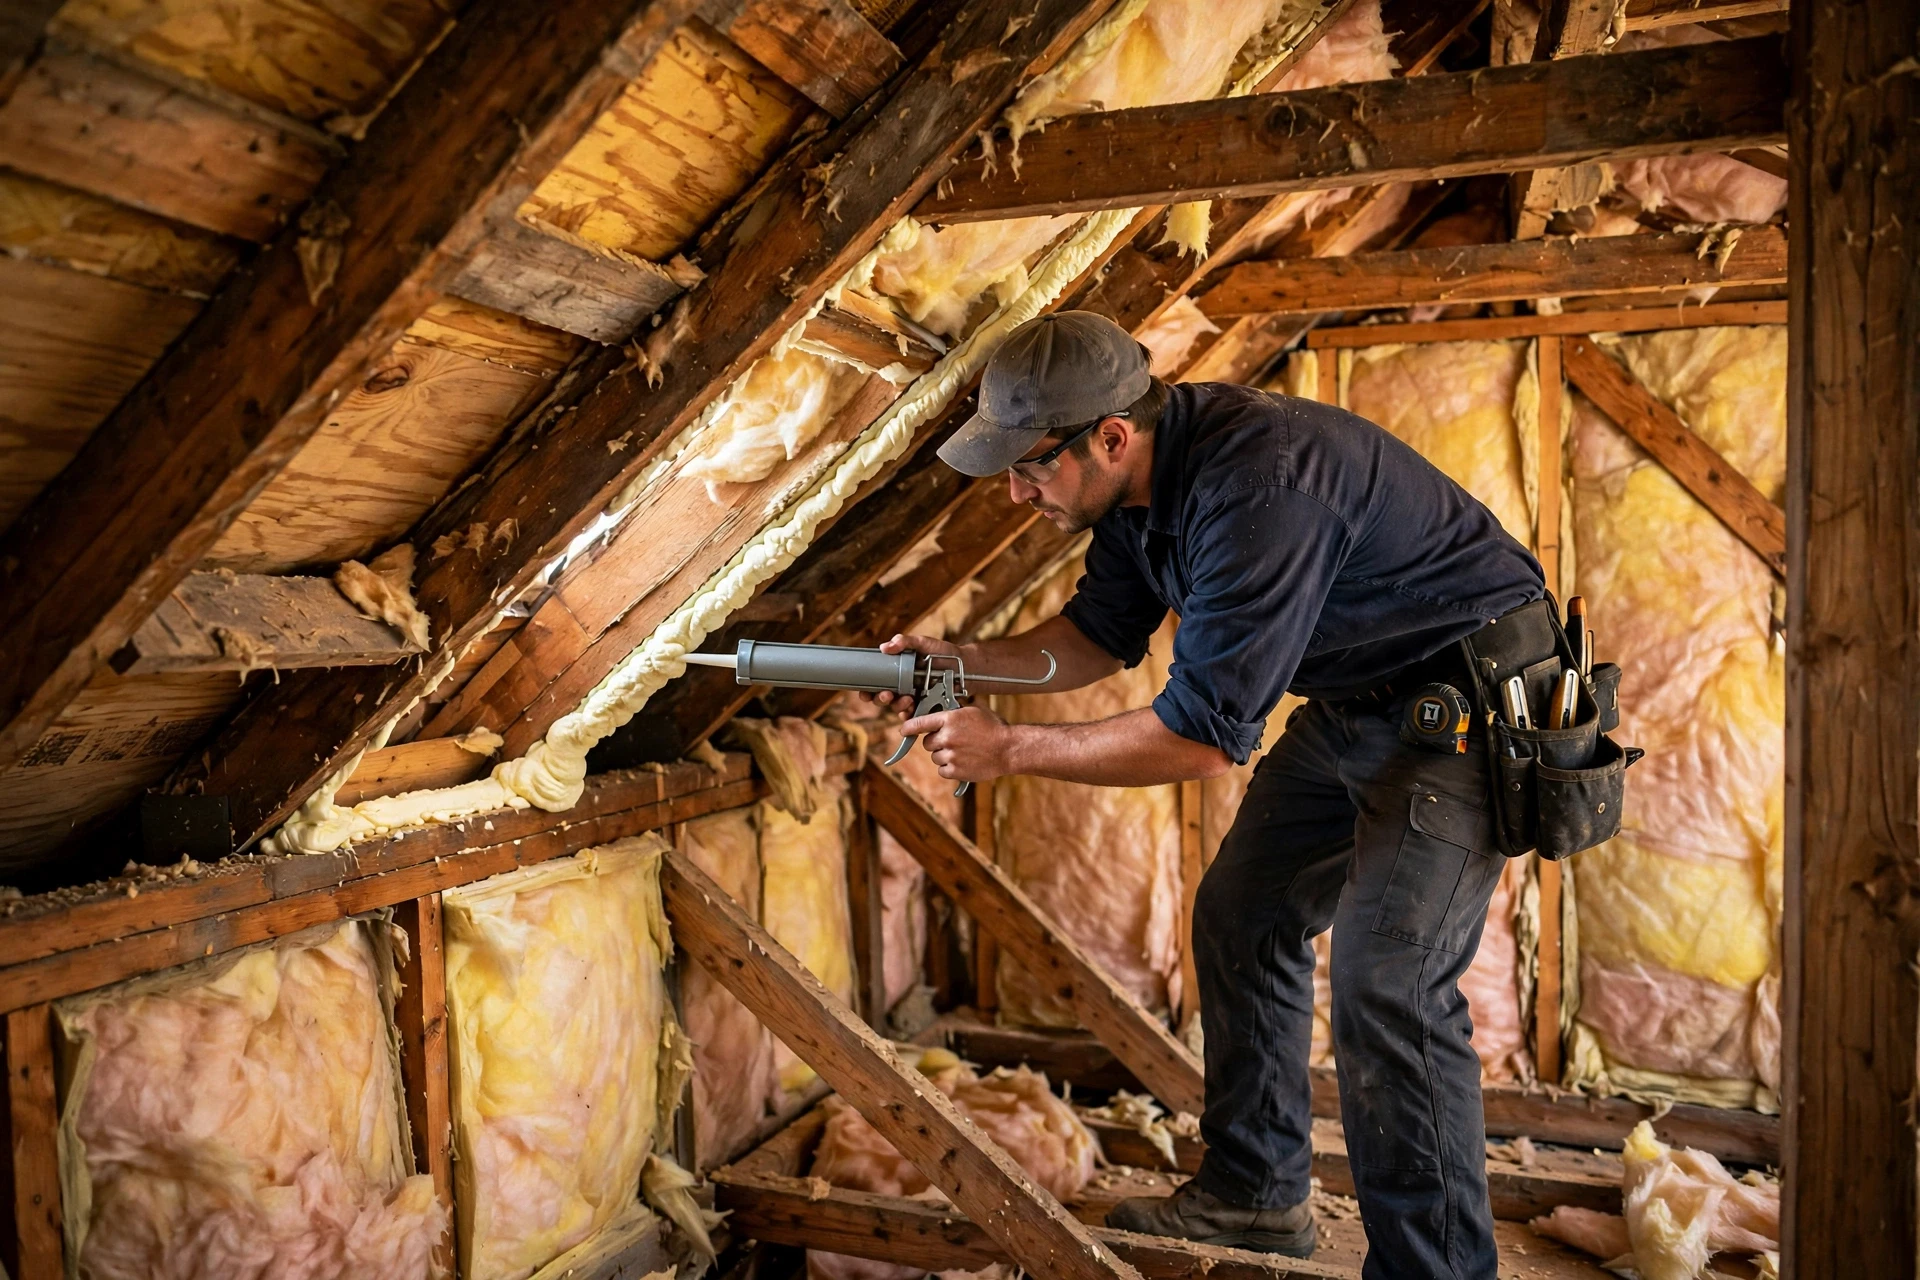
Most of the heat leaving your home in winter does not escape through the windows. It slips out through hidden gaps — around pipes and wires, along the top plates of walls, through the attic floor, and at the rim joists where the house meets its foundation. These leaks can add up to the equivalent of leaving a window open all year, and the U.S. Department of Energy identifies air sealing as one of the most cost-effective improvements a homeowner can make. The best approach is simple: find the biggest leaks first, seal them with the right materials, and only then add insulation on top.
This guide shows where the biggest leaks hide, how a blower door test finds them, which sealing methods work best at each location, and what the work typically costs. Figures are broad planning estimates, and local rebates and tax credits can change the numbers, so check current programs in your area before budgeting.
Why Hidden Gaps Waste More Heat Than Your Windows
Air leakage works through the stack effect: warm indoor air rises and escapes through gaps at the top of the house, while cold outdoor air is drawn in through gaps at the bottom. In winter, that means your heating system is constantly warming air that leaves through the attic, while cold air creeps in around the foundation. In summer the flow reverses, with hot air entering and cooled air escaping. Either way, the house never holds its temperature, rooms feel draughty, and the heating and cooling system runs far more than it should.
The scale surprises most homeowners. The Department of Energy estimates that air leaks account for roughly a quarter to two-fifths of the energy used to heat and cool a typical home, and in older houses the share can be higher still. Insulation alone cannot fix this: insulation slows heat moving through solid material, but it does nothing about air moving freely through holes. That is why energy auditors and building scientists repeat the same rule — seal first, then insulate — and why air sealing is consistently the highest-return energy upgrade for older homes.
Where the Biggest Leaks Hide in a Typical House
Most air leakage comes from a small number of locations, and they are rarely the ones homeowners suspect. Windows and doors account for only a modest share; the big leaks are in the attic floor, at the rim joists, and around penetrations that were cut during construction and never sealed. In a typical two-storey home, the attic floor alone can account for the largest single share of total leakage, because every interior wall top plate, light fixture, and pipe penetration is a hole in the ceiling plane.
The usual suspects, in rough order of importance, are:
- Top plates of interior and exterior walls, where framing meets the ceiling drywall.
- Recessed light fixtures and ceiling fans that break the air barrier.
- Plumbing vent stacks, supply pipes, and wiring holes through floors and ceilings.
- Rim joists — the framing that sits on top of the foundation wall.
- Attic hatches, pull-down stairs, and dropped soffits or chases.
- The sill plate where the house framing meets the foundation, and gaps around ducts.
A useful mental picture is the total open area: in many older homes, all these gaps add up to several square feet of open hole in the building envelope. Finding them is a matter of knowing where to look, and a blower door test makes them visible — which is where any serious air sealing job should start.
How a Blower Door Test Finds Leaks You Cannot See
A blower door test is the diagnostic foundation of every good air sealing job. A technician mounts a large fan in an exterior doorway, depressurizes the house, and measures exactly how much air it exchanges with the outdoors — usually expressed as air changes per hour at 50 pascals of pressure, or CFM50. While the fan runs, leaks become easy to find: a smoke pencil or a damp hand reveals air streaming in at every gap, and a thermal camera shows the cold spots on walls and ceilings where air is moving.
The test does two things a visual inspection cannot. First, it gives a baseline number, so you know how leaky the house is before work starts and can prove the improvement afterwards — most homes see a 25 to 50 percent reduction in leakage from a thorough sealing job. Second, it prioritises the work: instead of sealing at random, you seal the biggest leaks first and stop when the remaining leaks are too small to matter. Always insist on a before-and-after test, and keep both numbers — they are the proof the work was actually done, and some rebate programs require them.
Sealing the Attic Floor: The Highest-Return Job in the House
The attic floor is where the most air leakage occurs in most homes, because of the stack effect, and sealing it is often the single highest-return energy project available. The work starts by clearing insulation away from the areas you need to reach — you cannot seal top plates buried under a foot of blown-in insulation. Then work systematically around the perimeter and along every interior wall line, sealing each gap with the right material for its size.
Seal top plate gaps first: run foam or caulk along both sides of every wall top plate, where it meets the ceiling drywall.
Seal every plumbing and electrical penetration: foam around pipes and wires passing through the ceiling plane, and fire-rated foam or caulk near flues.
Box in recessed lights with airtight covers or replace them with sealed ICAT-rated fixtures before insulating over them.
Seal the attic hatch or pull-down stairs with weatherstripping and an insulated cover.
Close large openings — HVAC chases, dropped soffits, open wall cavities — with rigid foam board, then foam the perimeter.
Use one-component canned foam for gaps up to about an inch, fire-rated foam wherever penetrations pass through a fire-rated assembly, and acoustical sealant or caulk for narrow cracks under a quarter inch. Never use foam within two inches of a hot metal flue — use fire-rated caulk or sheet metal there. Once the floor is sealed, the insulation goes back on top, and the attic stops acting like a chimney for your heated air.
Rim Joists, Basements, and Crawl Spaces
Rim joists are the second-biggest leak location in most homes. The rim joist is the board that caps the ends of the floor joists where they sit on the foundation, and the joint between it, the sill plate, and the foundation is rarely airtight. Cold air enters here in winter and warm, humid air in summer, and the leakage also carries moisture that can condense on cold framing. Sealing rim joists with closed-cell spray foam — cut to fit between joists, or applied as a continuous layer — closes the gap and adds thermal resistance at the same time.
Basements and crawl spaces need the same treatment at the sill plate, where the wood framing meets the concrete or masonry foundation. A bead of caulk or foam along the sill, plus sealing around every pipe and wire that passes through the foundation wall, stops a major infiltration path. In a crawl space, combine this with a ground vapour barrier to control the humidity that feeds mould and rot. Work in these spaces is uncomfortable but cheap, and in many homes it accounts for a large share of the total leakage reduction — which is why auditors check the rim joists on every job.
Choosing Sealants: Foam, Caulk, and Weatherstripping Compared
Using the wrong sealant is the most common DIY air sealing mistake. Foam is best for filling irregular gaps and penetrations, caulk for narrow, stable cracks, and weatherstripping for moving parts like doors, windows, and hatches. Rigid foam board handles the big openings that foam alone cannot bridge. Match the material to the gap size, the temperature it will see, and whether the joint moves — a sealant that cracks the first winter is worse than no sealant, because it hides the leak.
| Sealant | Best gap size | Where to use it | Notes |
|---|---|---|---|
| One-component spray foam | 1/4 inch to 3 inches | Top plates, pipe and wire penetrations | Trim excess after curing |
| Fire-rated foam | Up to 3 inches | Near flues, fire-rated assemblies | Required by code in rated assemblies |
| Acoustical sealant / caulk | Under 1/4 inch | Narrow cracks, electrical boxes | Stays flexible, never hardens |
| Rigid foam board + foam | Over 3 inches | Chases, soffits, large openings | Cut to fit, foam the edges |
| Weatherstripping | Moving joints | Doors, windows, attic hatches | Replace when compressed or torn |
Two cautions are worth remembering. First, never seal a combustion appliance’s air supply or a vented flue — gas furnaces, water heaters, and fireplaces need their combustion air, and sealing it off creates a safety hazard. Second, a very tight house needs planned ventilation: once leakage drops well below the level the house was built for, a heat-recovery ventilator or a controlled fresh-air intake keeps indoor air healthy. Your auditor can advise on the right balance for your home.
What Air Sealing Costs and What It Saves
Professional air sealing for a typical single-family home usually runs from a few hundred to a few thousand dollars, depending on house size, access, and how leaky it is to start with — attic-only jobs are the cheapest, while a whole-house job with rim joists and basement work costs more. Most residential jobs take one to two days, and a before-and-after blower door test is usually included. DIY sealing is far cheaper in materials — a few cans of foam and tubes of caulk — but it takes a full day in the attic and a willingness to work in tight, dusty spaces.
The savings are what make the work pay. Sealing attic bypasses and rim joists typically cuts heating and cooling energy use by 15 to 25 percent, and in very leaky older homes the reduction can be larger. Comfort improves immediately: fewer draughts, more even temperatures from floor to floor, and less dust and outdoor pollen coming in. Many utilities offer rebates for verified air sealing work, and federal tax credits have applied to qualifying energy improvements — check current programs before you start, because a rebate can cut the payback period to a year or two. Unlike insulation, which degrades slowly, a good air seal lasts for decades.
Air Sealing FAQs for Homeowners
Is air sealing better than adding insulation?
Seal first, then insulate. Insulation cannot stop moving air, so adding insulation over unsealed gaps wastes much of its value. Air sealing is also usually cheaper and pays back faster than insulation alone.
Can I air seal my house myself?
Yes, for accessible areas. Attic floor sealing, caulking, and weatherstripping are realistic DIY jobs on a one-storey home. Leave work near gas appliances, chimneys, and tight crawl spaces to a professional, and get a blower door test to verify the result.
Will air sealing make my house too airtight?
It can, in a very tight new build — but most older homes stay well above the level where ventilation becomes a concern. If your blower door result drops very low, your auditor may recommend a heat-recovery ventilator for fresh air.
How do I find air leaks without a blower door test?
On a cold, windy day, hold a lit incense stick or a damp hand near suspect gaps — top plates, outlets, pipes, and window frames. Moving smoke or a cold draught marks a leak. A thermal camera also helps, but a blower door test is far more accurate.
Does air sealing help with ice dams?
Yes — it is the main fix. Ice dams form when warm air leaking into the attic melts roof snow, which refreezes at the eaves. Sealing the attic floor stops the heat leak, which stops the melt, which stops the dams.
How long does air sealing last?
Decades, when done with the right materials. Foam and caulk in protected locations do not wear out, and rigid foam board is permanent. Weatherstripping is the exception — check it every year and replace it when it compresses or tears.
Final Thoughts: Seal First, Then Insulate
Air sealing is the least glamorous energy upgrade and the one that pays back fastest. The leaks are hidden, the materials are cheap, and the work is mostly patience — finding every gap in the attic floor, at the rim joists, and around every penetration, then closing it with the right sealant. Do that first, verify it with a blower door test, and then add insulation on top of a sealed envelope. Your house will hold its heat, your bills will drop, and every room will feel the difference on the first cold night.

