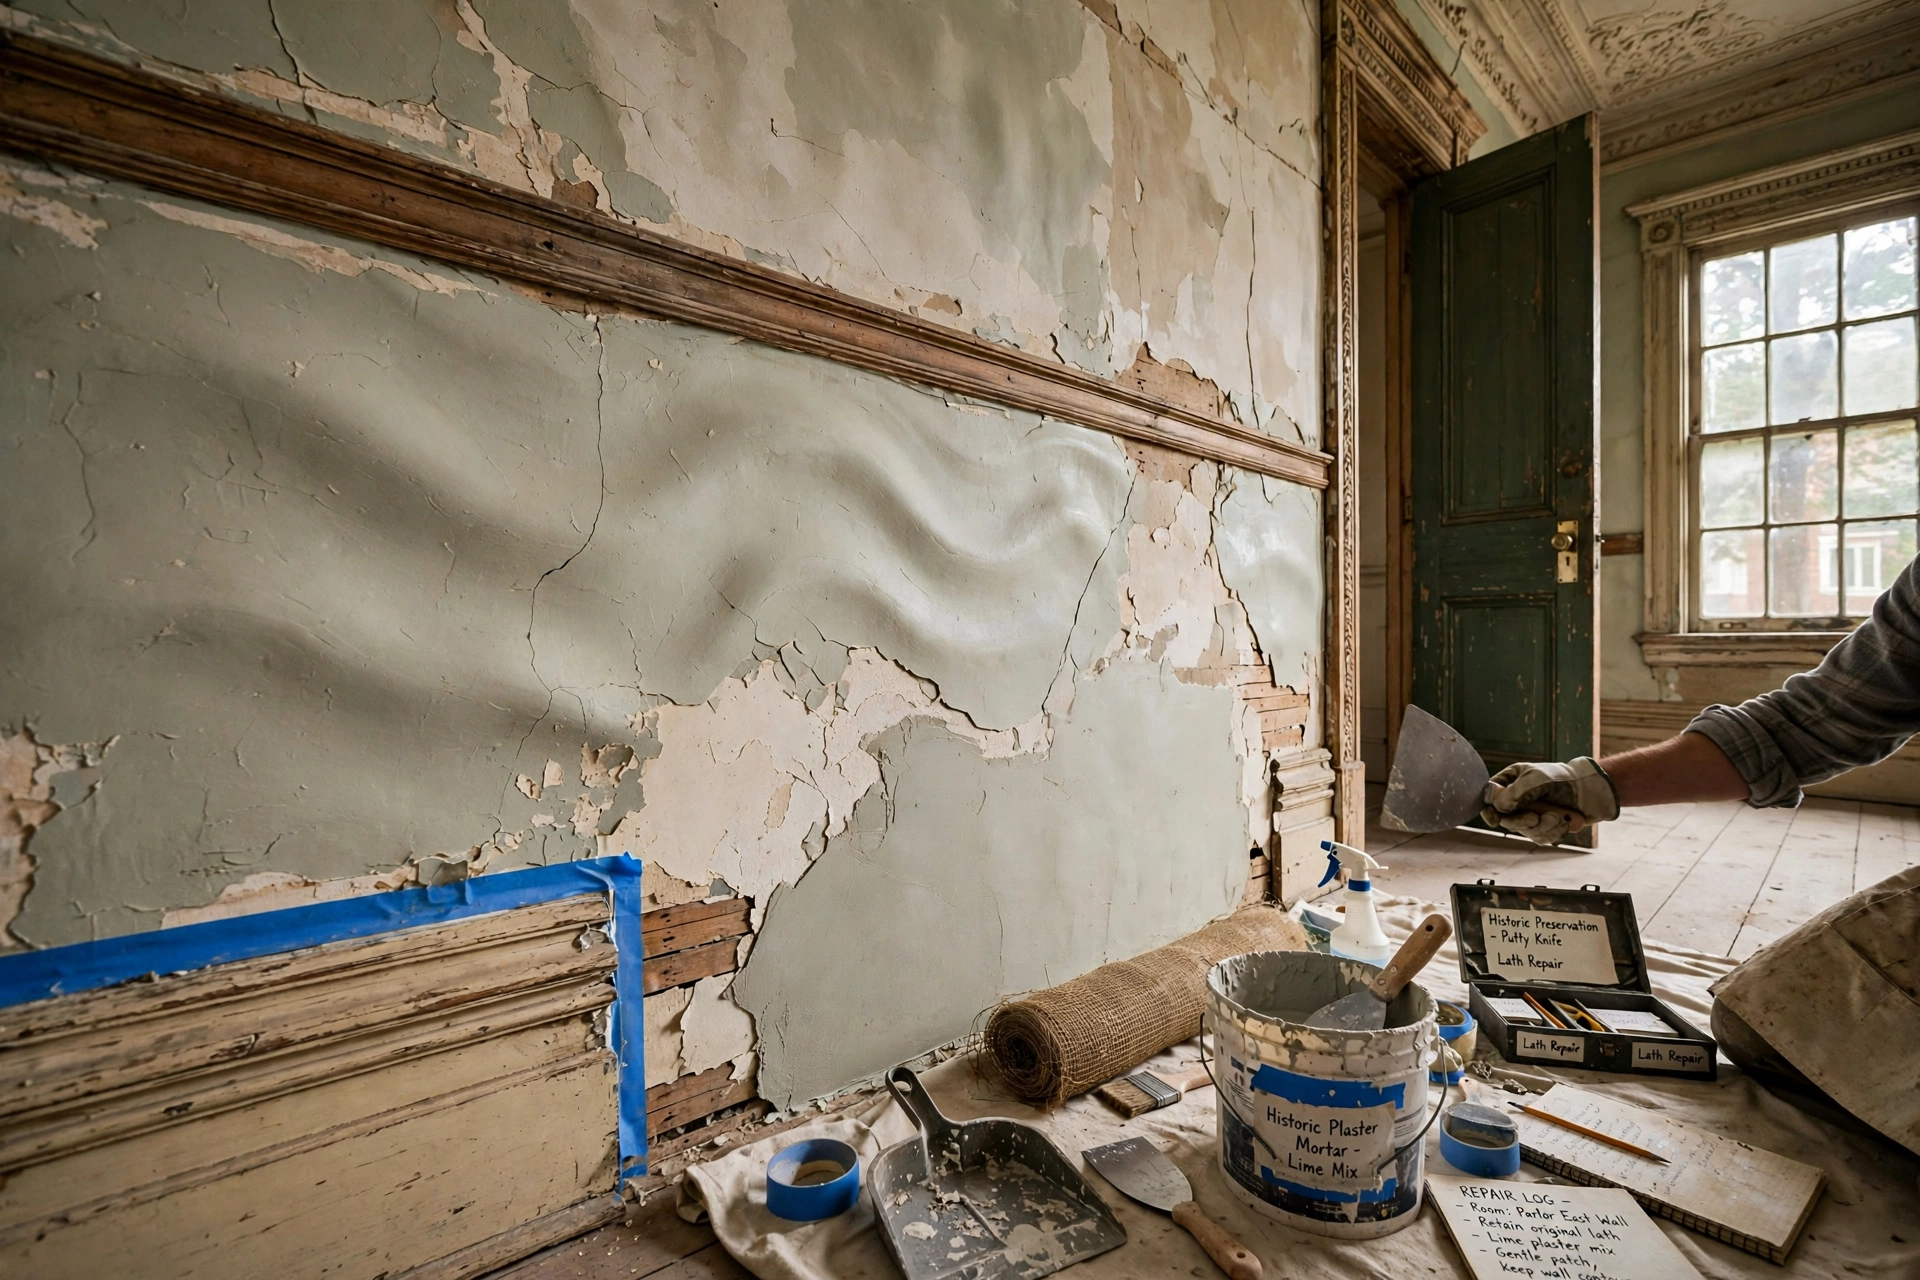
Wavy, uneven plaster walls are one of the most common cosmetic complaints in old houses. Ridges, dips, and rolling undulations catch raking light and make even a freshly painted room look unfinished. The good news: repairing wavy plaster walls rarely requires tearing anything out. With skim coating or floating, you can build up the low spots and flatten the wall plane while keeping every original cornice, ceiling rose, casing, and baseboard in place. Most waviness is a finish-coat problem, not a structural one — the fix is additive, adding a thin level surface over the old one instead of removing anything historic.
The short answer: clean and sound-test the wall, mask the architectural details, then apply two to three thin skim coats of setting-type joint compound, feathering each coat into the moldings rather than over them. Let every coat dry fully, sand lightly, and prime before painting. Expect a weekend per room, and test for lead paint before sanding in any home built before 1978.
Why Old Plaster Walls Get Wavy
Traditional plaster went on in layers over wooden lath — scratch coat, brown coat, thin finish coat — every one troweled by hand. Decades of settling, seasonal wood movement, and accumulated paint exaggerate those hand-trowel marks until the wall reads as wavy under side light. This is almost always cosmetic: the wall is not failing, the plaster is simply not flat, and the irregularity lives in the thin finish layer.
How to Tell If the Waviness Is Cosmetic
Push on the wavy areas with your palm. A solid wall has cosmetic waviness and is a skim-coat candidate. A wall that flexes or feels hollow may have plaster separating from its lath — skimming over it fails, because the new coat cracks along the loose boundary within weeks. Tap-test below before buying materials.
The Tap Test: Check Plaster Soundness Before You Skim
Knock your knuckle firmly across the wall in a grid pattern. A sharp, solid sound means the plaster is bonded to the lath; a hollow thud means it has lost its grip. Mark hollow areas with painter's tape. Isolated hollow spots can be reattached with plaster washers — thin metal discs screwed through the plaster into the lath — then buried under setting compound. Widespread hollow areas mean the plaster system is failing. Damp, soft, or crumbling patches mean fixing the moisture source first. Never skim over active damp.
Test for Lead Paint Before You Sand Anything
Treat any home built before 1978 as potentially containing lead-based paint. The plaster itself is generally not the hazard — traditional lime and gypsum mixes did not use lead as a standard ingredient. The danger is in the generations of paint layered on top, and sanding those layers releases lead dust. Either test with an EPA-recognized kit or certified inspector, or assume lead is present: contain the area with plastic sheeting, wear a respirator rated for lead dust, avoid all dry sanding, and clean with a HEPA vacuum plus wet wiping.
Skim Coating vs. Other Options: Which Repair Fits Your Wall
Skim coating is the preservation-friendly default. Compare it against the alternatives.
For most owners, the choice comes down to the tap test and the depth of the waves: gentle undulation gets a standard skim coat; deep rolling dips get floated with a straight edge first, then skim coated.
Protecting Original Architectural Features During the Repair
A careful skim coat never buries the details that make an old house special — you work around the features, not over them.
Masking and Working Around Cornices, Casings, and Baseboards
Mask every piece of trim with painter's tape pressed firmly into the molding junction, and cover ornate cornices and ceiling roses with paper or plastic. New compound stops at the tape line — never on the decorative surface. Where a cornice meets a wavy wall, the wall plane varies along its length, so feather the skim gradually toward the tape. Wipe any smears off trim immediately while wet, and pull the tape while the final coat is still slightly damp for the cleanest edge.
Feathering New Plaster Into Existing Moldings
Follow the preservation standard used for historic plaster patches: make the repair conform to the existing work rather than forcing perfect flatness right up to the trim. Hold the trowel at a shallow angle near moldings with light pressure so the compound feathers to a thin edge at the tape line. A whisper of the original waviness in the last inch near a deep cornice reads as authentic old-house character.
Matching Materials to Old Plaster
Pre-1930s plaster is usually lime-based, so a lime-compatible skim is the safest match. Setting-type compounds made for plaster repair also bond well. Whichever you choose, use it for every coat on the wall so the layers cure consistently.
Step-by-Step: Skim Coating a Wavy Plaster Wall
Work one wall at a time. A typical bedroom wall takes a weekend: prep and first coat on day one, second coat and sanding on day two.
Prep the room and lighting. Move furniture to the center and cover it, lay drop cloths, and mask all trim, outlets, and switches. Set up a work light at a low angle to the wall so every dip casts a visible shadow.
Clean and sound-test. Wash the wall with a damp sponge and mild detergent, let it dry, then tap-test the whole surface and mark hollow spots with painter's tape.
Fix damage first. Fill hairline cracks with setting compound, reattach loose areas with plaster washers, and scrape off peeling paint. Let repairs cure before skimming.
Prime for adhesion. Roll on PVA primer or bonding agent, especially over glossy paint or porous plaster. Skipping this is the fastest route to a skim coat that peels off in sheets.
Apply the first coat. Mix setting compound to a mayonnaise-like consistency. Working in four-foot sections from the top down, hold a 10- to 12-inch knife at a steep angle and drag firmly: pressure fills dips while scraping compound off high spots. This coat fills valleys — do not chase perfection.
Scrape, then second coat. Once hardened, knock down ridges with your knife, then apply a thinner second coat, feathering toward moldings and taped edges. For deep dips, draw a six-foot darby across the wall riding on the high spots to force compound into the valleys.
Sand and inspect. Once fully dry, sand with 120-grit, finishing with 180- to 220-grit. Check with the raking light; a third thin coat on low spots beats over-sanding.
Prime, then paint. HEPA-vacuum, wipe with a damp cloth, and prime before finish coats — skimmed plaster drinks paint, and skipping primer leaves a blotchy first coat.
Tools and Materials Checklist
Gather everything before mixing — setting compound waits for no one once water hits the powder.
Common Mistakes That Ruin the Repair
- Skimming over loose plaster: Reattach or remove loose plaster first — new compound bonds to whatever is underneath.
- One thick coat: Two or three thin coats always beat one heavy one.
- Skipping the bonding primer: The fastest route to a skim coat that peels off in sheets.
- Sanding too early: Wait for full cure — sanding early gums the paper and tears the surface.
- Compound on moldings: Compound in carved profiles reads as damage to the features you wanted to keep.
- Re-wetting setting compound: Once setting compound stiffens, adding water weakens it. Mix a fresh batch.
- Dry sanding without lead precautions: Without containment and a proper respirator, you spread hazardous dust through the house.
- Skimming over active damp: Moisture problems always come first.
Costs: DIY vs. Hiring a Professional
Skim coating is one of the most cost-effective old-house repairs because materials are cheap and labor is the main expense. As a rough guide, expect $60–$150 in materials per wall for DIY, or $300–$700 per wall professionally; a full room typically runs $900–$2,000 professionally. All figures are estimates and vary by region and wall condition.
Hire a plasterer experienced with old houses for ornate plasterwork, large reattachment areas, or a flawless finish in a formal room. Ask specifically about lime plaster and historic molding experience — a drywall specialist and a heritage plasterer are not the same trade.
Safety and When to Call a Professional
Skim coating is safe DIY work: ventilate the room, wear a dust respirator while sanding, and wear eye protection when scraping overhead. The serious risks come from what is under or on the plaster, not the plastering itself.
- Lead paint: Test for lead or assume it is present and follow lead-safe work practices in any pre-1978 home.
- Asbestos: Some plaster additives and textured coatings in pre-1980s homes contain asbestos. Have crumbling material tested before disturbing more than the surface.
- Structural warning signs: Bulging ceilings, sections that move when pressed, or widening cracks can signal structural movement or failing lath — these need assessment, not a cosmetic skim.
- Heritage protections: Minimum-intervention repairs like skim coating are usually acceptable, but replacing original fabric may need consent.
Call a restoration specialist when hollow areas are widespread, ceiling plaster is sagging, you find active water intrusion, asbestos or extensive lead paint is confirmed, or the room holds irreplaceable ornamental plaster. A good heritage plasterer can also replicate damaged molding profiles to match the originals.
Final Thoughts
Wavy plaster walls are a surface problem with a surface solution. Sound-test the wall, protect the moldings, and build the surface back up with thin, patient skim coats — the house's original character stays exactly where it belongs. Start with the least visible wall to build technique. Your next step: tap-test one wall tonight, and the sound will tell you whether it is a weekend project or a call to a plasterer.
Frequently Asked Questions
Can you skim coat over painted plaster walls?
Yes, if the paint is sound and well bonded. Wash, scuff glossy paint, and apply PVA bonding primer first. Scrape off anything peeling — compound will not stick to paint that is letting go beneath it.
Will skim coating damage my original cornices and ceiling roses?
Not if you mask them. Tape the exact edge where molding meets wall and cover the decorative face with paper. Skim up to the tape line and feather thin at the edge — the molding is never coated.
Should I use lime plaster or modern joint compound on old walls?
Either works for thin coats over sound plaster. Lime-based skim best matches original lime plaster in softness and vapor permeability. Setting-type joint compound is harder and faster for DIY. Never build standard pre-mixed compound up thick — it shrinks and cracks.
How flat can I realistically get a wavy old wall?
A careful skim with floating gets a wall visually flat under normal lighting, though raking sunlight may still show faint undulation — authentic for an old house. Chasing machine-flat perfection usually means removing original plaster, trading away the character you wanted to preserve.
How long does a skim coat take to dry before painting?
Setting compound hardens within hours but needs about 24 hours per coat to dry fully; pre-mixed compound can need 24 to 48 hours depending on thickness and humidity. Paint only when the surface is uniformly dry — painting over damp compound traps moisture and causes peeling.
Can I skim coat a wavy plaster ceiling the same way?
The technique is the same, but compound wants to fall off the trowel overhead. Work in smaller sections with a slightly stiffer mix. Sagging or cracked ceiling plaster should be inspected by a professional first — gravity makes ceiling failures dangerous.
What is the difference between skim coating and floating a wall?
Skim coating applies thin, even coats across the whole surface to refine it. Floating draws a long rigid straight edge across the wall, riding on the high spots to force compound into deep valleys. Badly wavy walls are typically floated first, then skim coated for the finish.

